
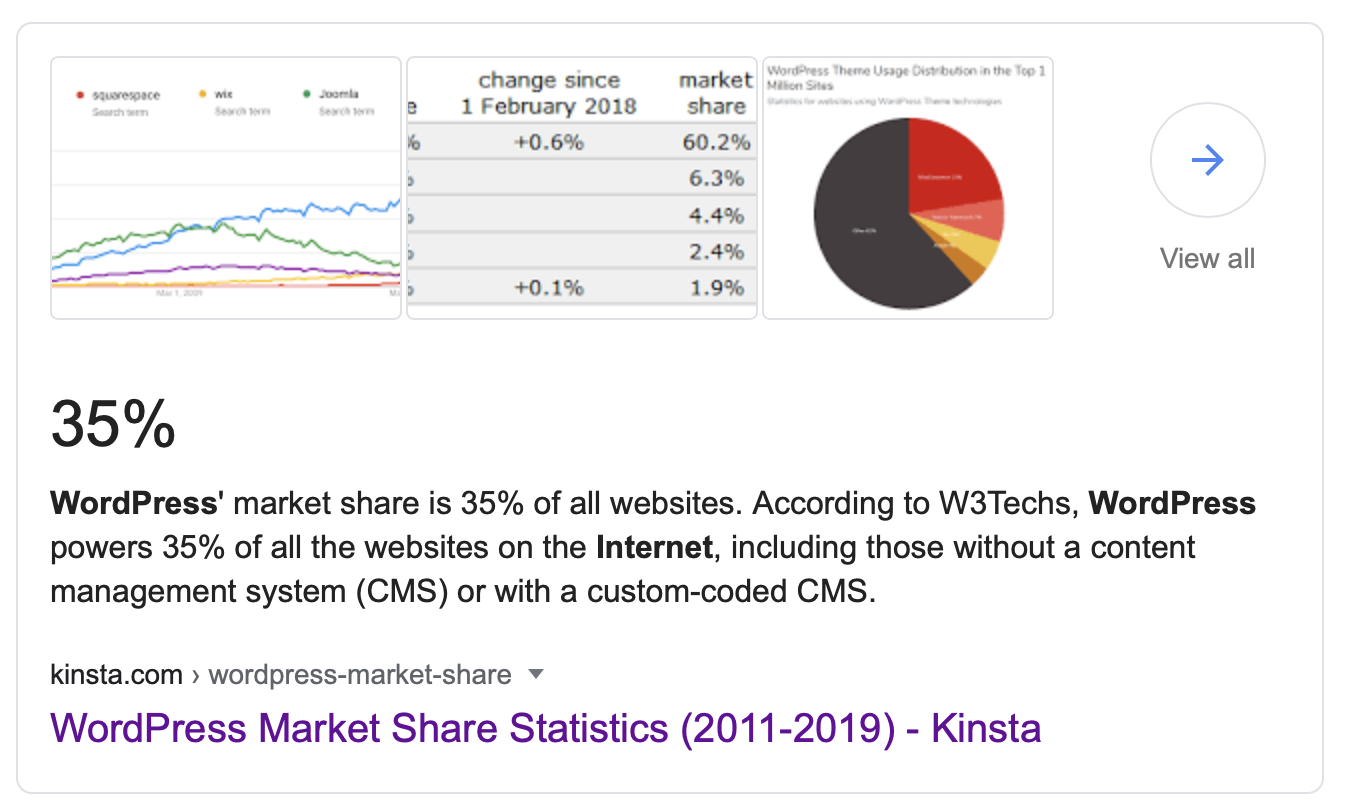
 This website publishing tool that you will be using for this class, WordPress, is everywhere. As a matter of fact, it runs about 35% of the internet. What that means for you, is that if you can’t figure something out, a simple Google search will yield tons of resources. That said, we are here to help you if you need it. Just reach out via email ([email protected]).
Some of the basics you will need for this project.
How to change the TITLE of your site
DASHBOARD —> SETTINGS —> GENERAL
How to change the HEADER IMAGE of your site
CUSTOMIZE —> HEADER IMAGES
Click “Add new image” to upload an image file from your computer. Your theme works best with an image with a header size of 960 × 250 pixels — you’ll be able to crop your image once you upload it for a perfect fit – but it needs to be at least 960 pixels wide and be horizontal (if you want the software to do the cropping)
How to change the FRONT PAGE of your site
DASHBOARD —> SETTINGS —> READING
Editing a PAGE in WordPress is very much like editing a page in Word. You will have lots of formatting options.
This is a PAGE that you will EDIT (via links above or below) for your project.
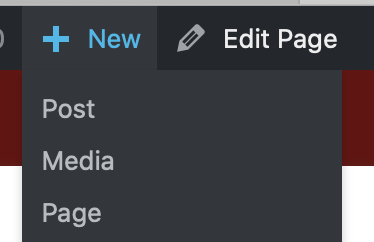
There is also the option to use POSTS in WordPress, but that is not something that you will need.
To add an image, when you are in the editing interface you ADD MEDIA and follow the steps to upload.
- Size your image to fit on the screen (and no more than 600 pixels tall @ 72dpi)
- Name the image something LOGICAL i.e. big-polar-bear.jpg NOT IMG_1234.JPG
- Drag or upload
- BE SURE TO PUT IN THE “ALT” TEXT
- Insert it into the page

Any time you finish editing a page click the blue UPDATE button to save
WordPress will save all the revisions of your work, so it is pretty difficult to lose anything, and easy to go back.
Changing the background color (or adding a background image)
CUSTOMIZE —> COLORS
CUSTOMIZE —> BACKGROUND IMAGE
How to remove this item from the top menu
DASHBOARD —> APPEARANCE —> MENUS
Click the little triangle next to WORDPRESS TIPS menu item, then click REMOVE
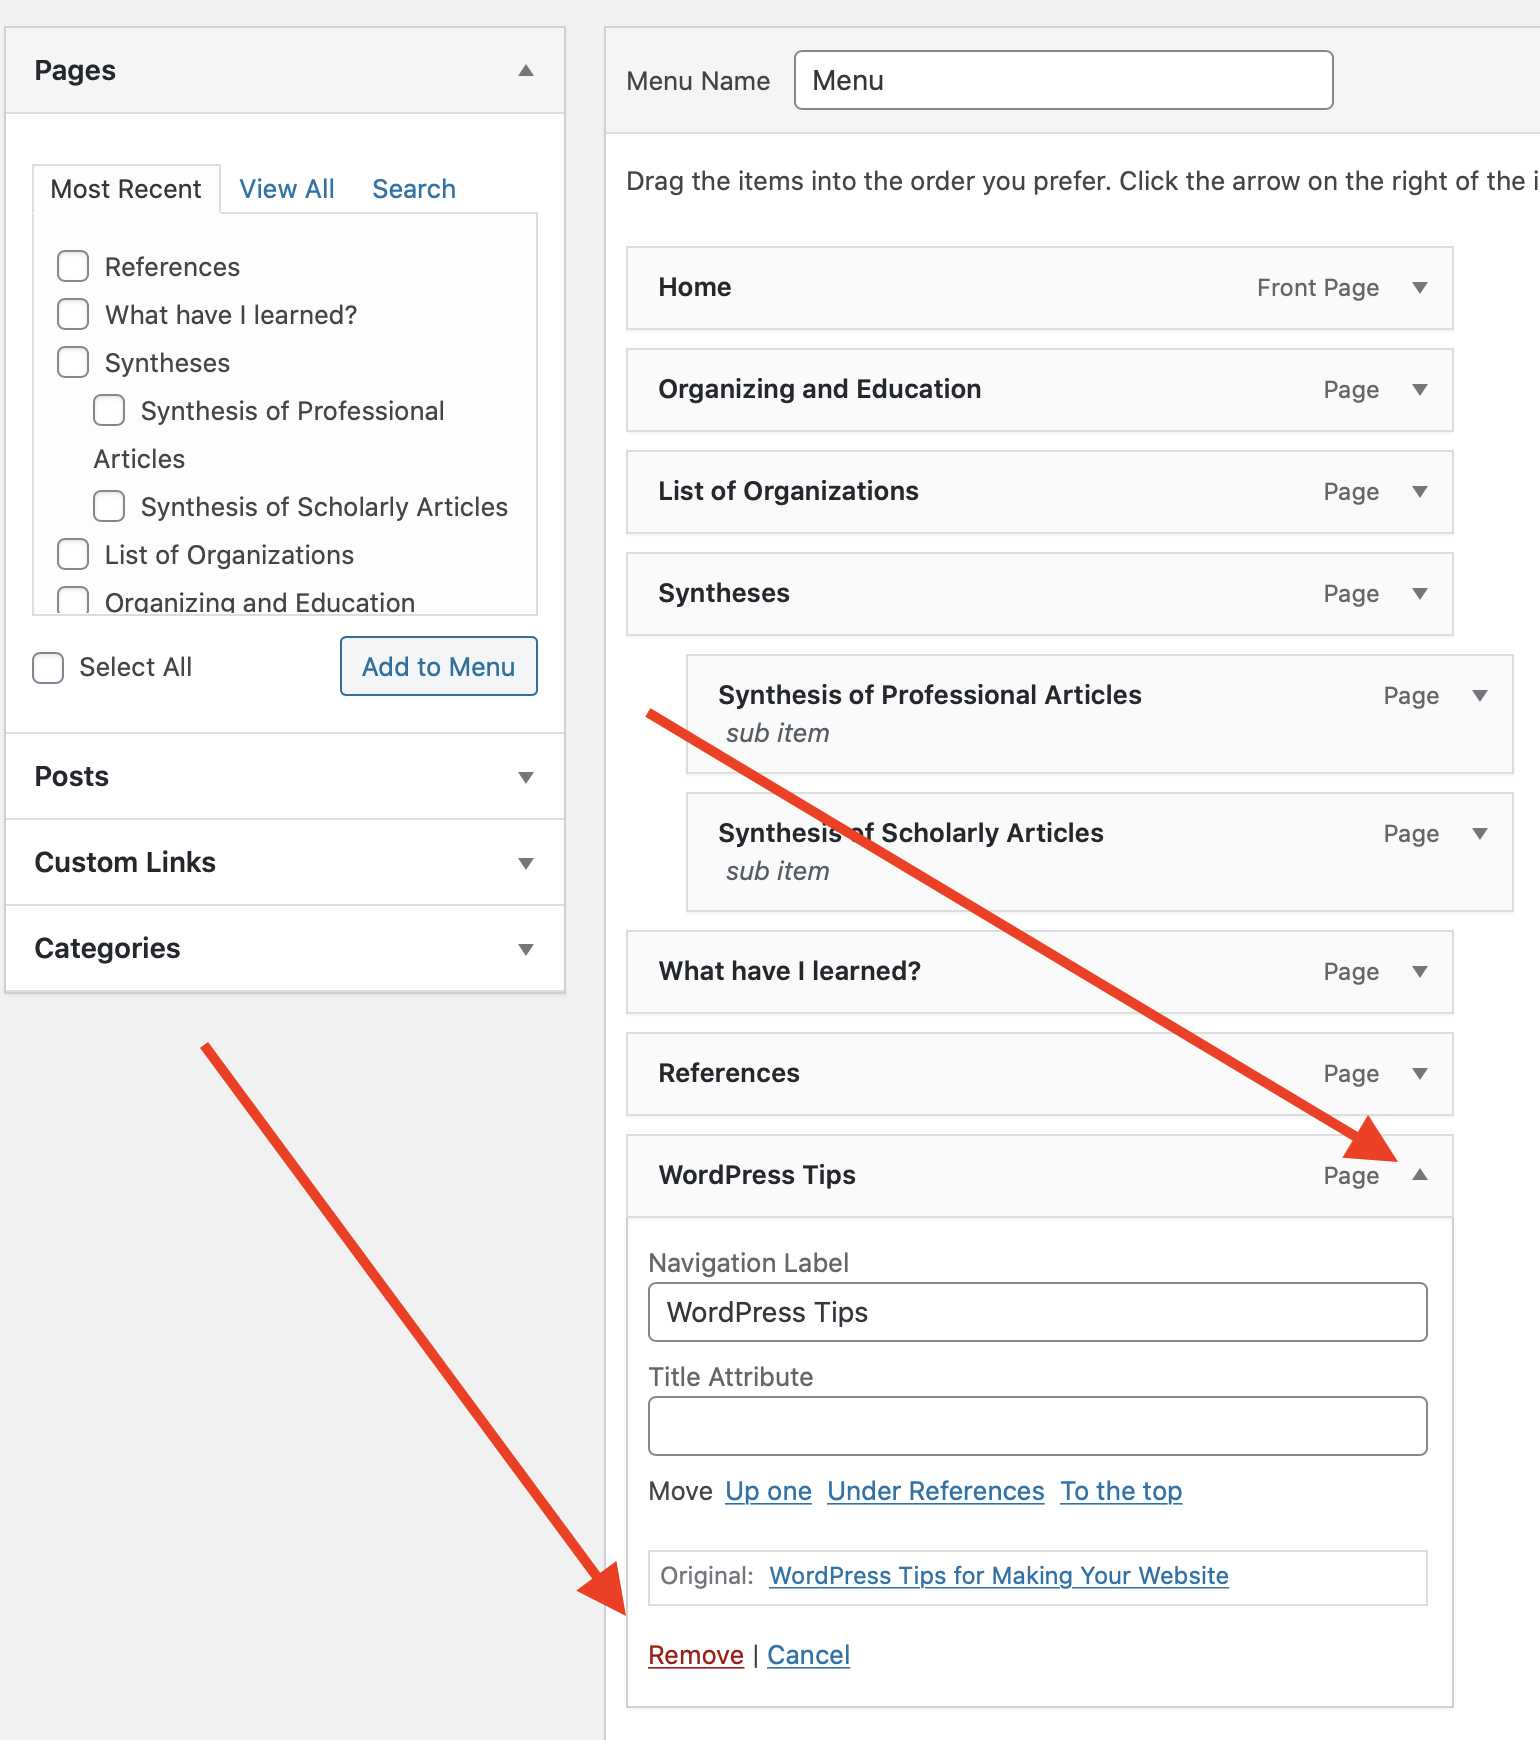
click to enlarge
How to Do a Footnote
To create a footnote you will go into the TEXT view and use the simple HTML superscript tag on the number, then put the reference at the bottom of the page
Example of how it looks in the TEXT view:
This is the text. <sup>1</sup>
In the VISUAL view, it will look like this:
This is the text. 1
This is the footnote at the bottom of the page: (<hr /> tag created the line above)
1. This quote came from Encyclopedia Britannica, Edition 9, 2001
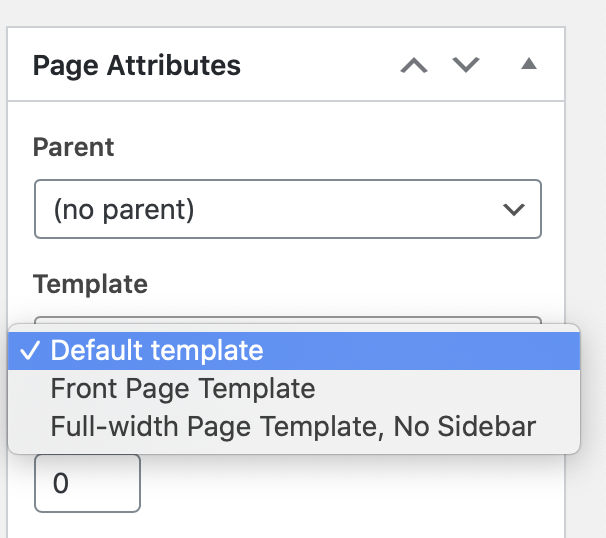
To get rid of the column on the right (twentytwenty theme)
- Go to Edit Page
- Go to “Page Attributes” (right side)
- Go to “Template” and select from the pull-down menu

How to Add Video
Ensemble
Click the ADD ENSEMBLE VIDEO button above (next to ADD MEDIA)
![]()
Add the “Content ID” form Ensemble
YouTube
Simply add the URL to the page and hit the blue UPDATE button