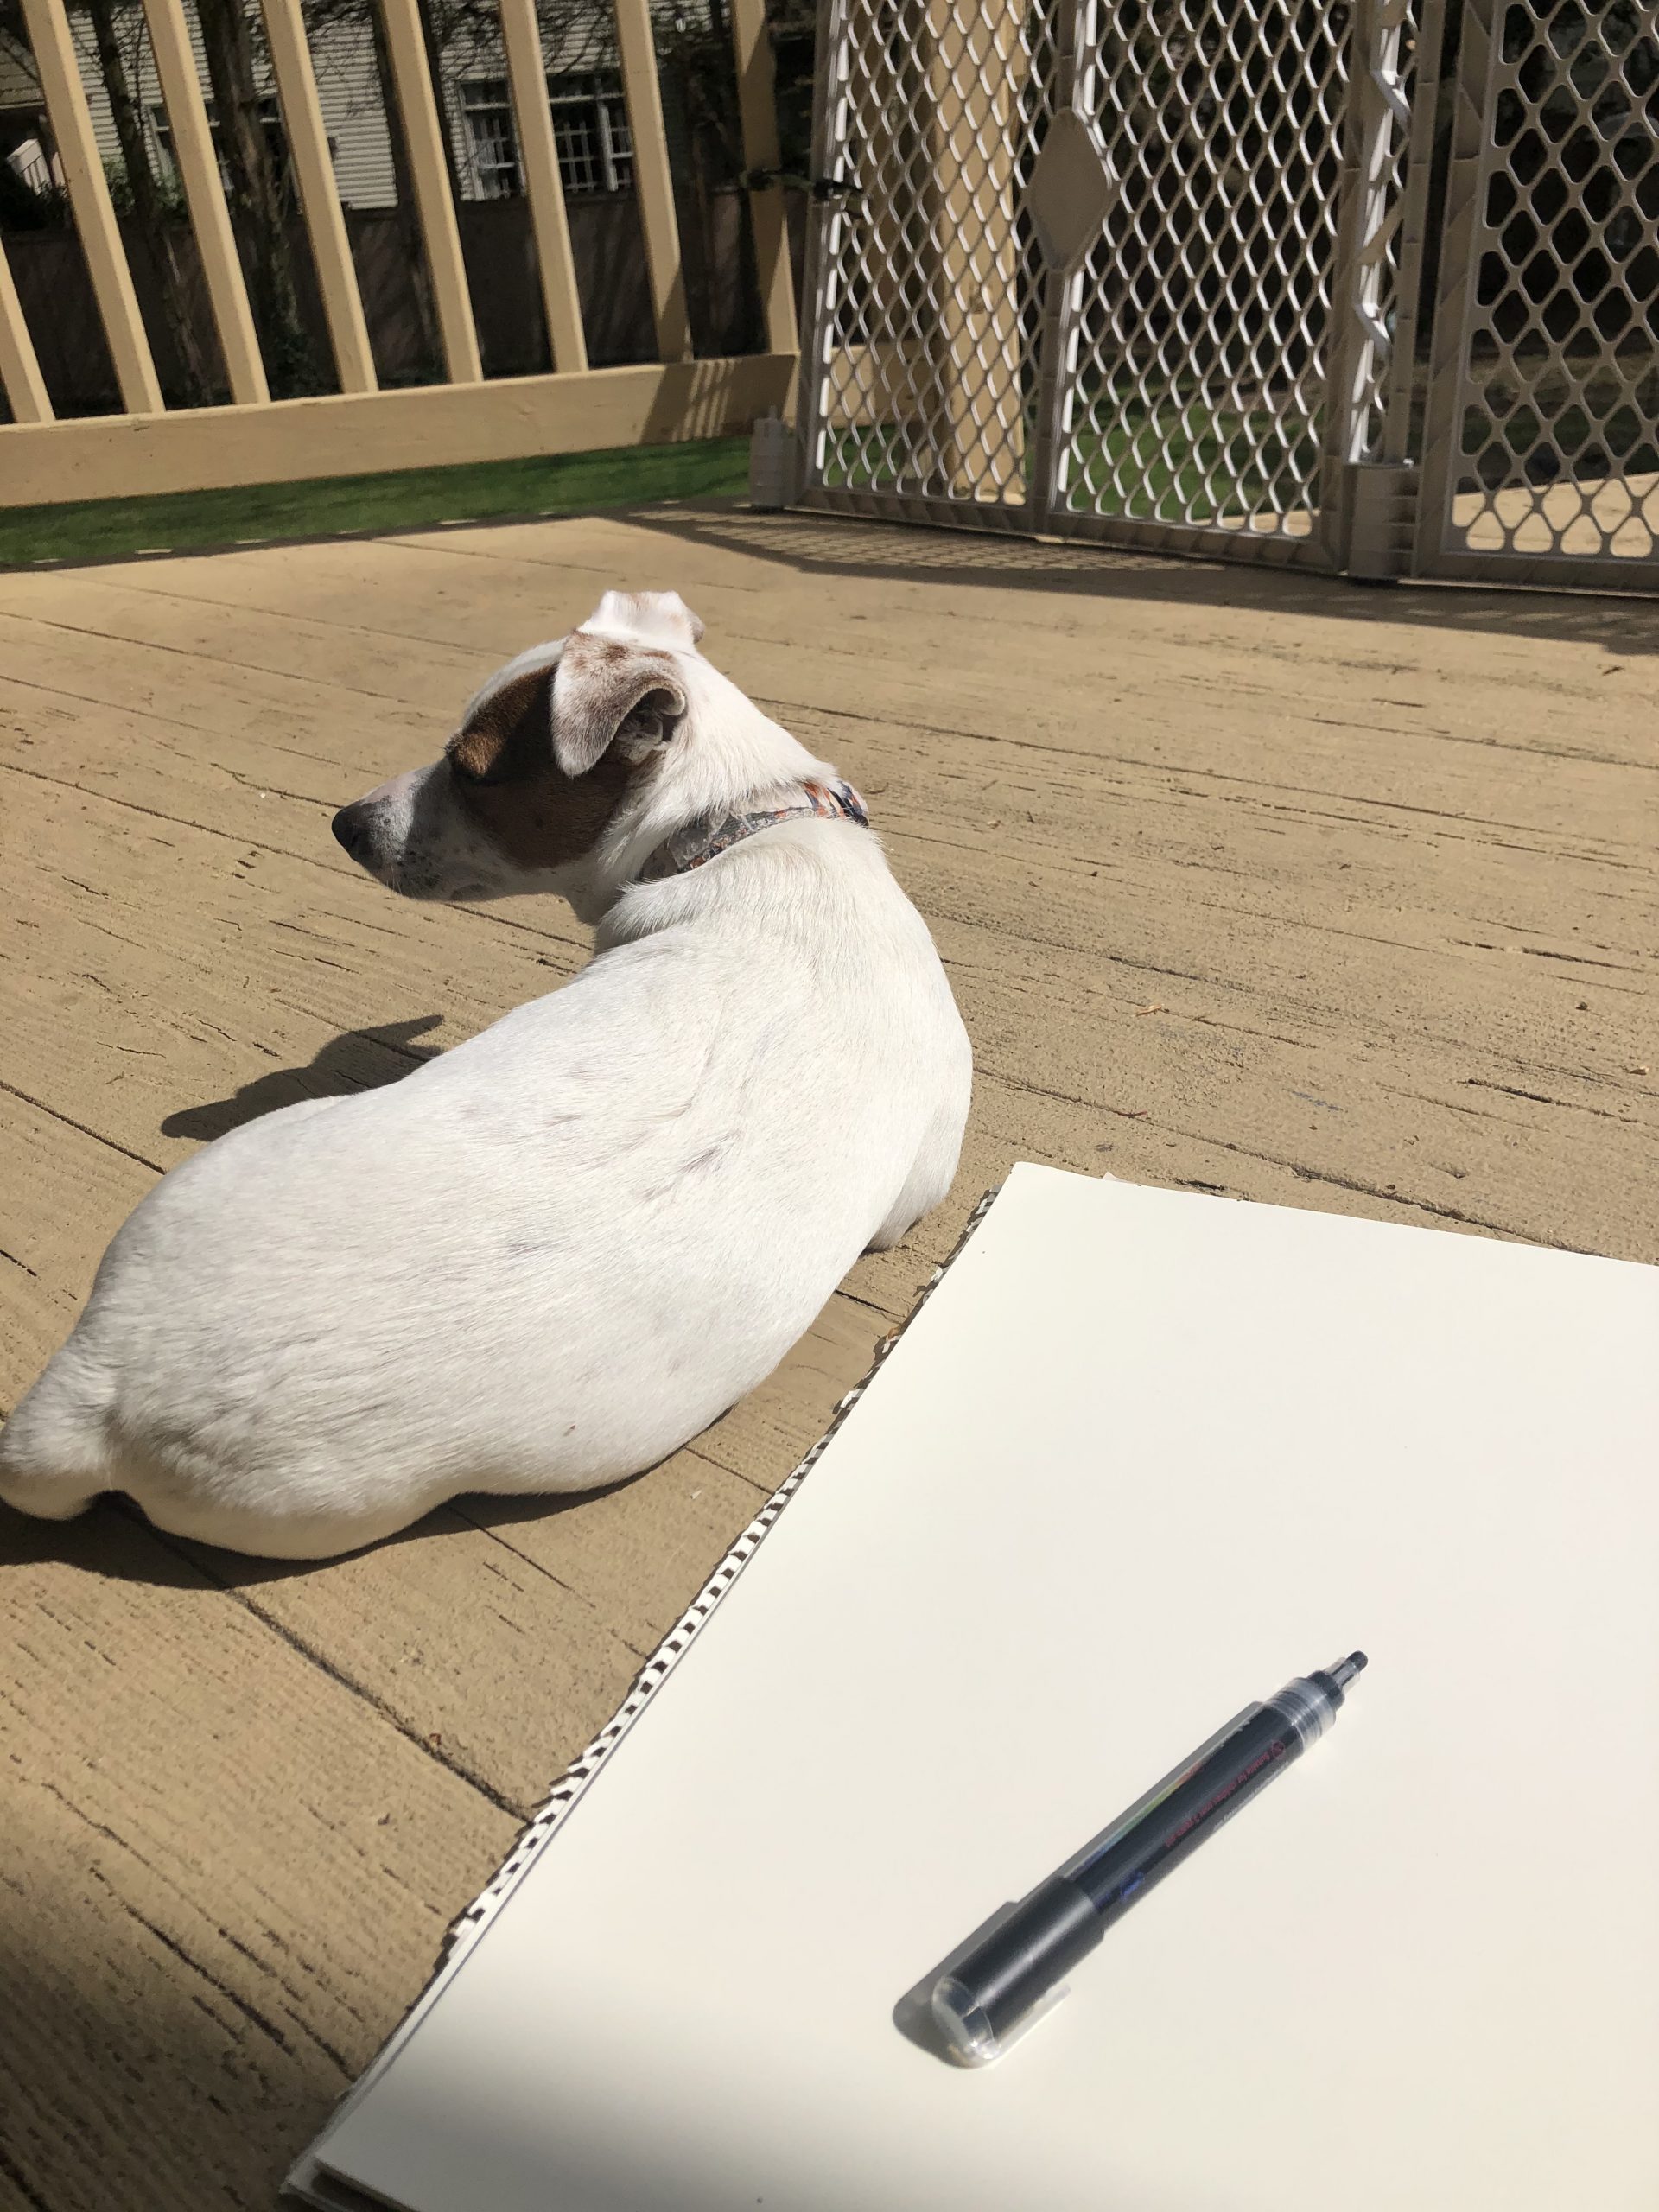
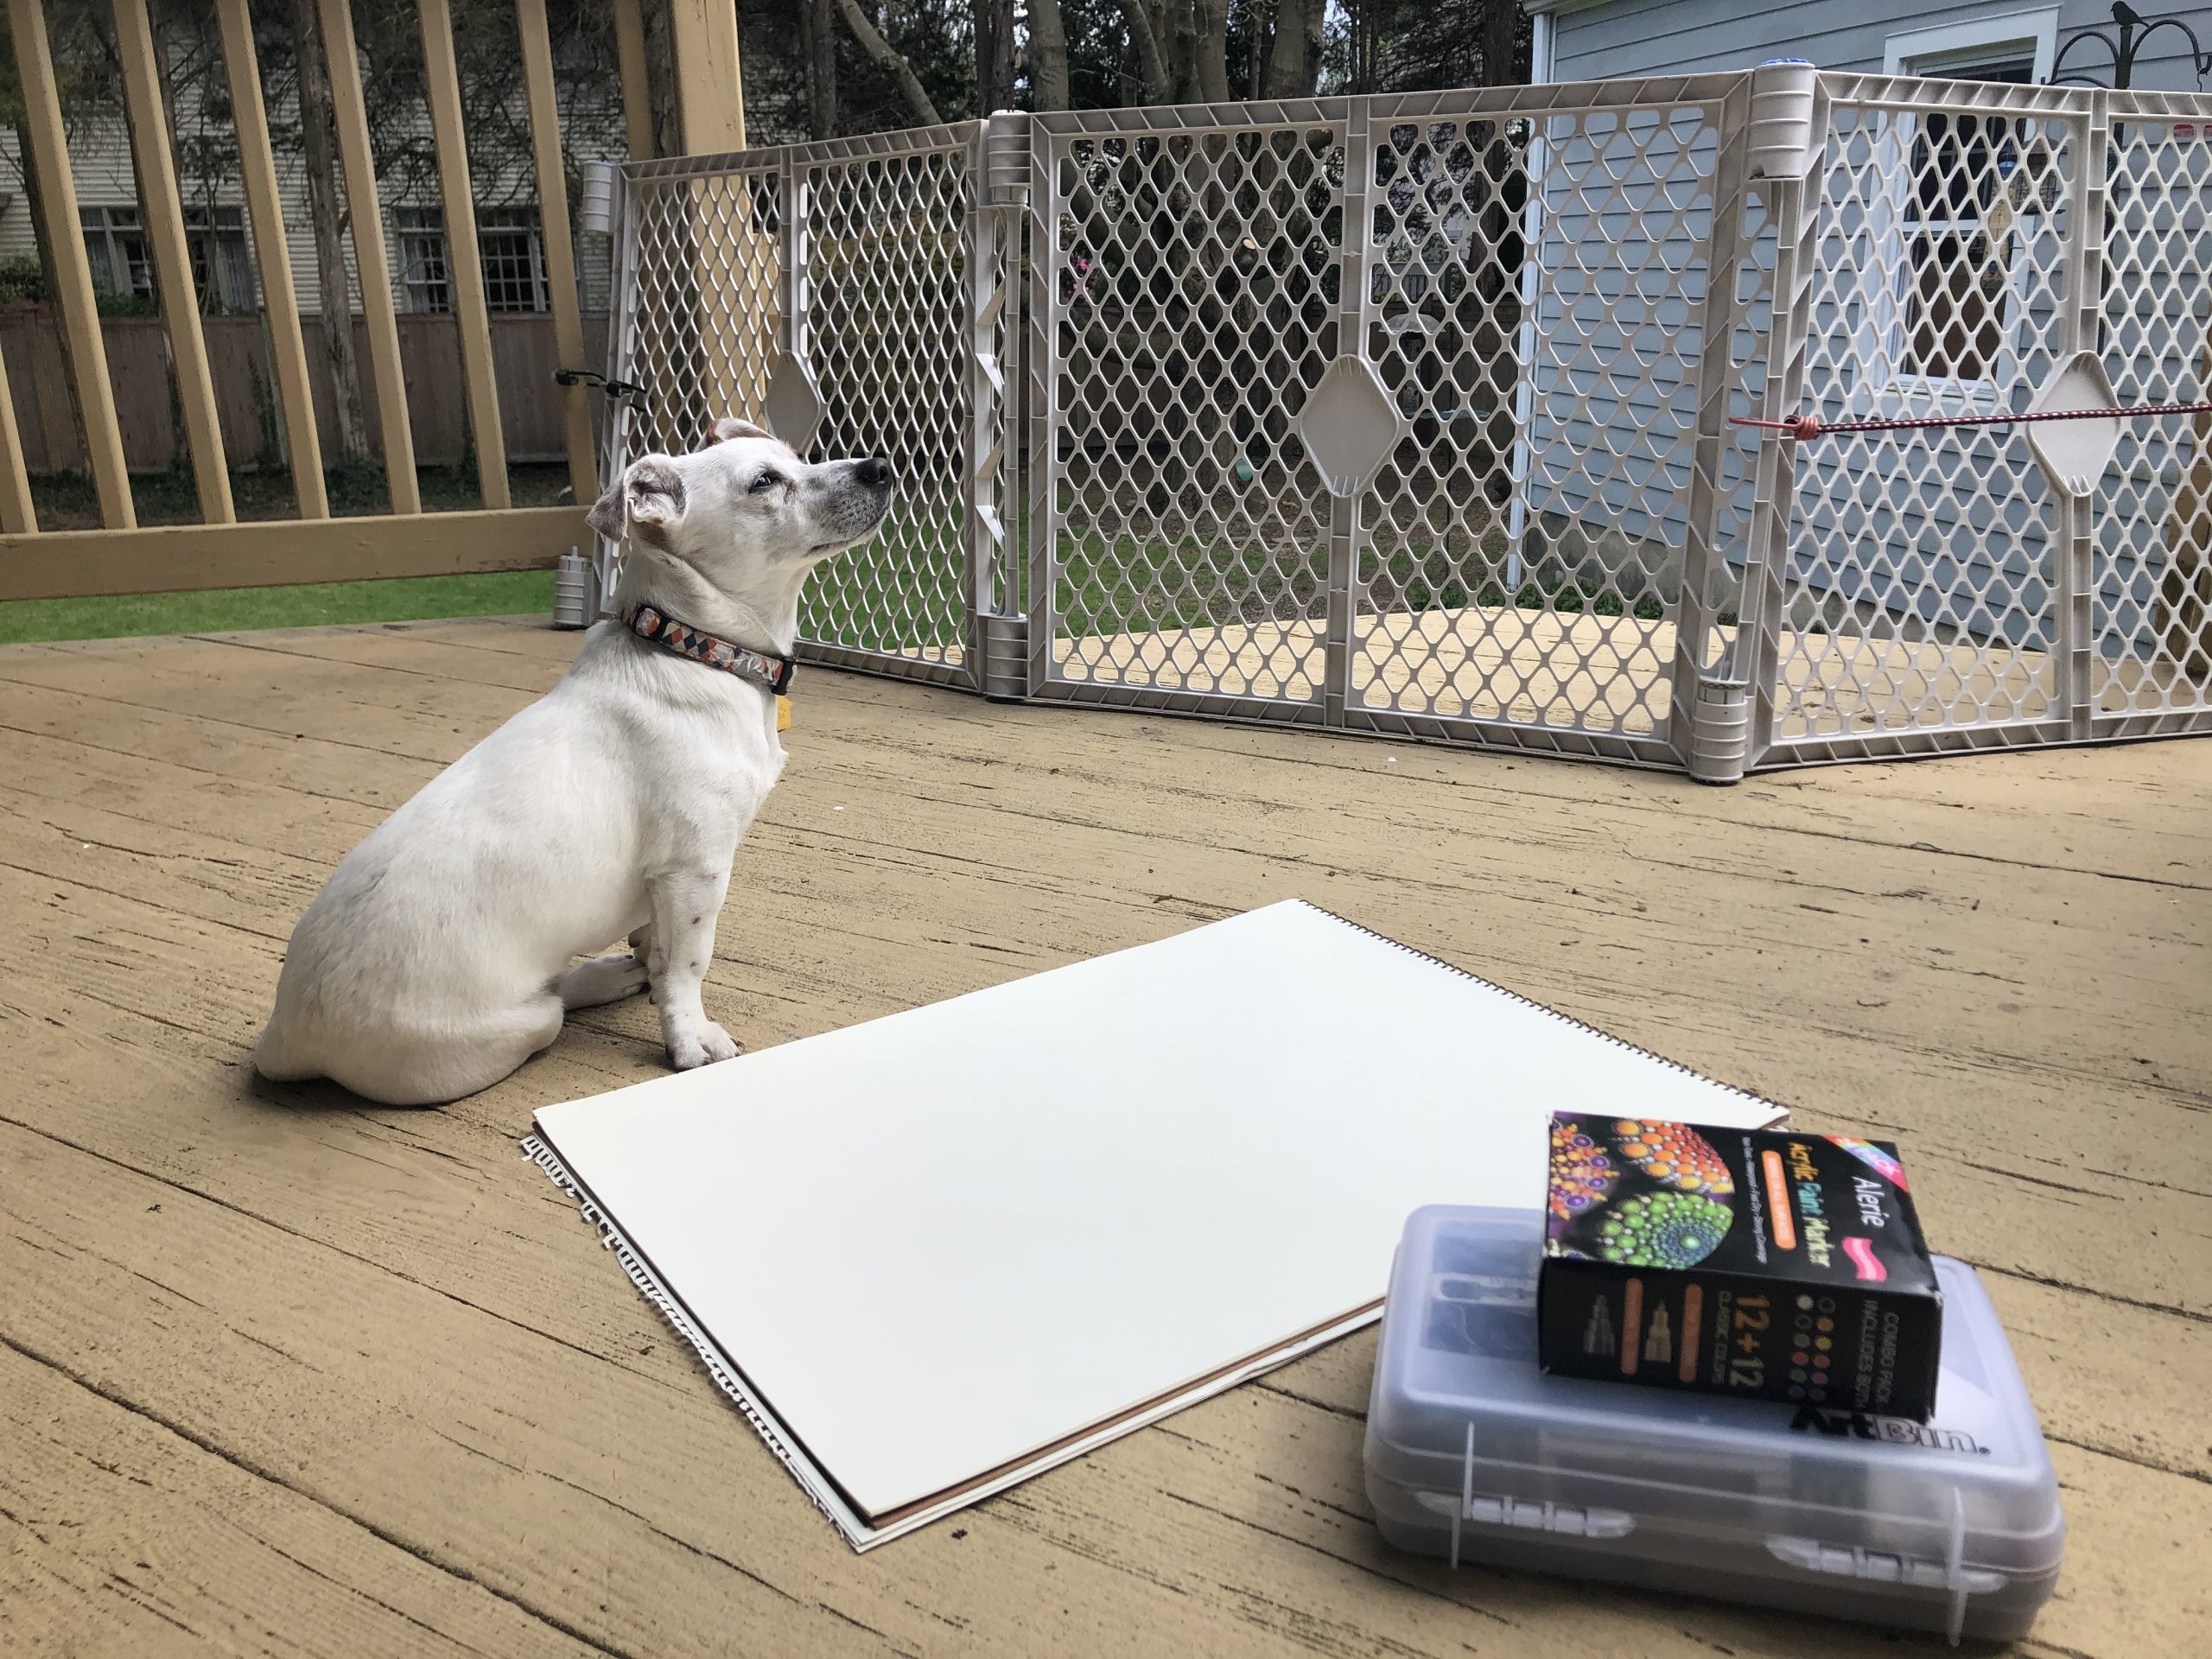
My little dog, Teddy, sat outside with me while I drew. He loves the sun and stepping on my paper. (:
Professor Mark Wethli – Spring 2020
My little dog, Teddy, sat outside with me while I drew. He loves the sun and stepping on my paper. (:
Acrylic Paint Marker on Paper, 24 x 18 inches
X
Acrylic Paint Marker on Paper, 18 x 24 inches
X (like others in the class, I think this is a better drawing than you do, but don’t include it if it doesn’t do the trick for you)
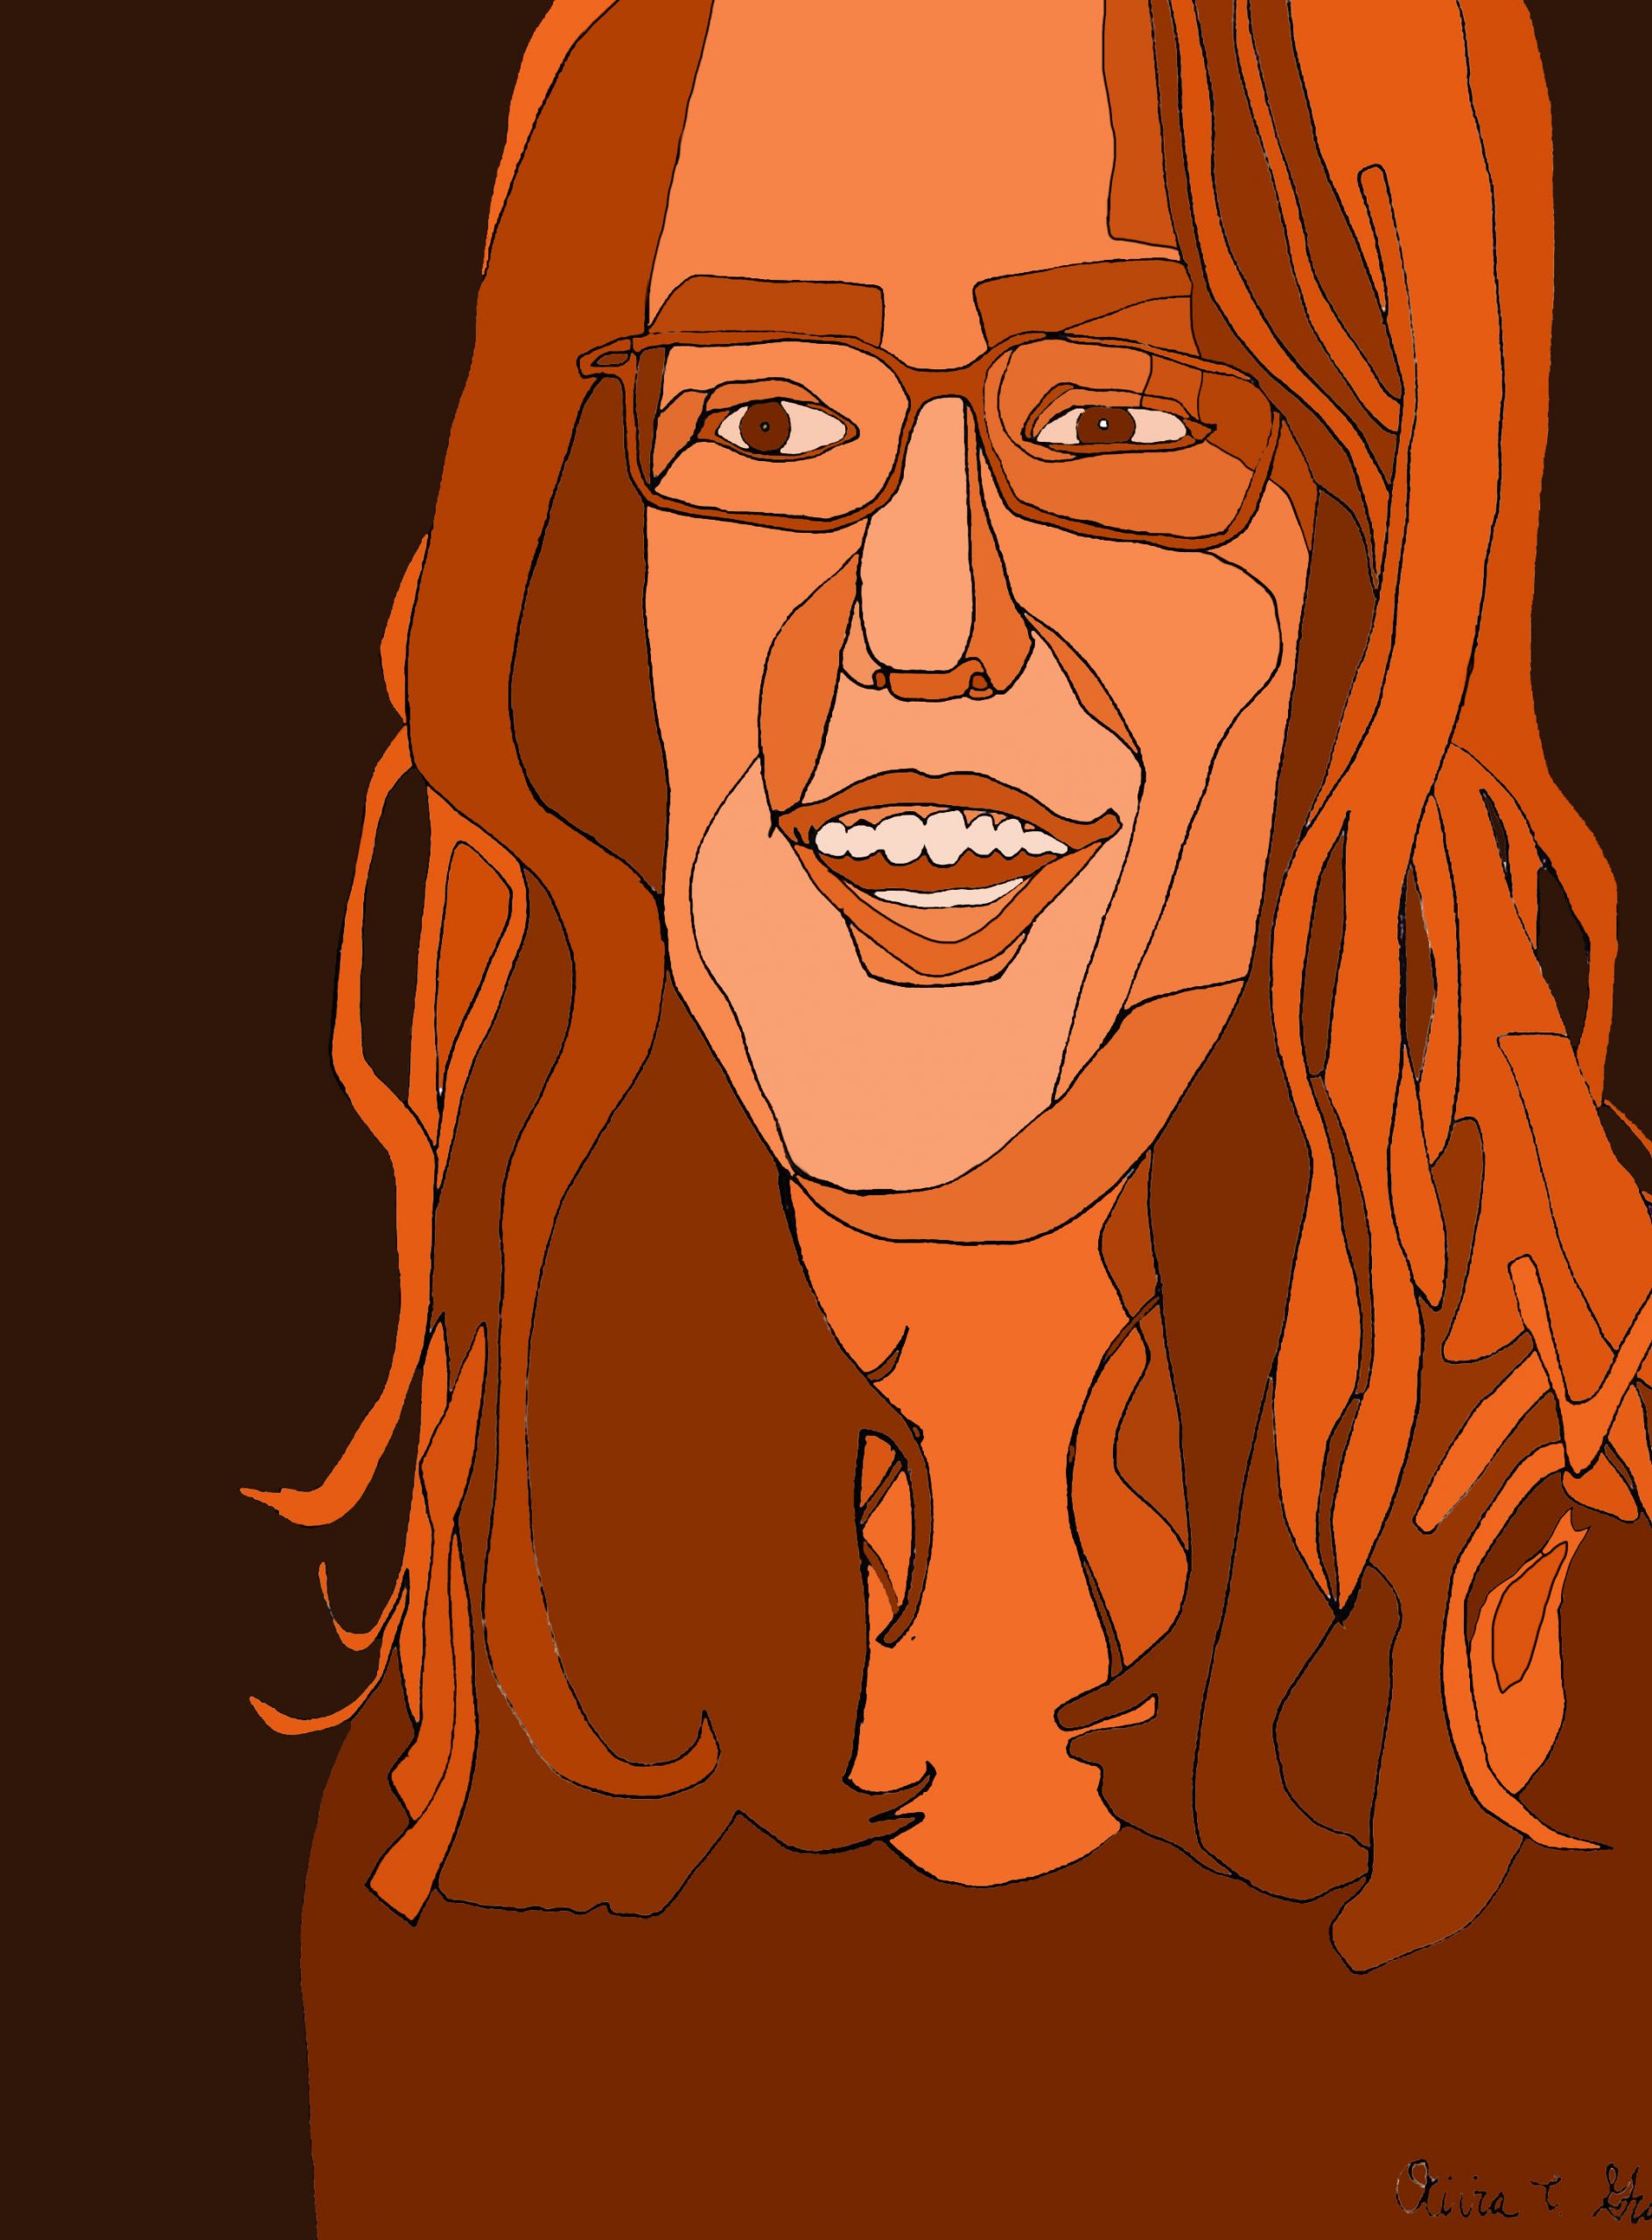
Acrylic Paint Marker on Paper, edited in Photoshop, 24 x 18 inches
X
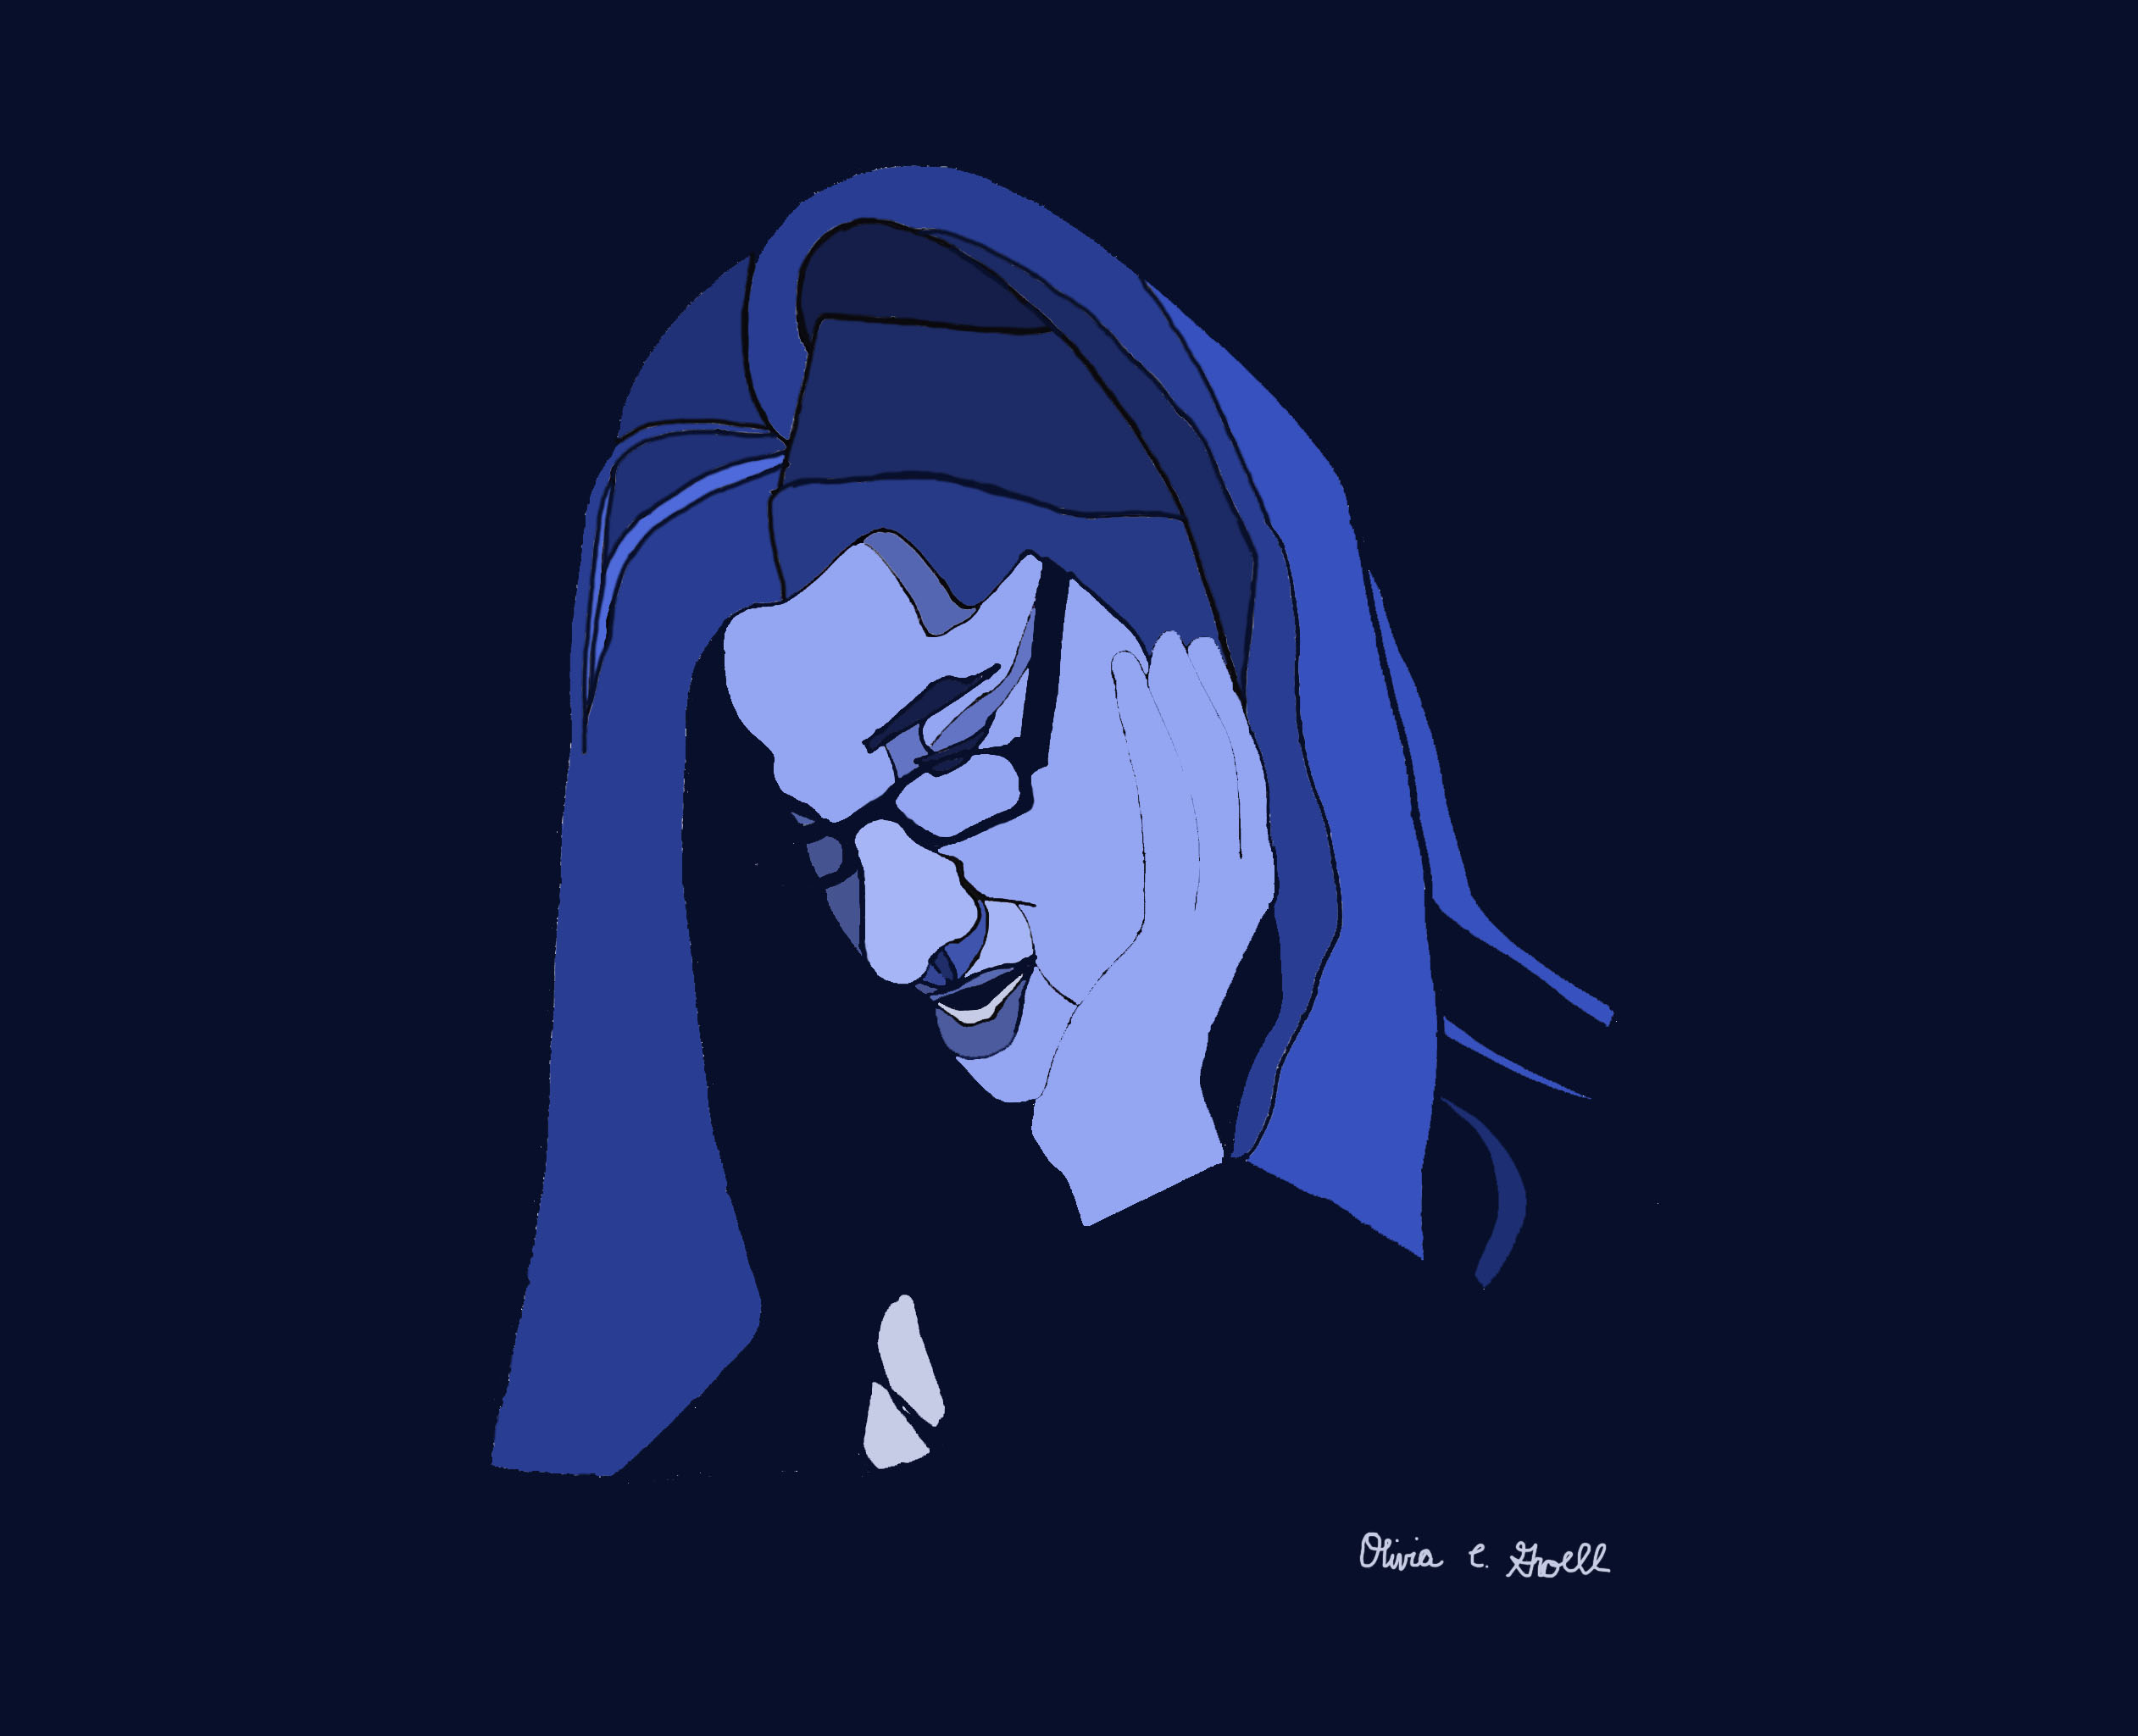
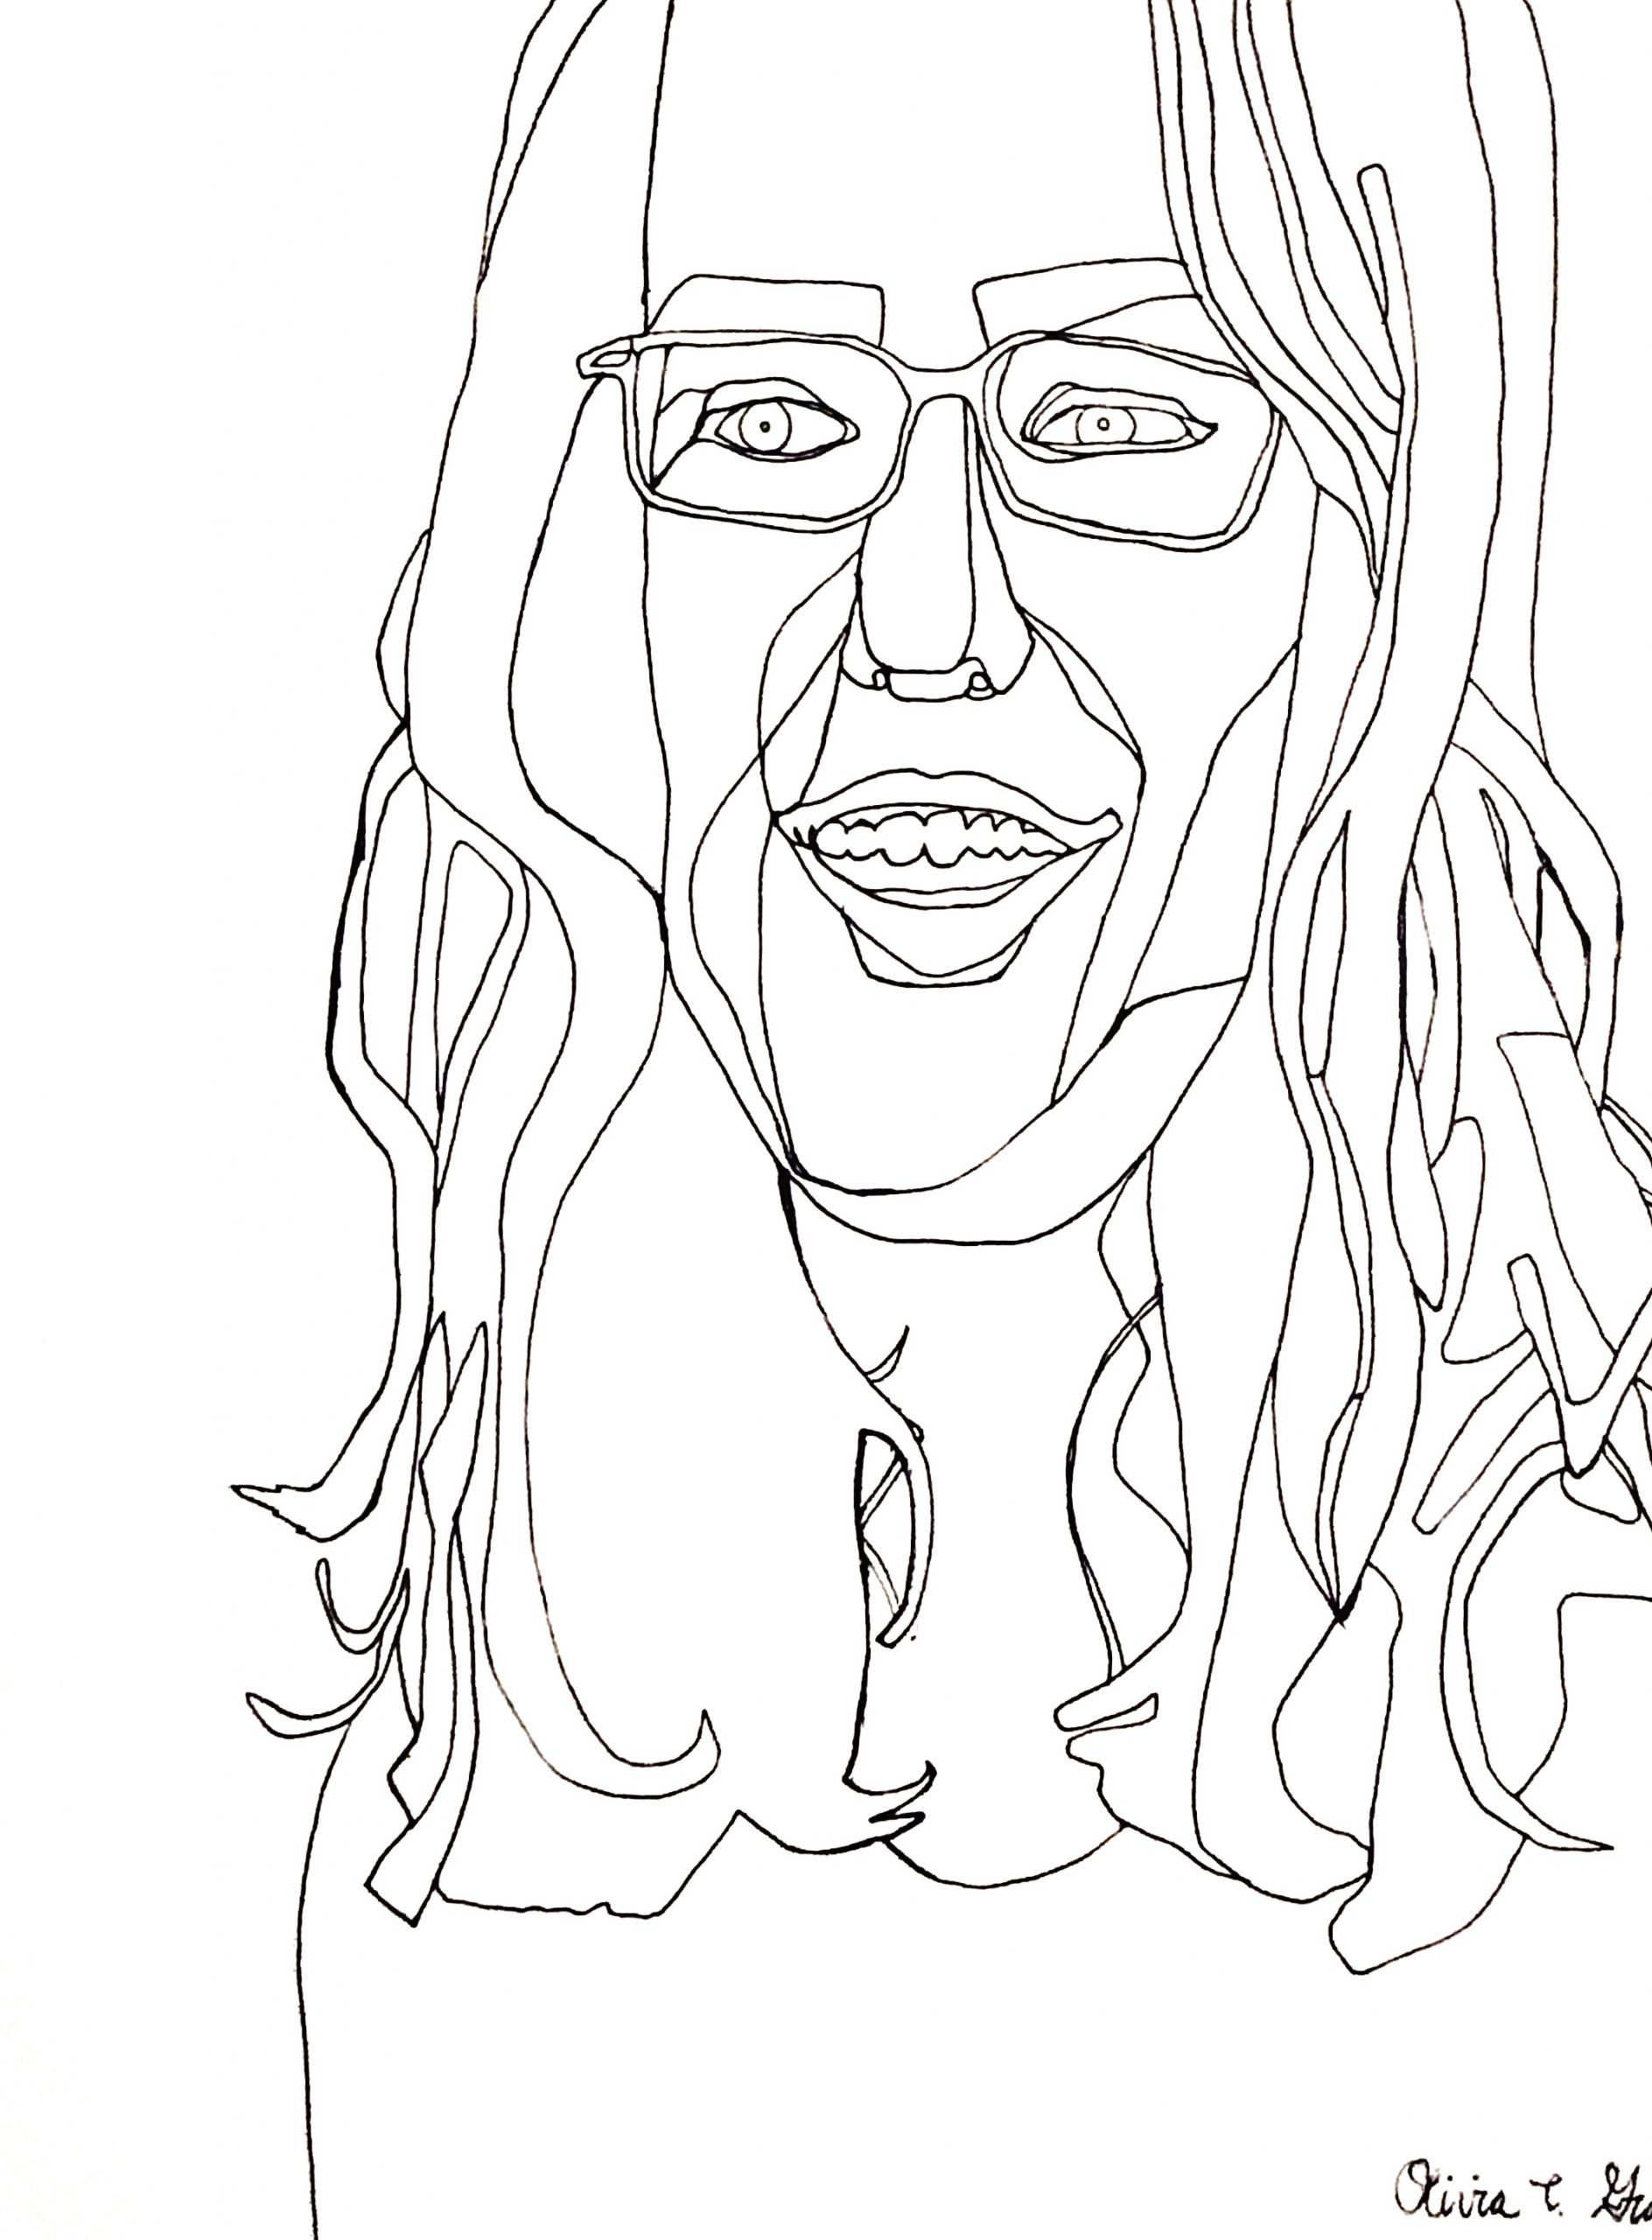
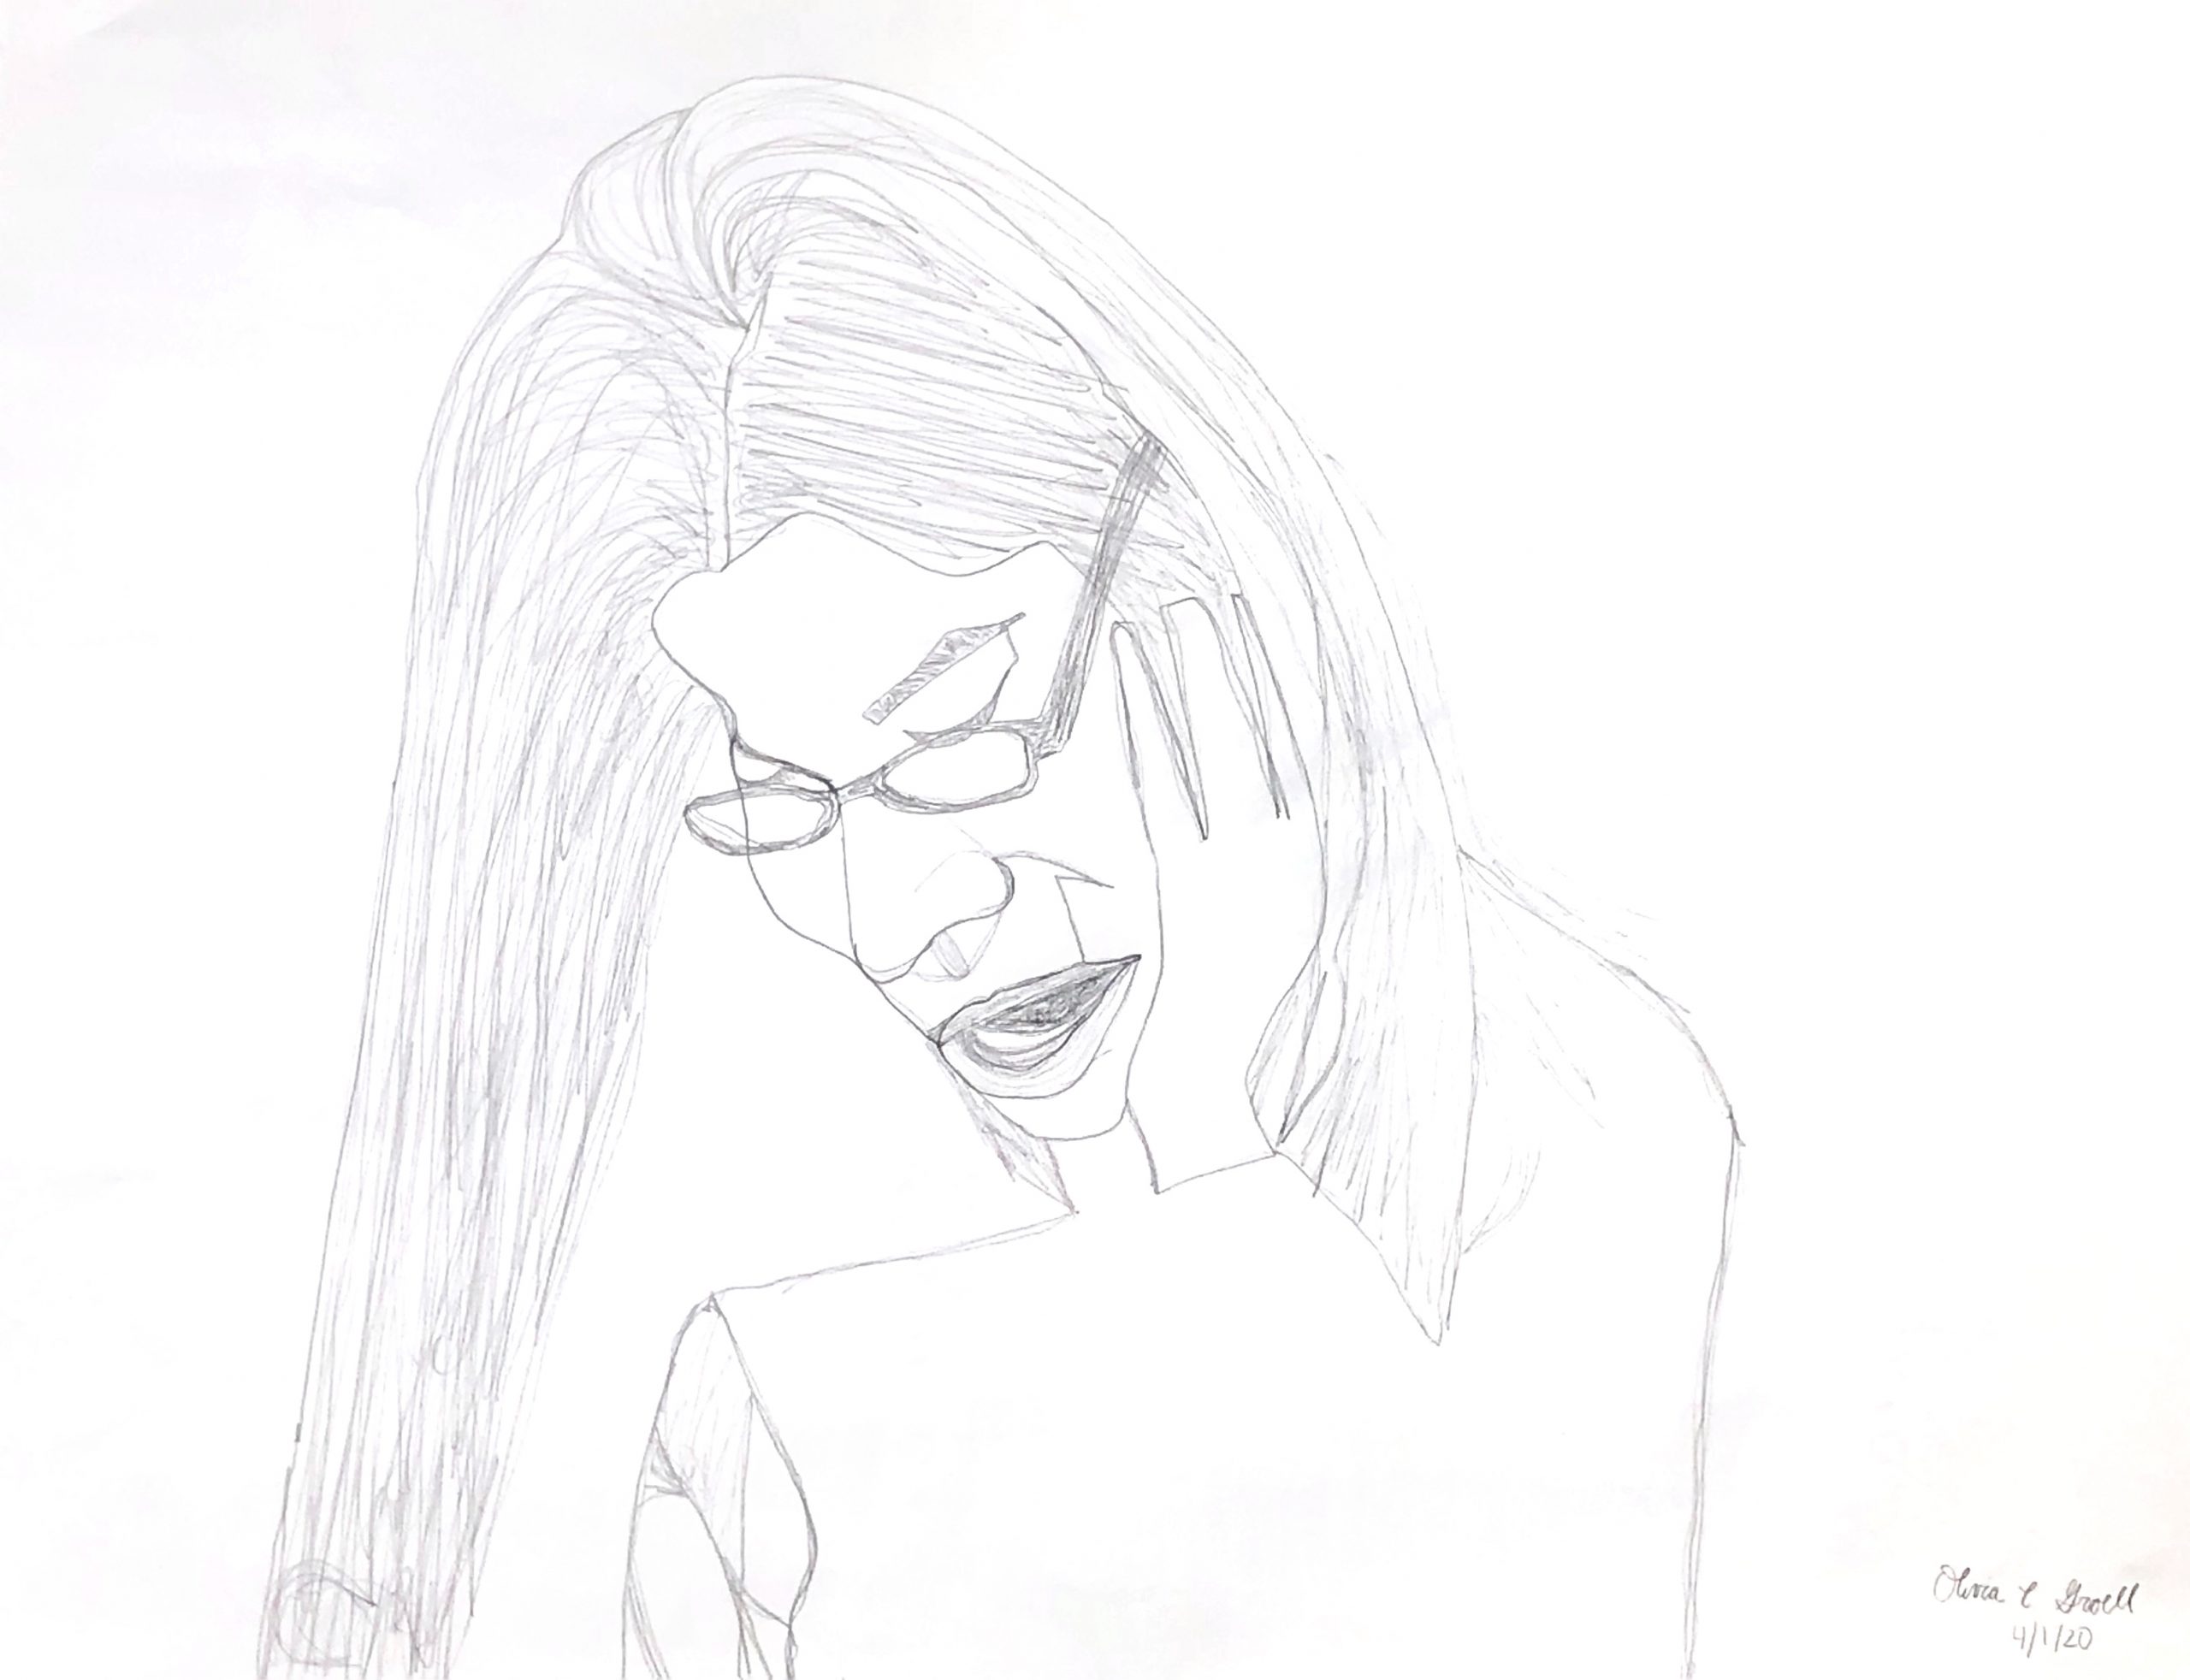
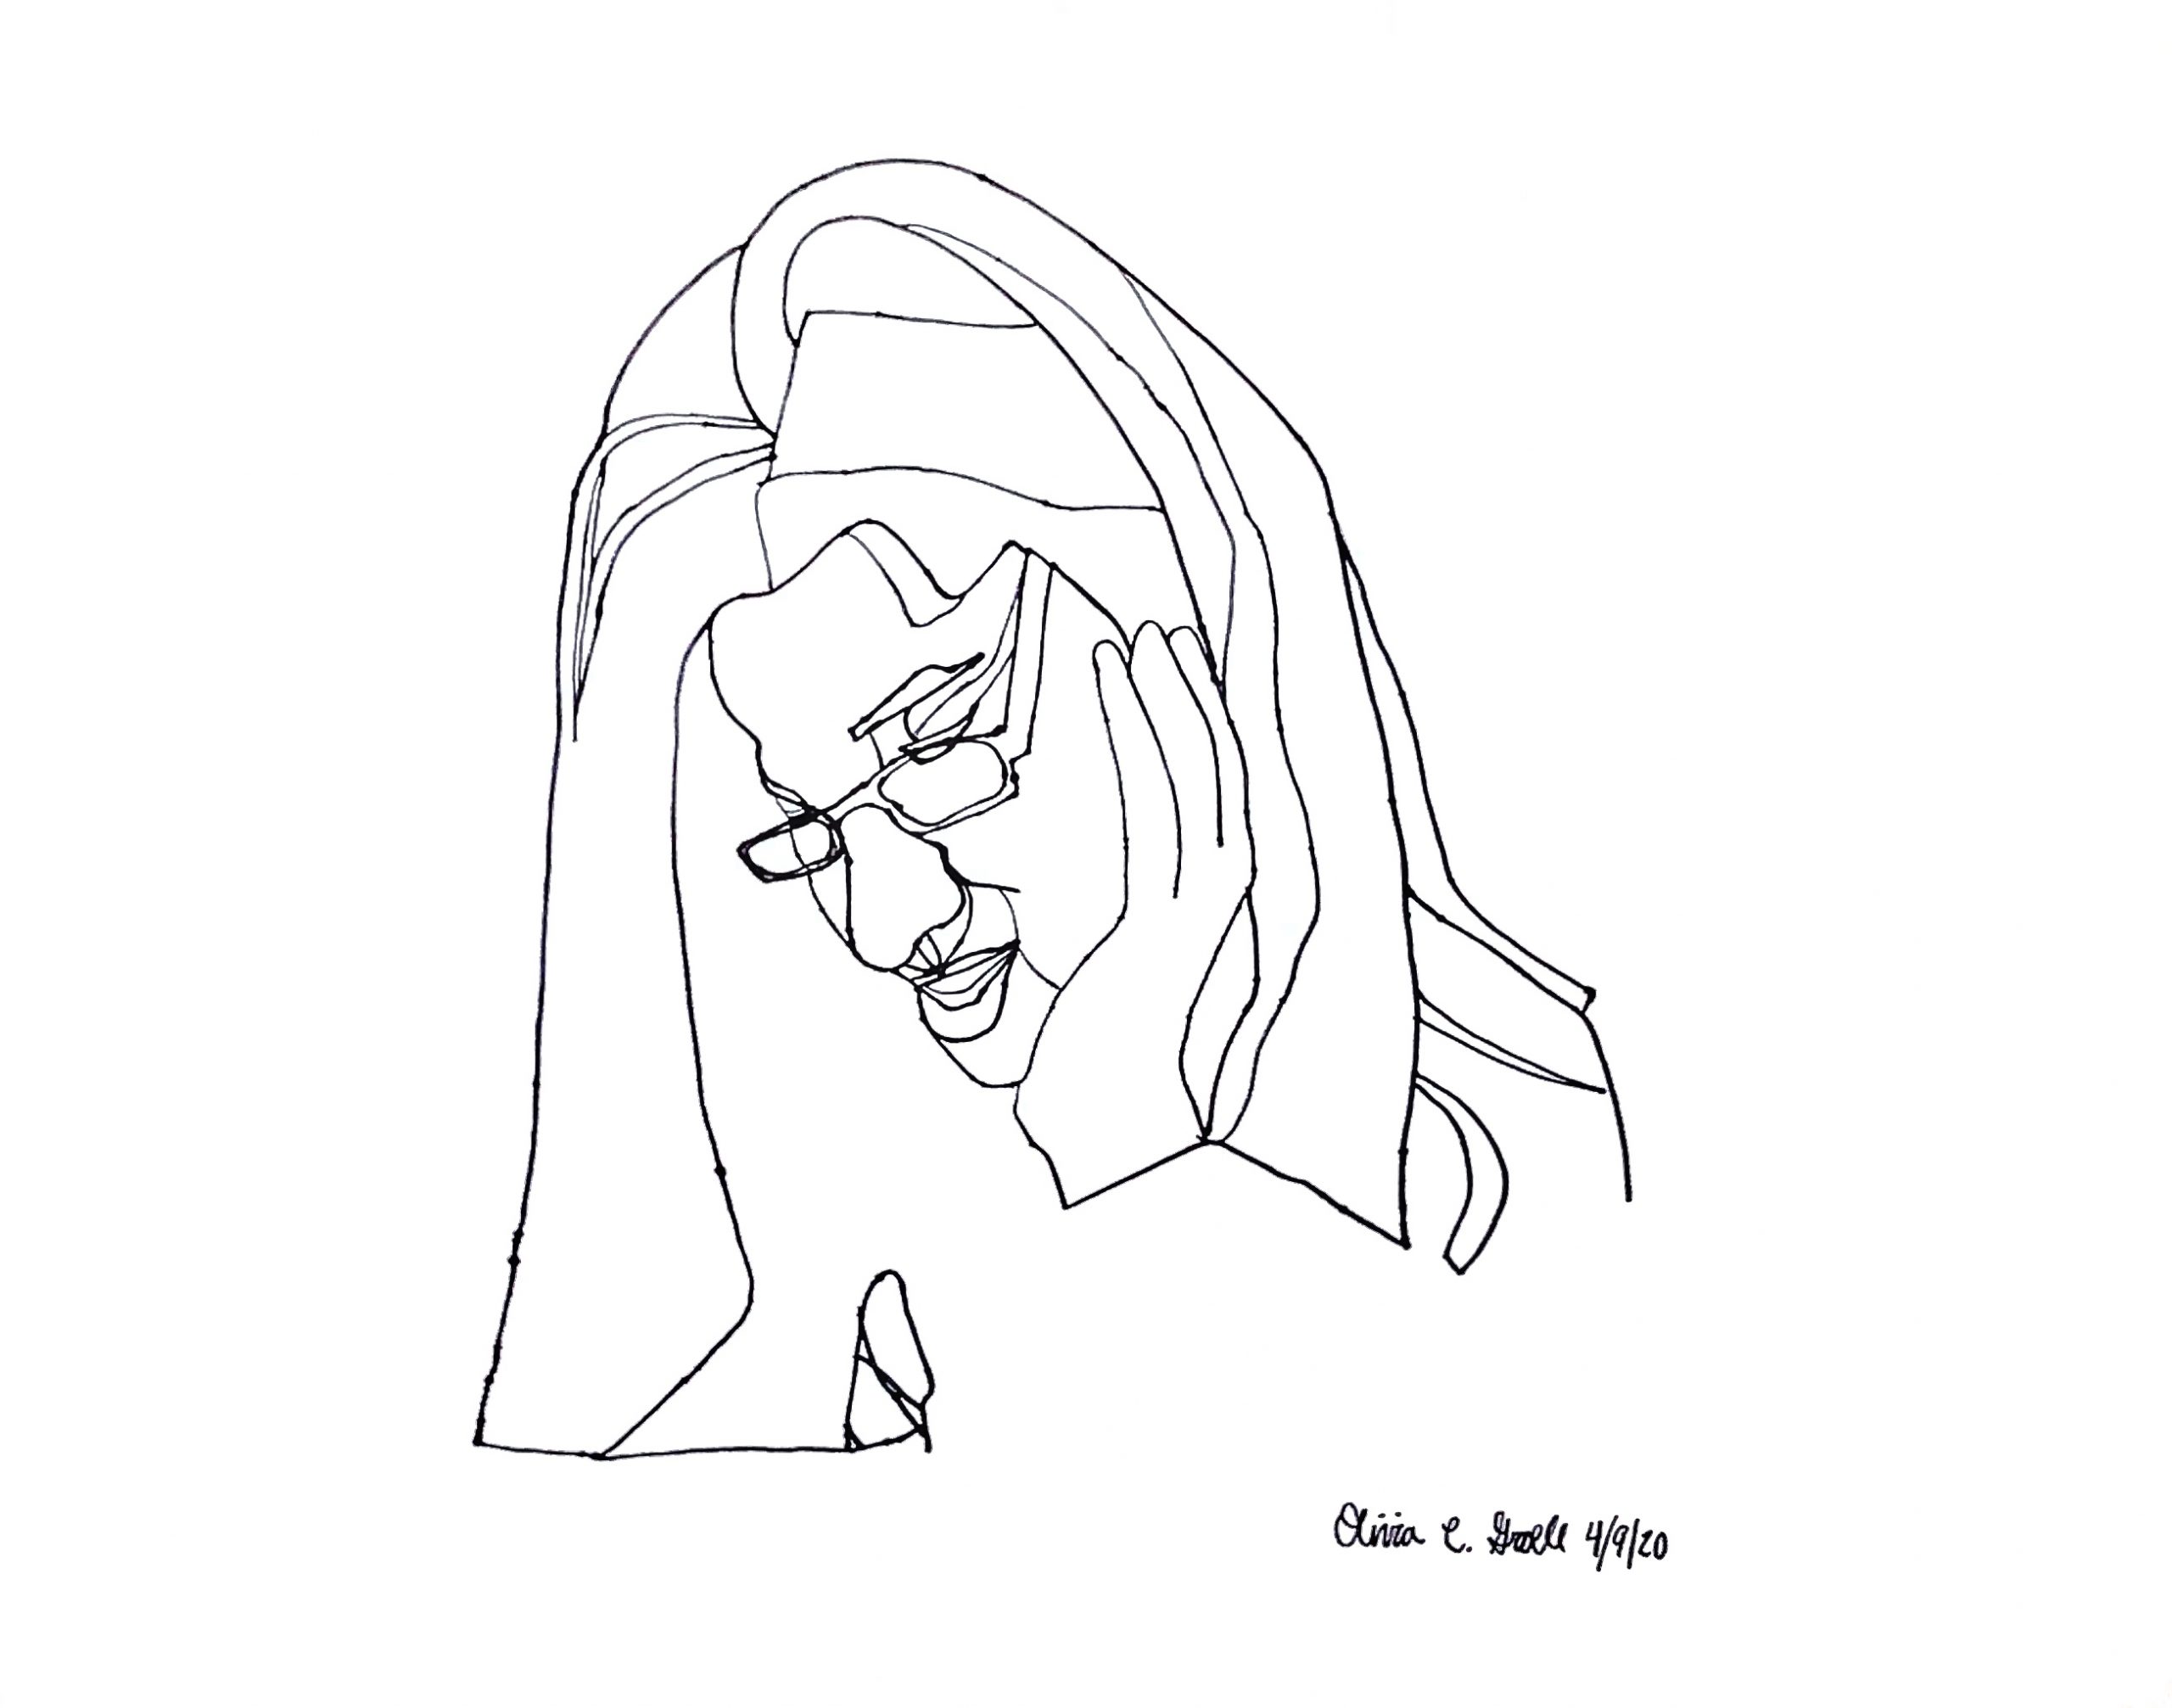
Sharpie on Paper, edited in Photoshop, 17 1/2 x 22 1/2 inches
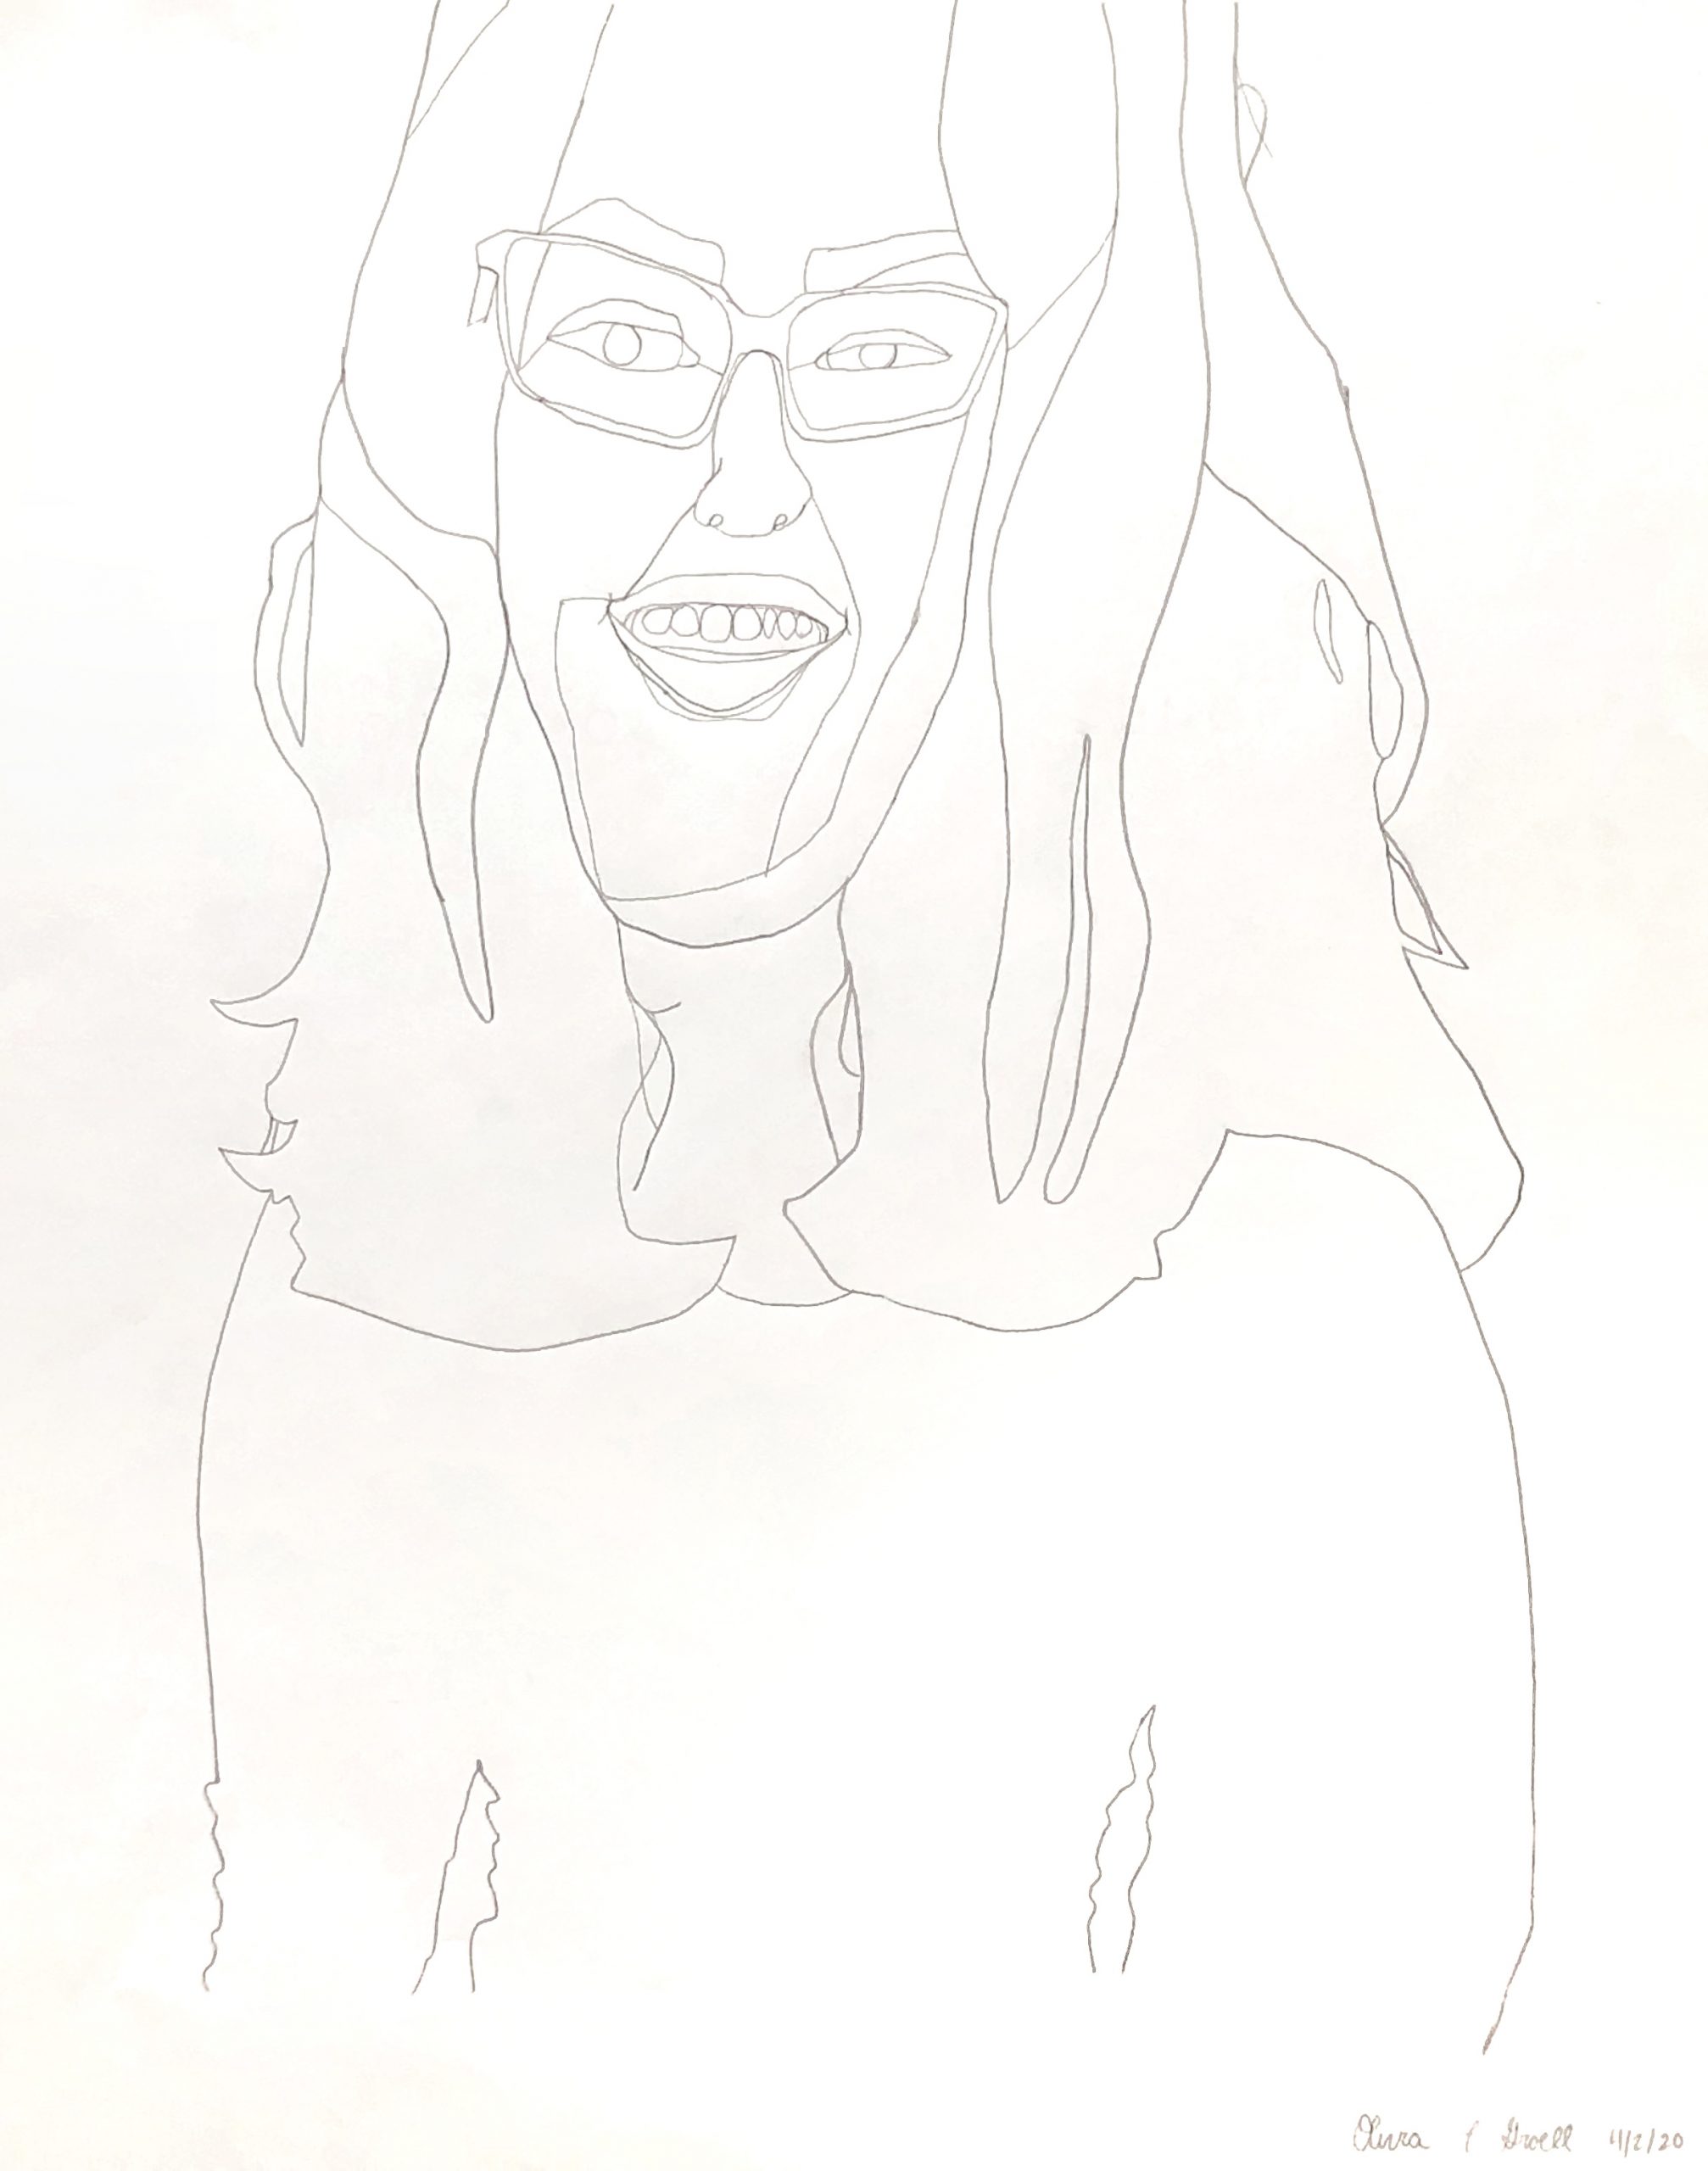
I think the line drawing of this works better because of its positive/negative space ambiguity. This version pins that down and disrupts the visual play. It might still work by defining what rectangle she’s in (like we talked about) but the line between the hand and the face needs to be stronger as well.
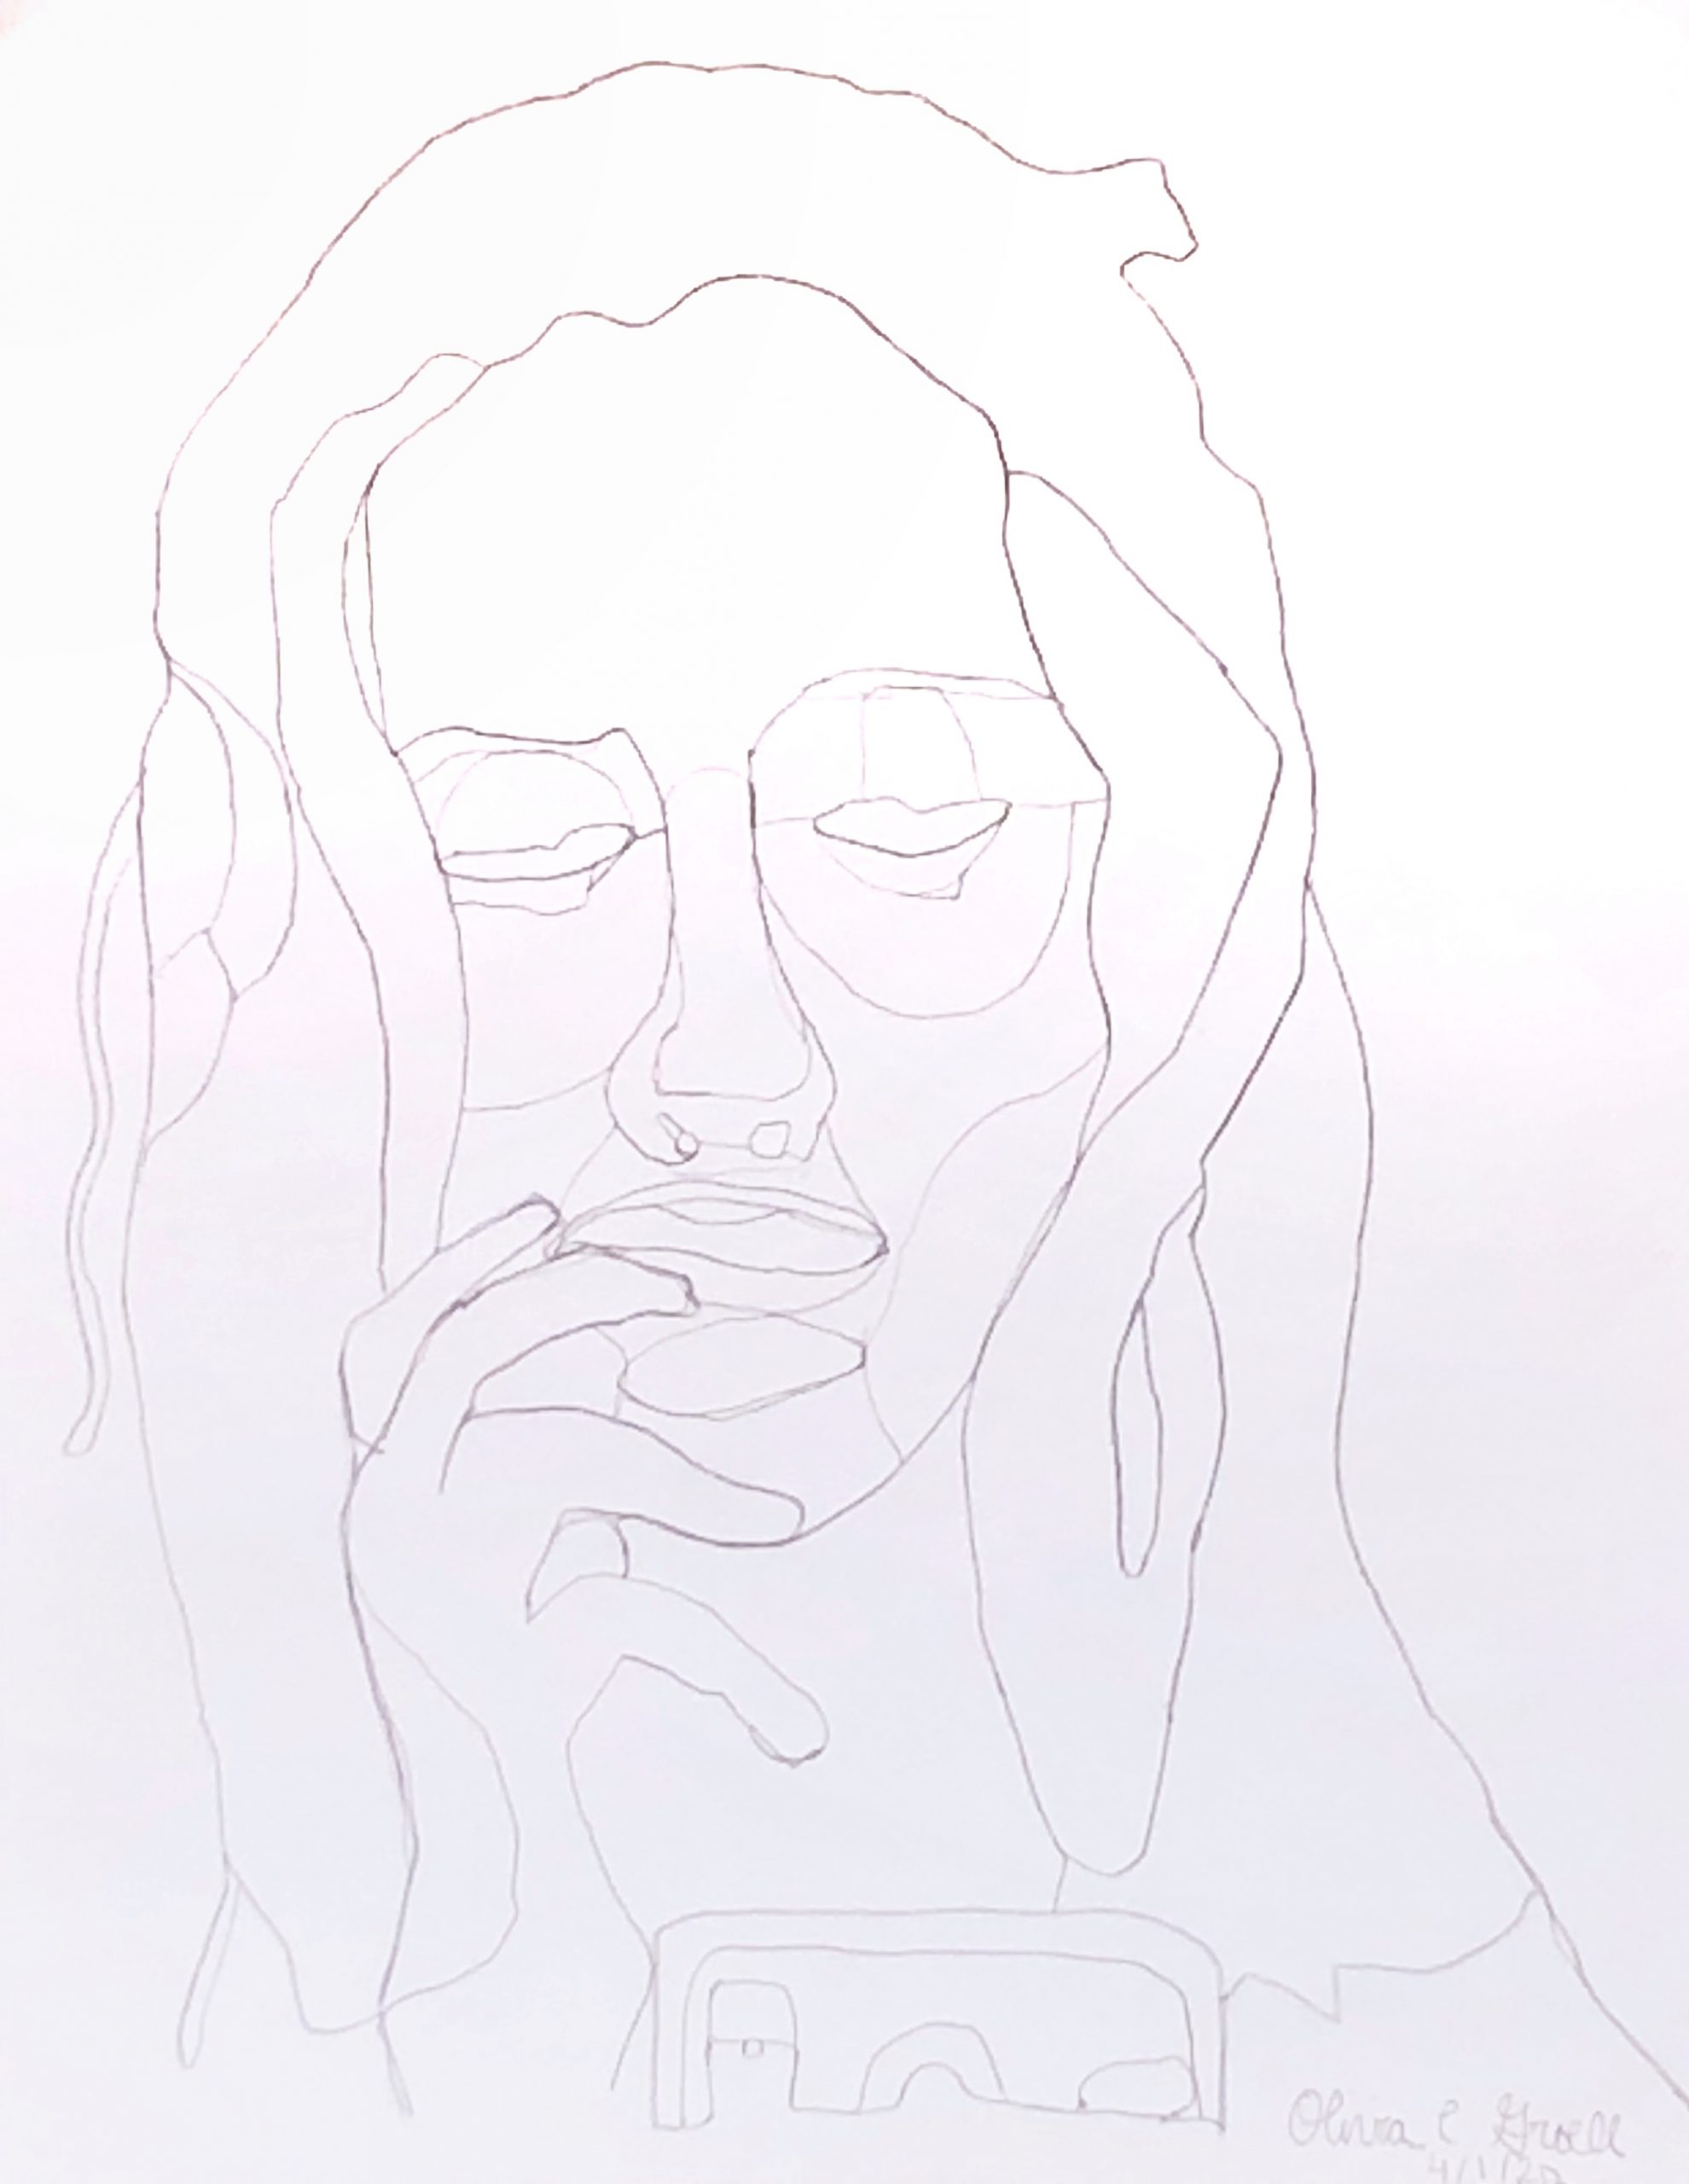
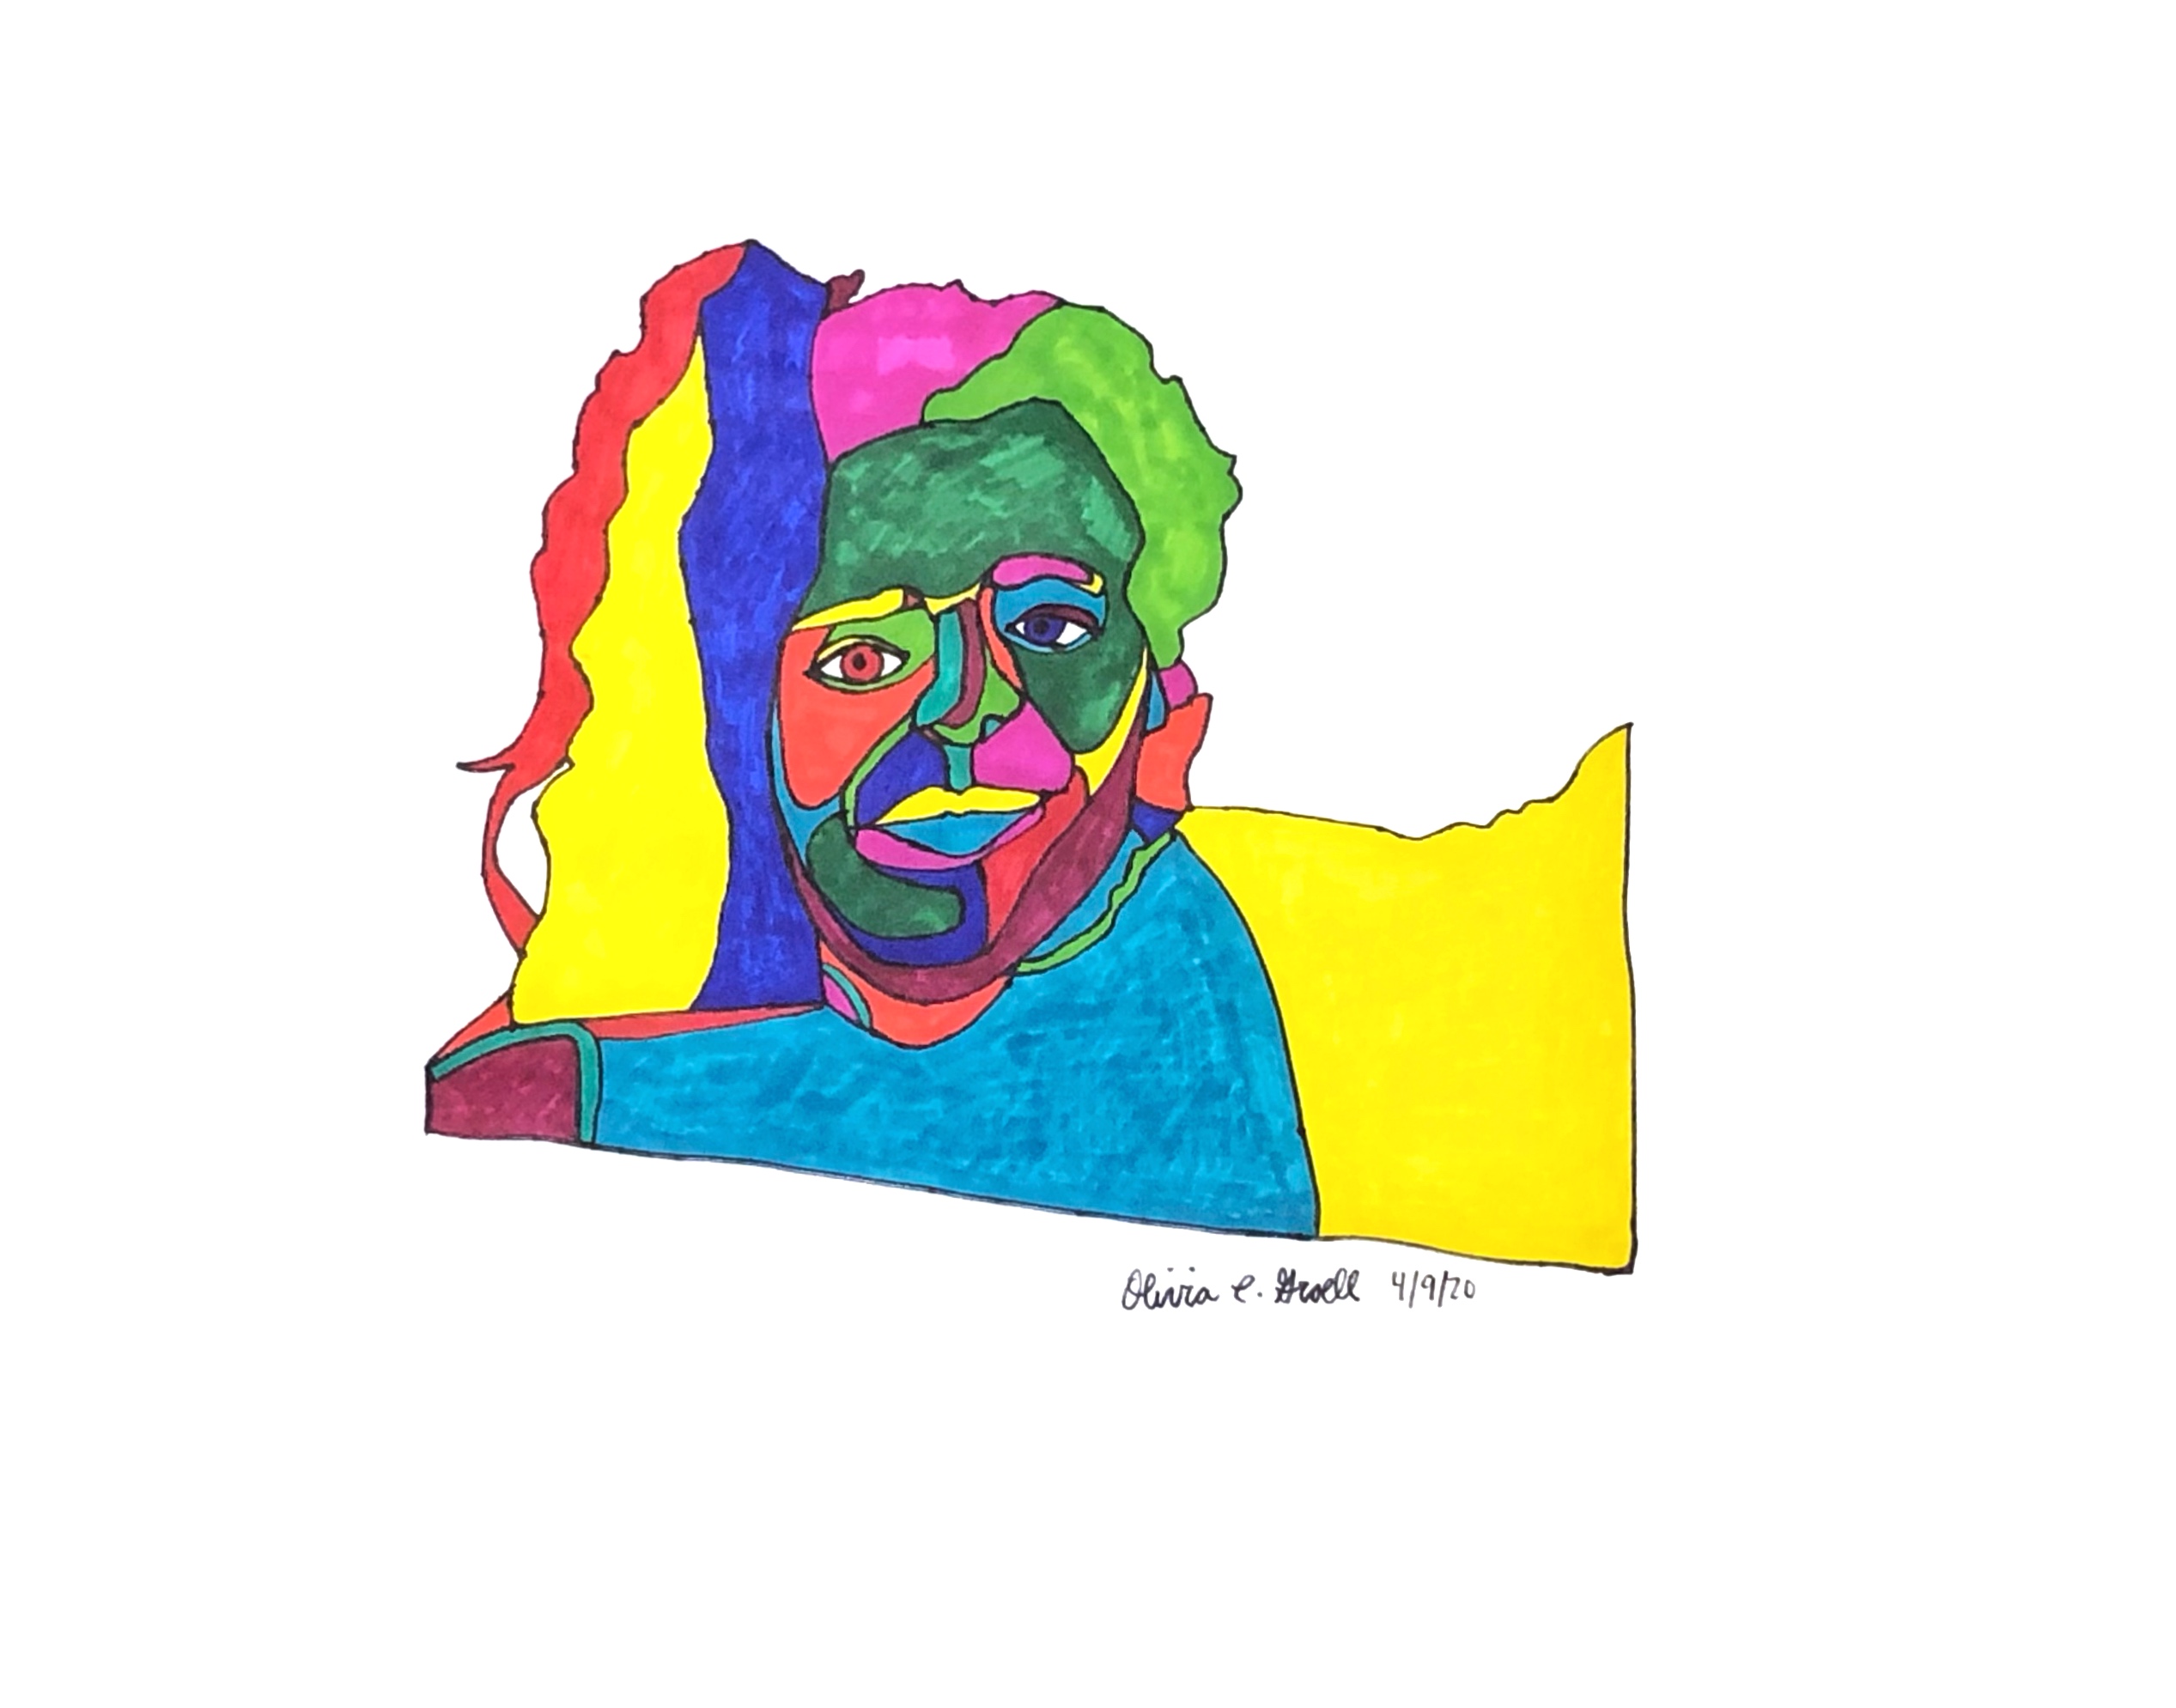
Acrylic Paint Marker on Paper, edited in Photoshop, 17 1/2 x 22 1/2 inches
X
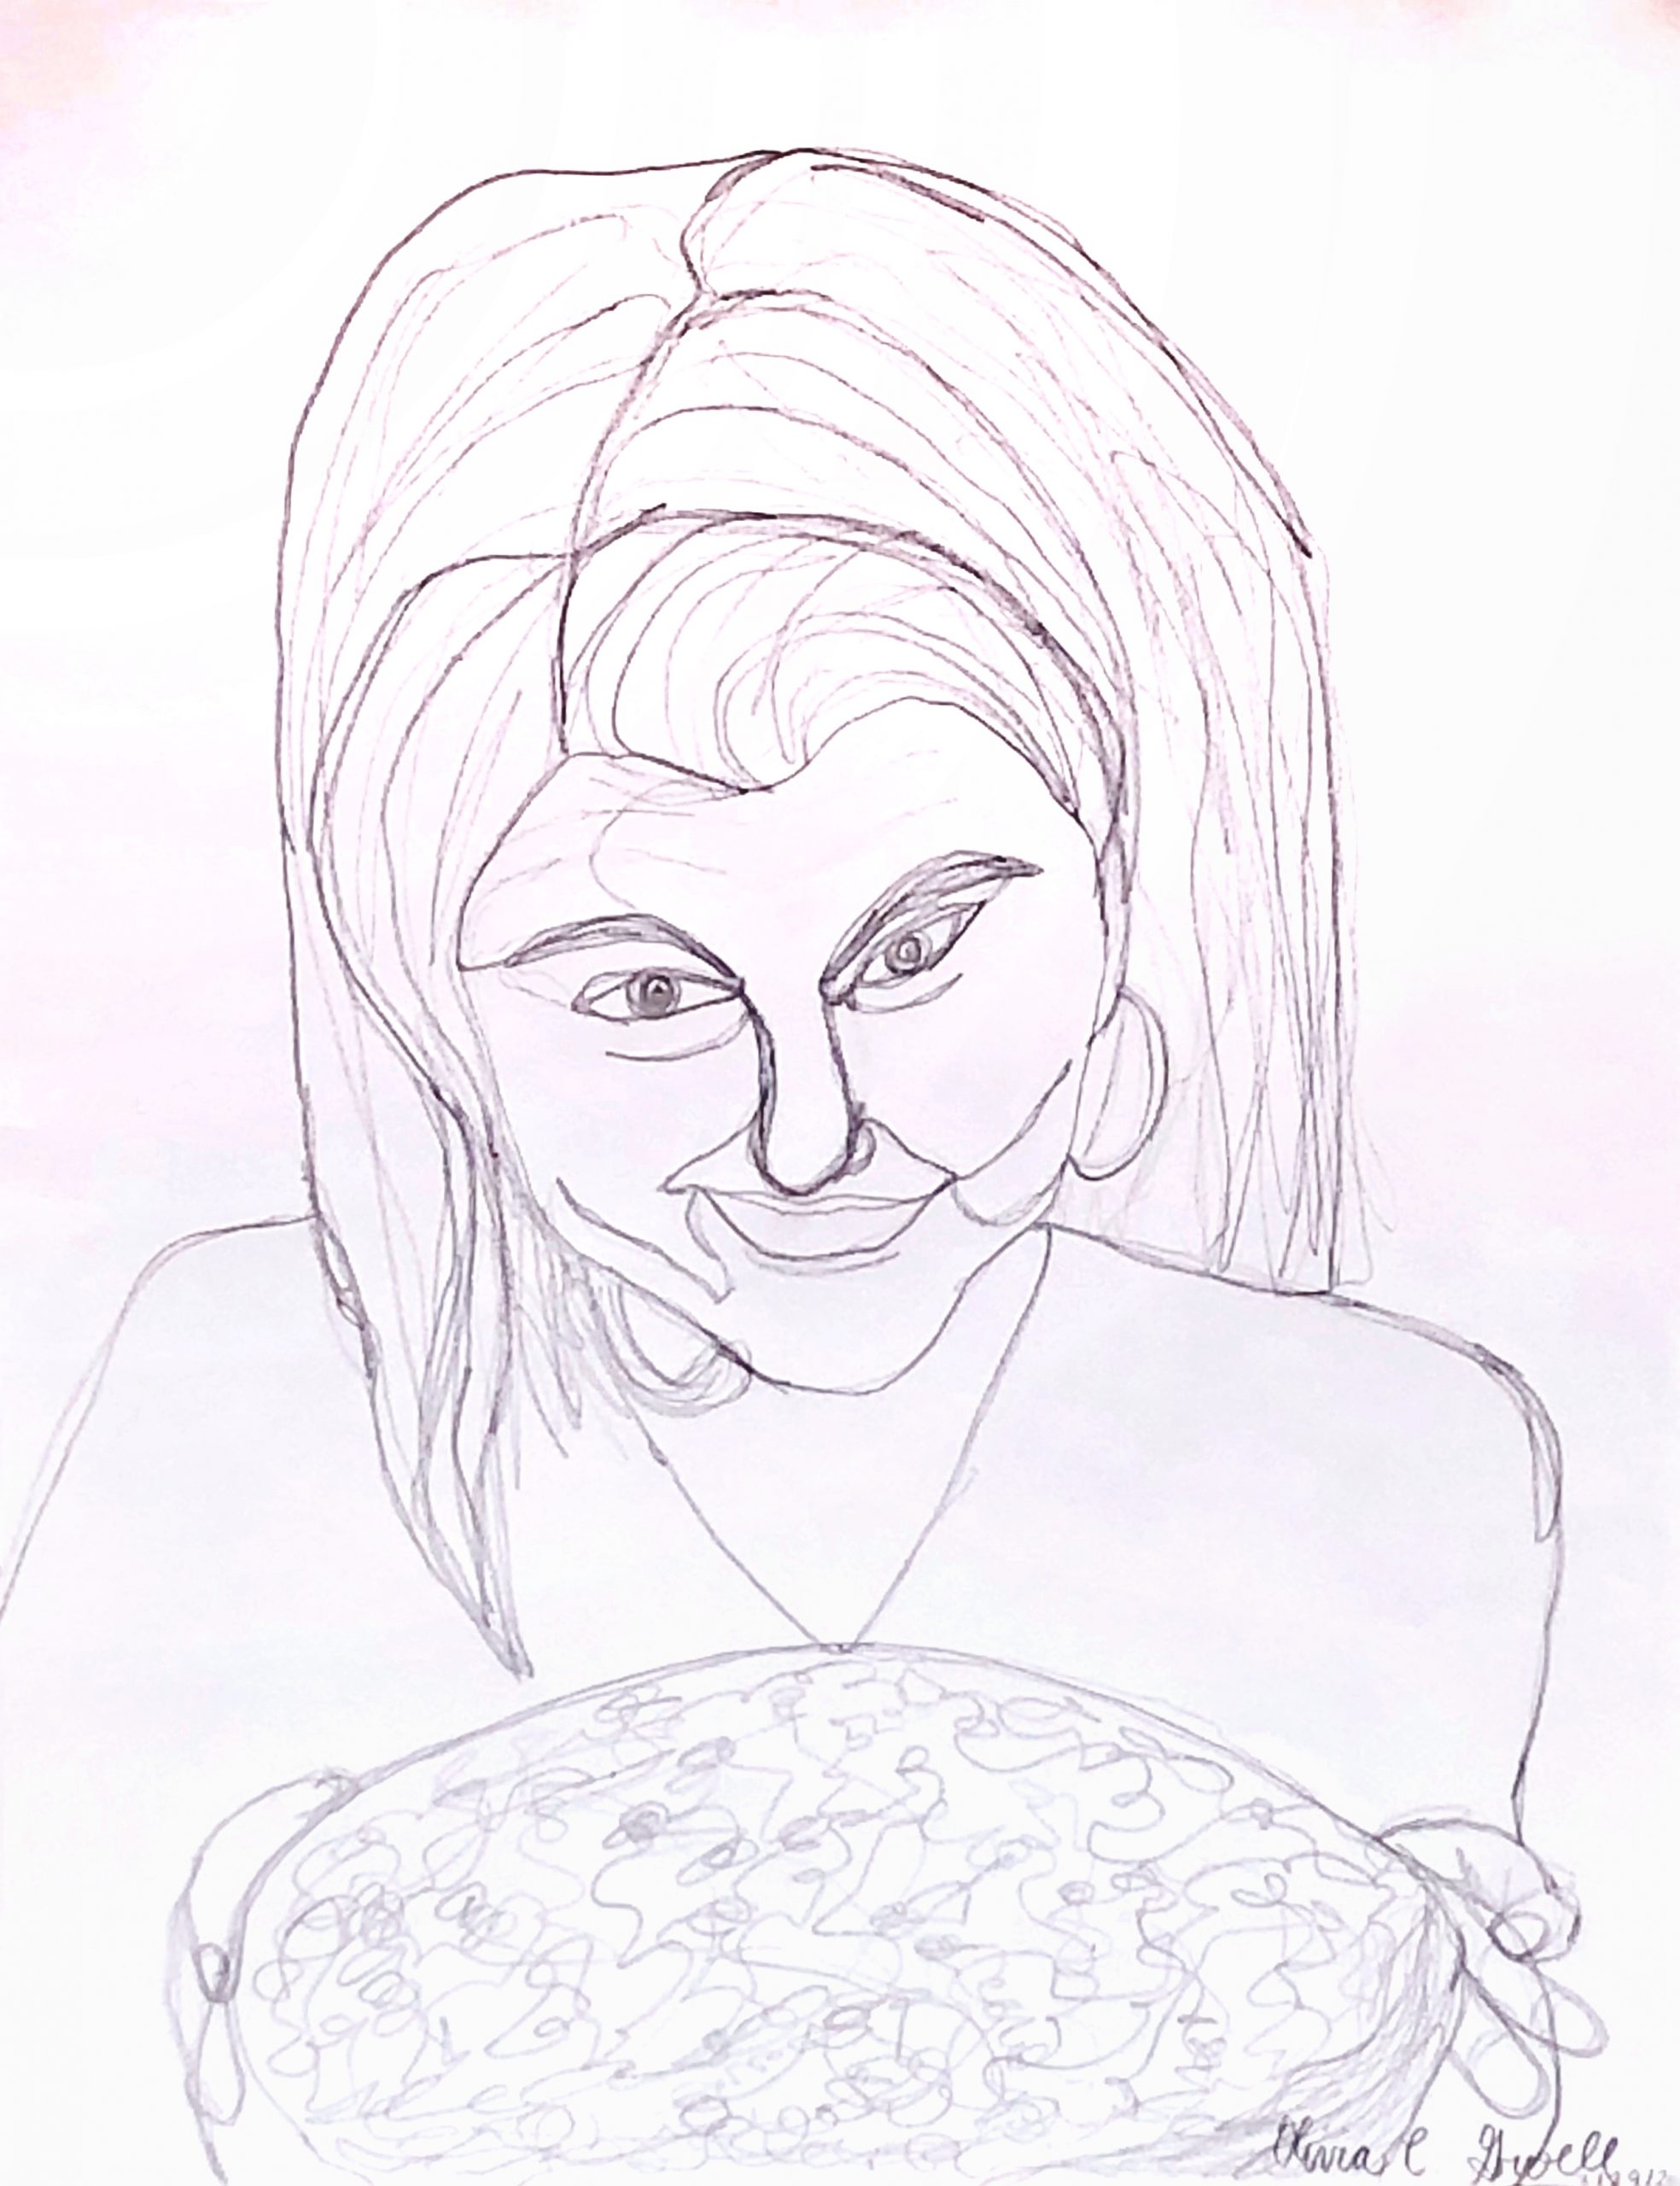
Acrylic Paint Marker on Paper, 24 x 18 inches
X
X
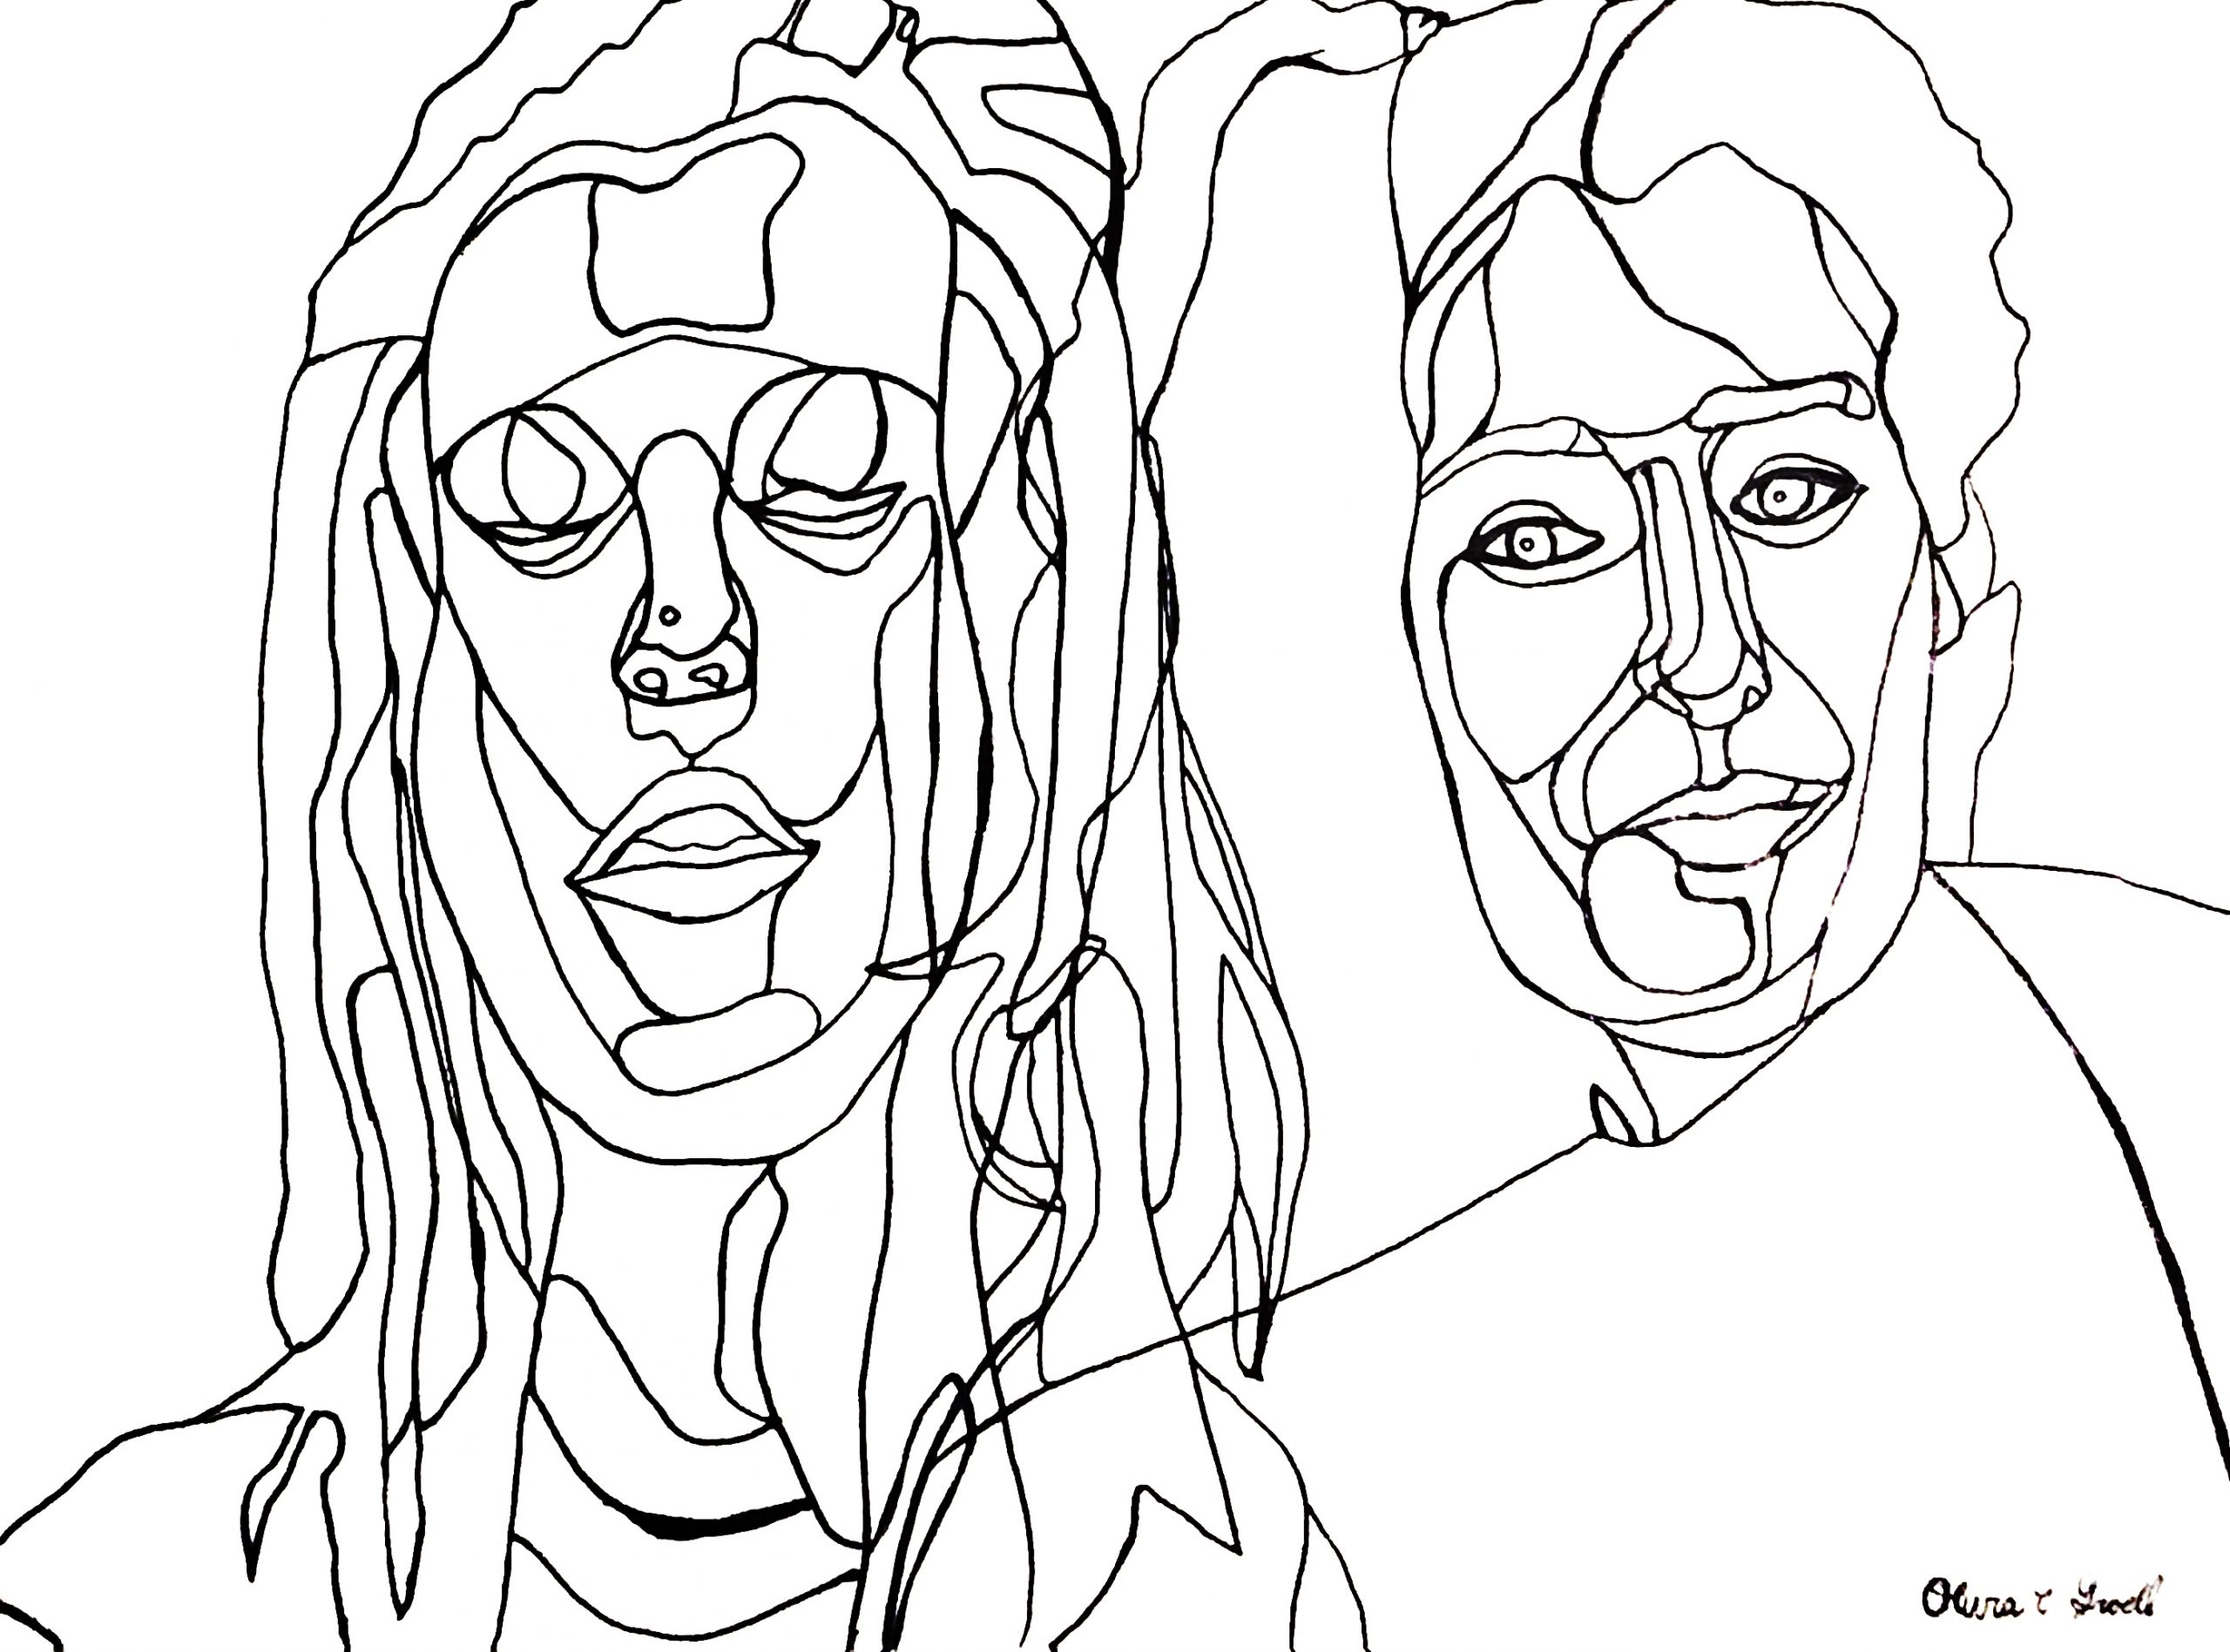
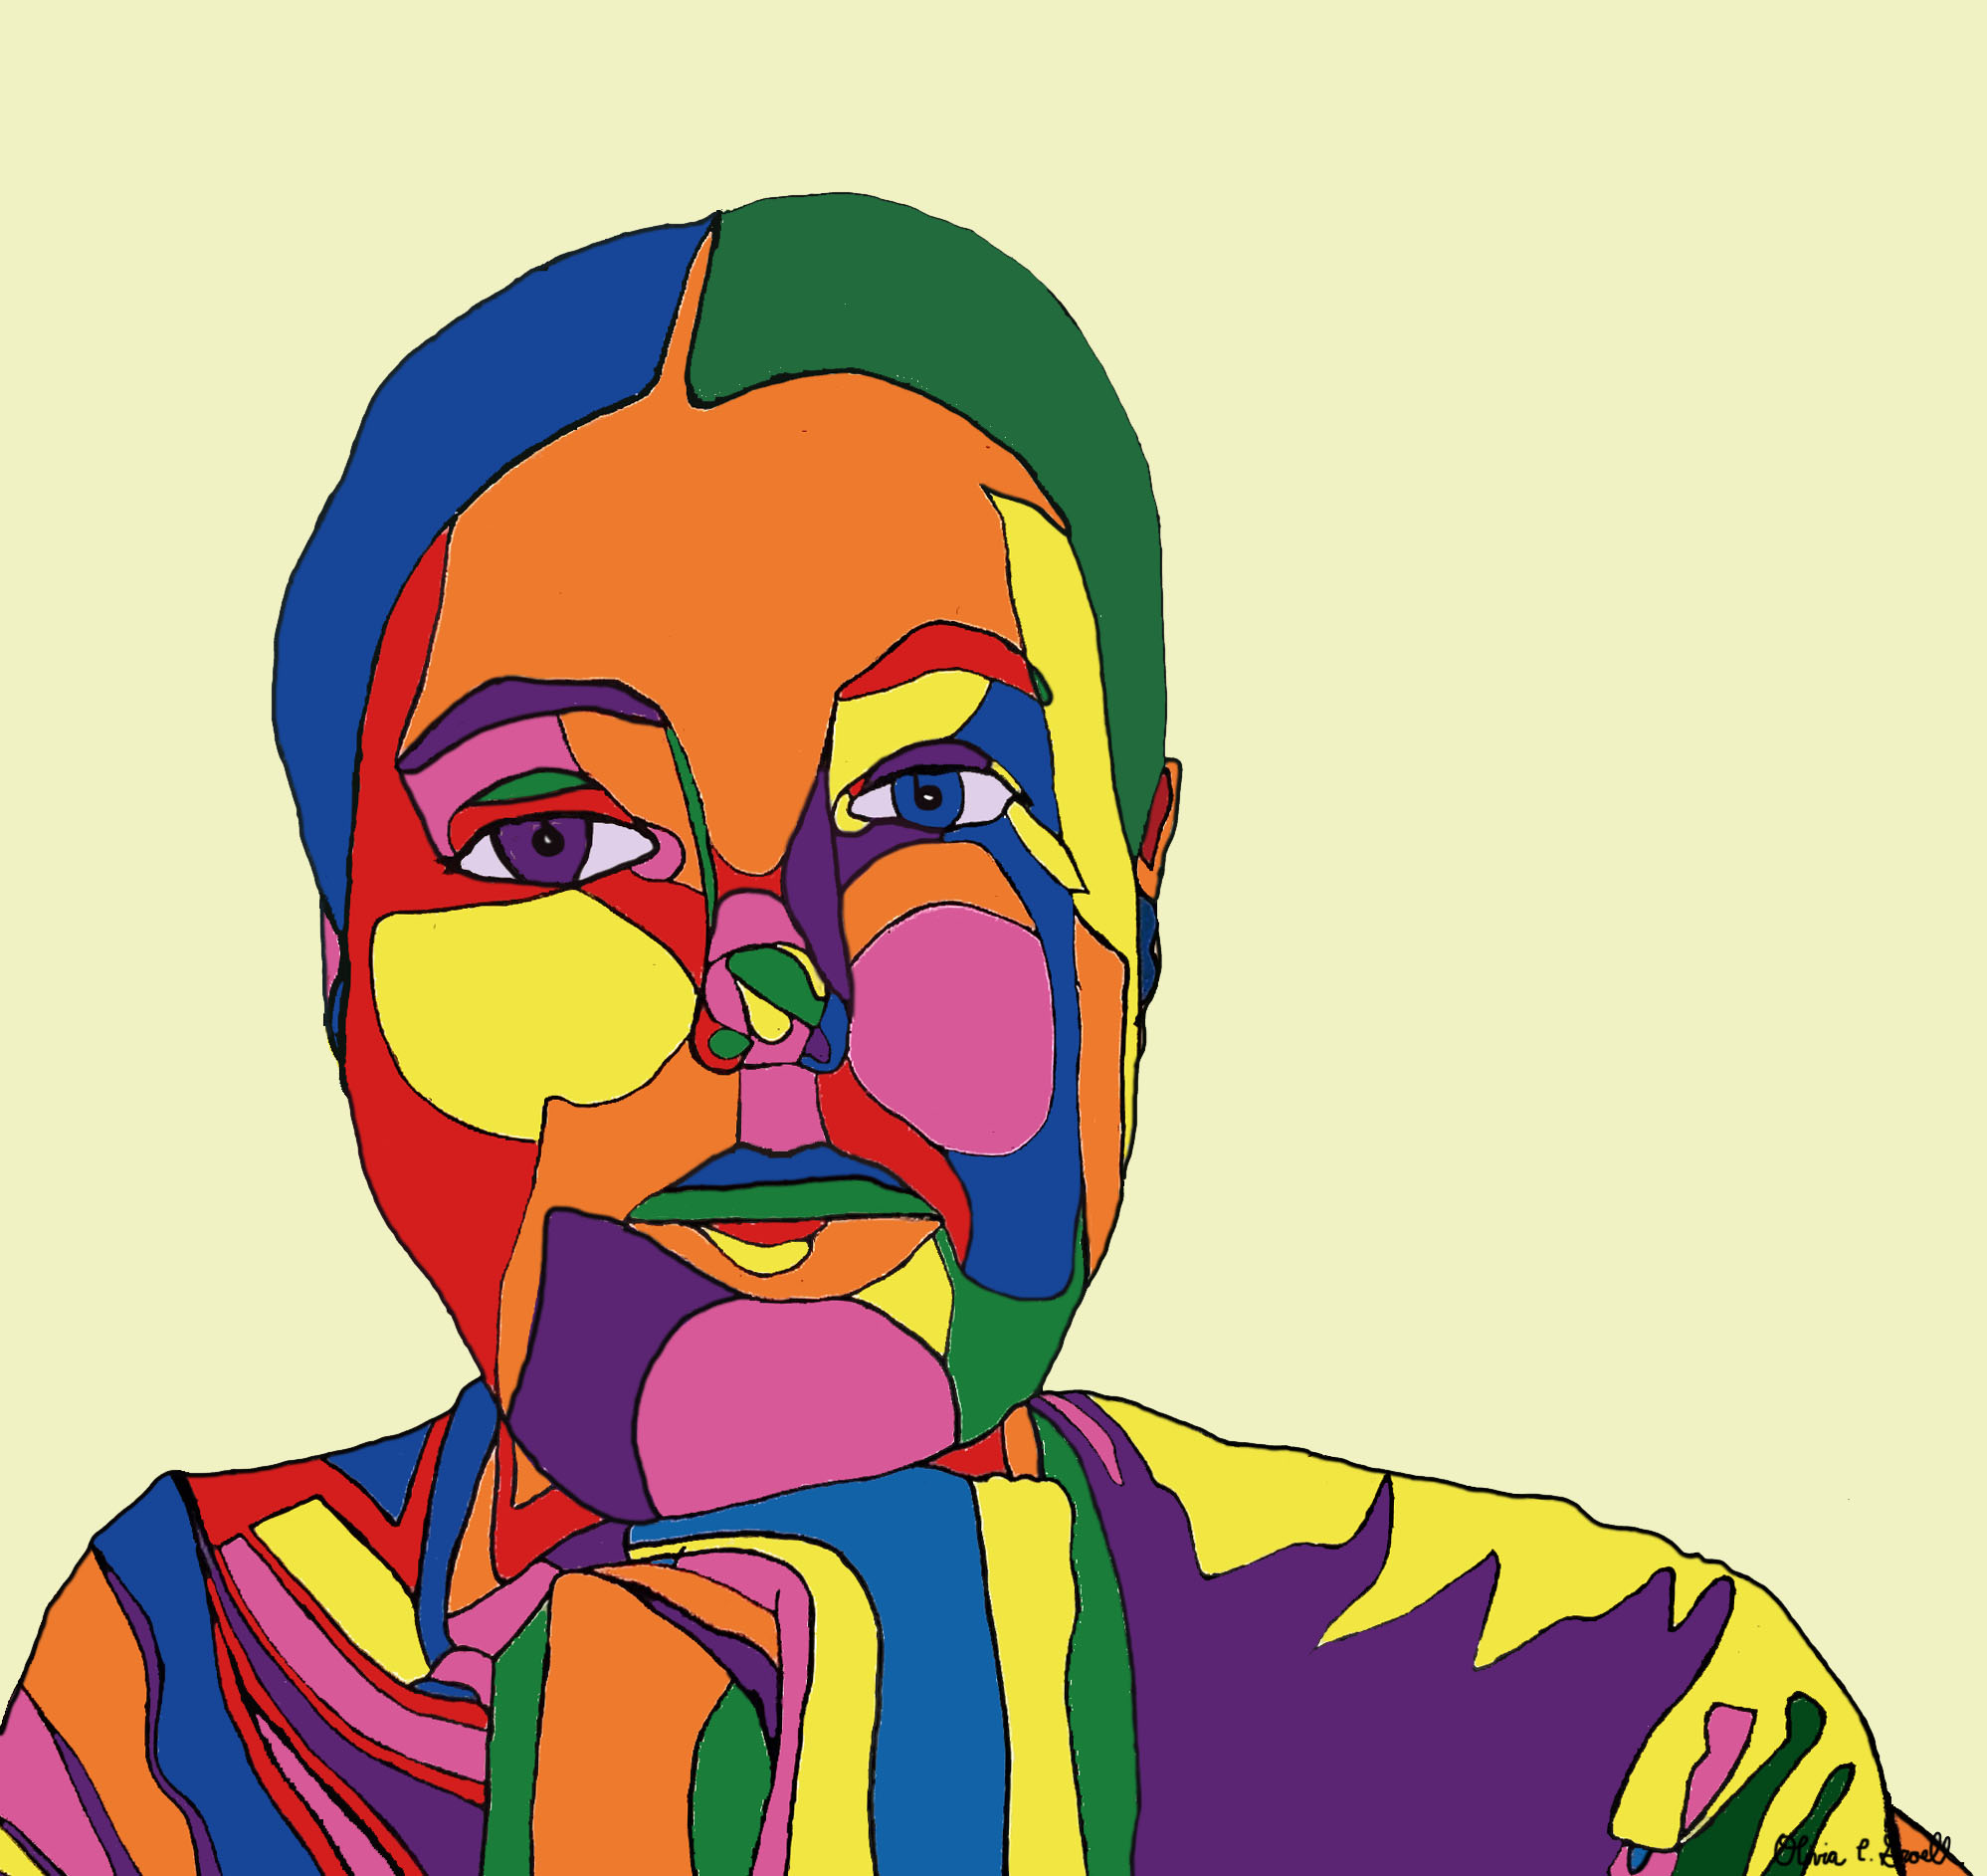
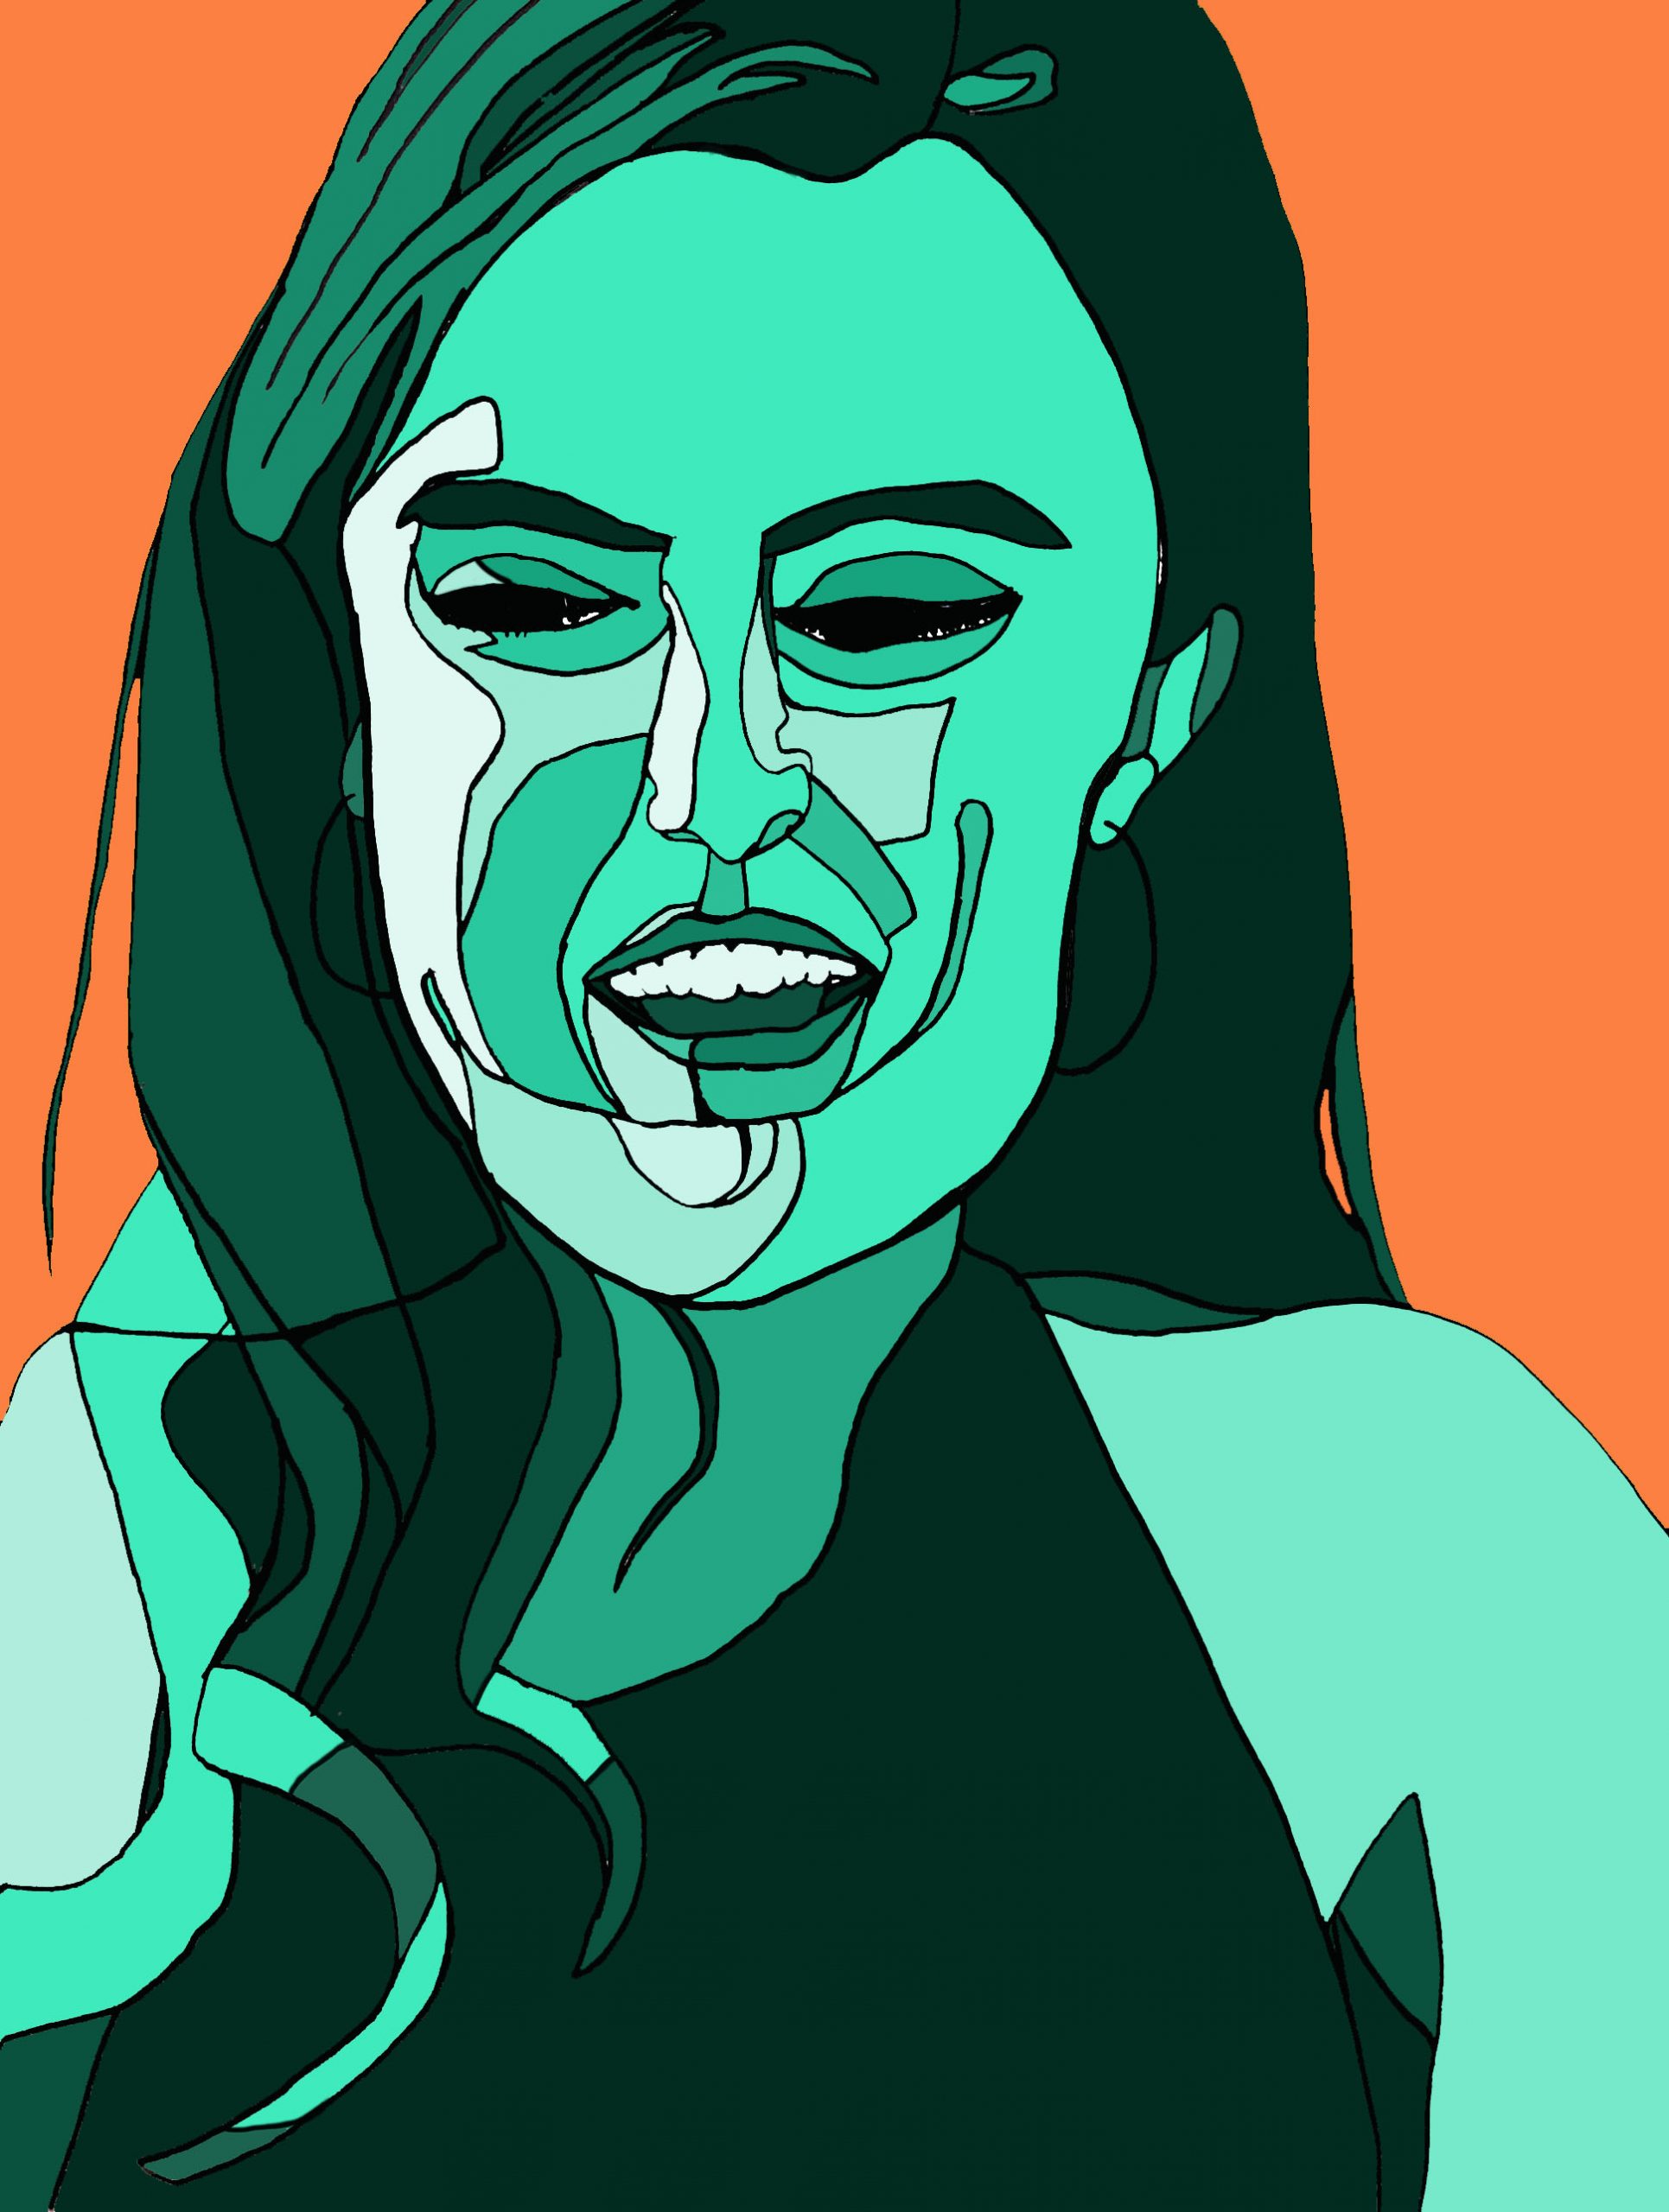
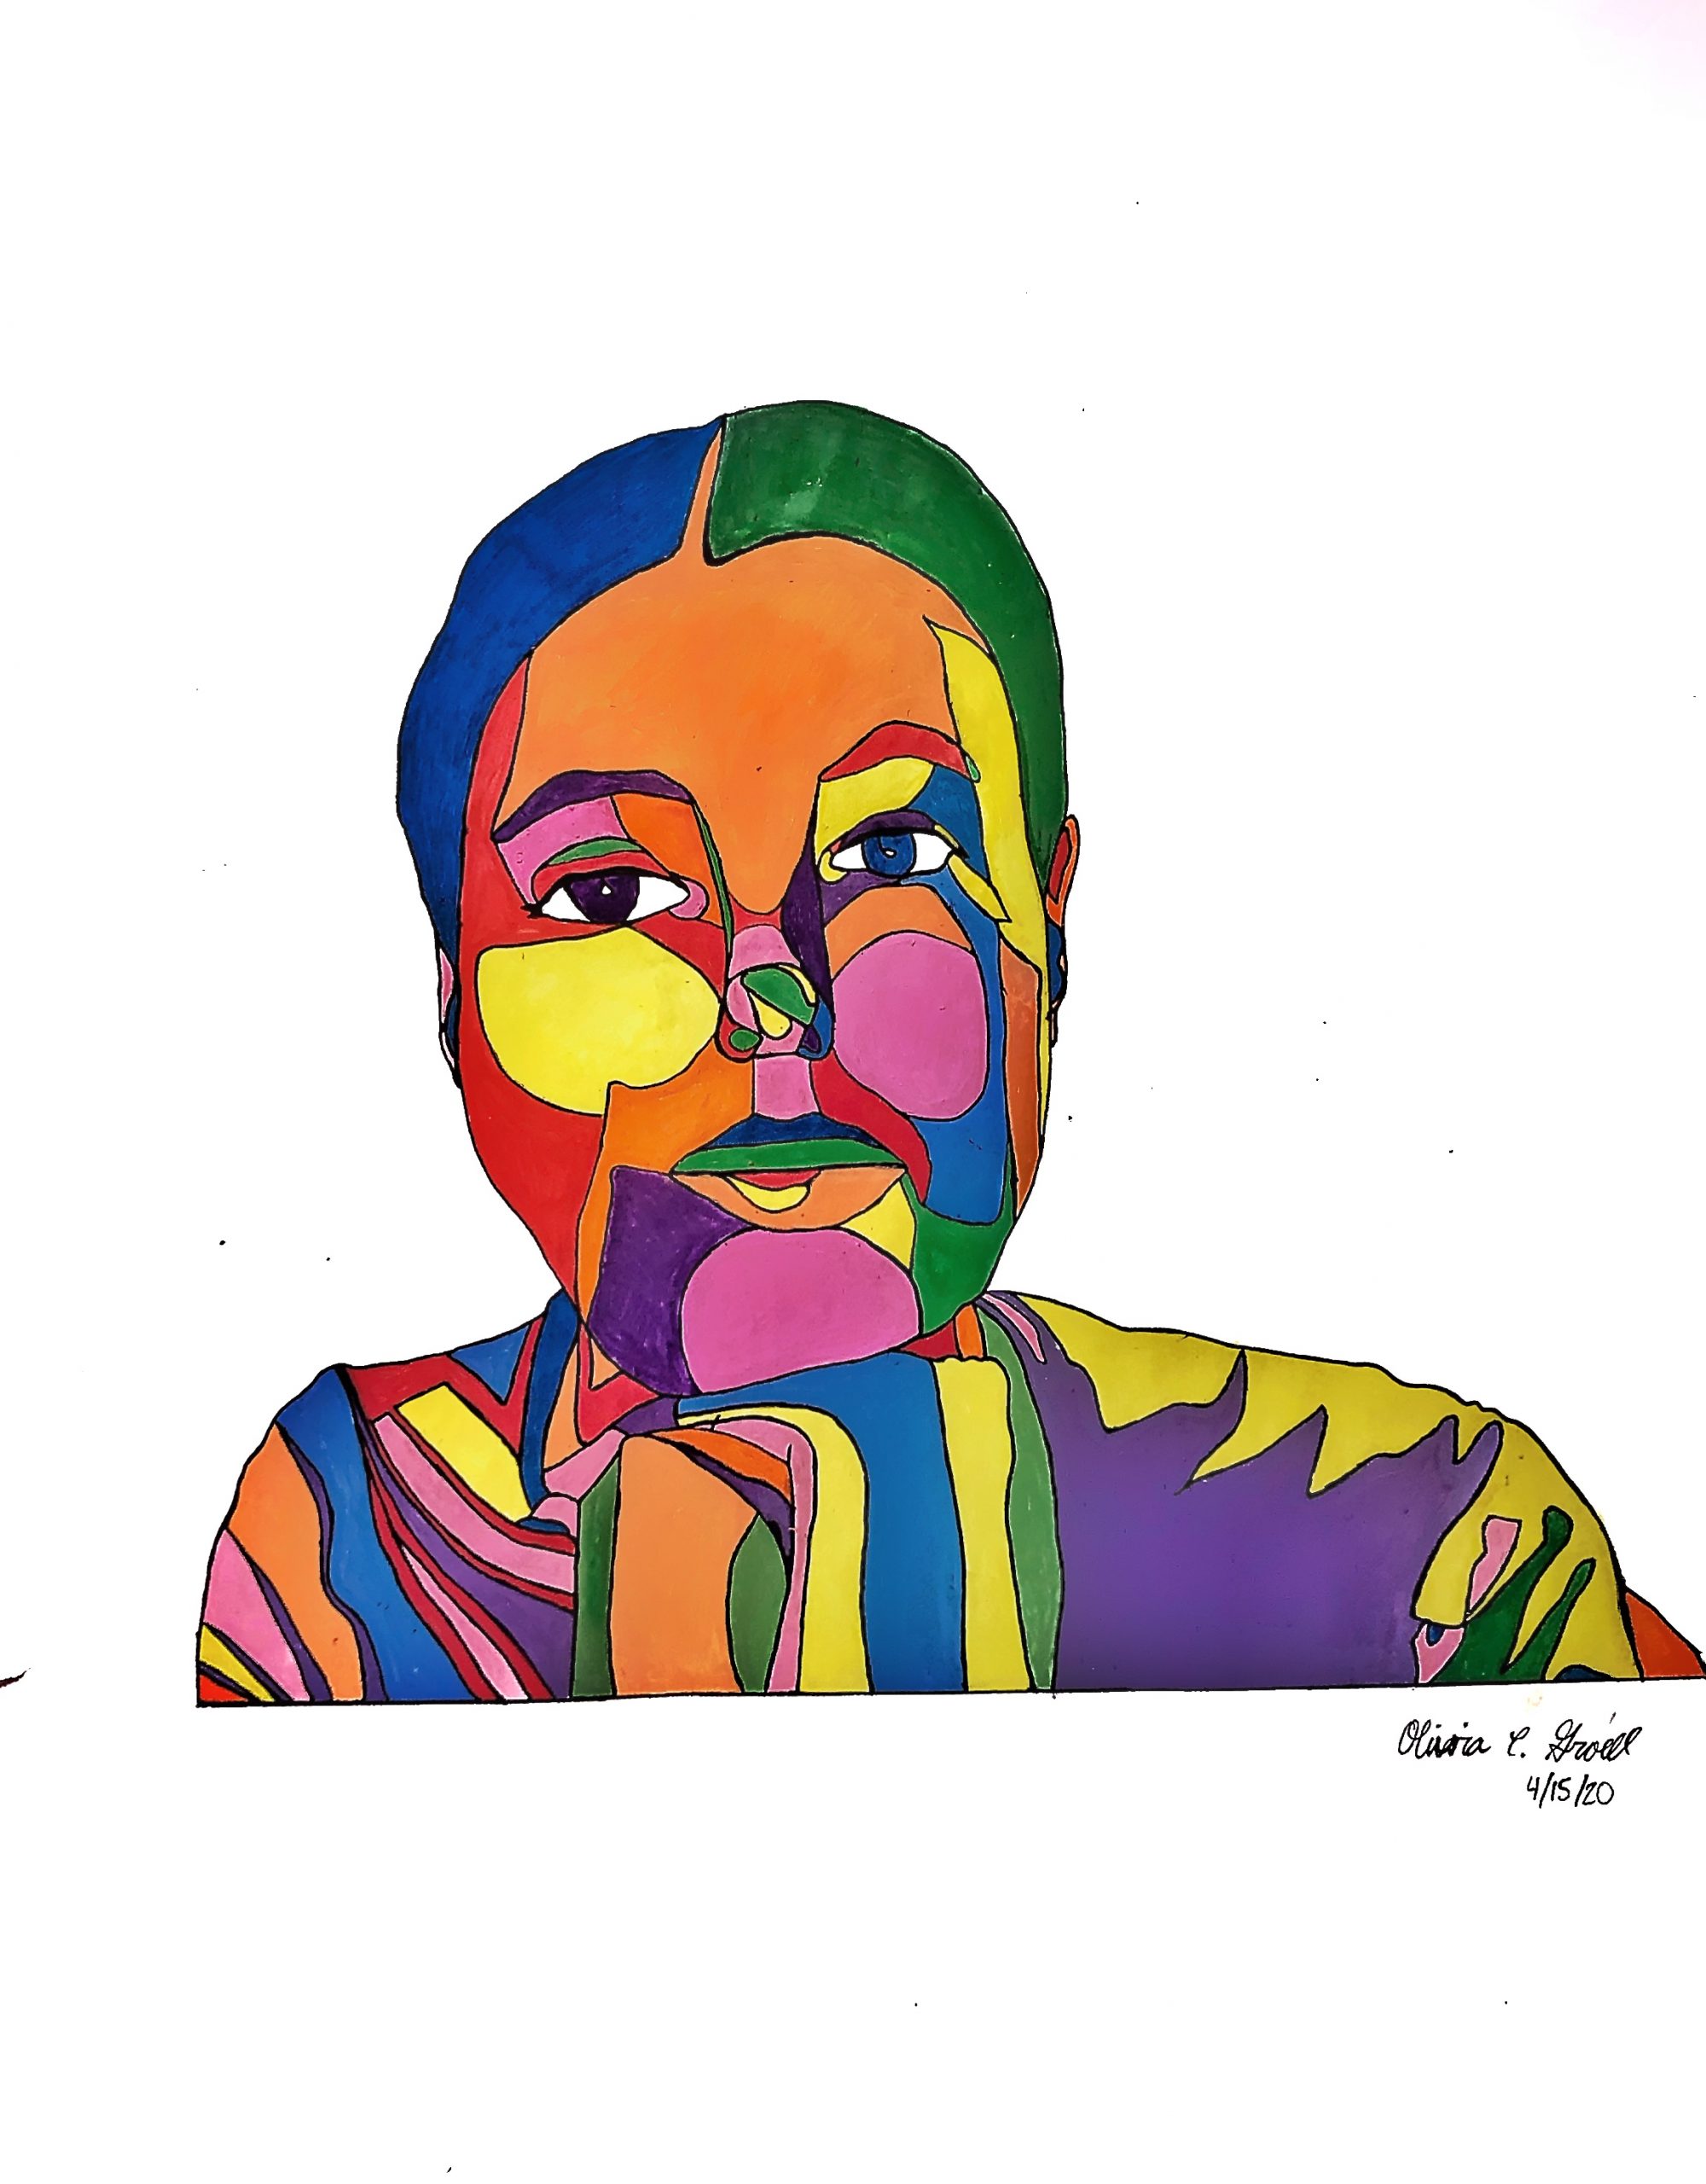
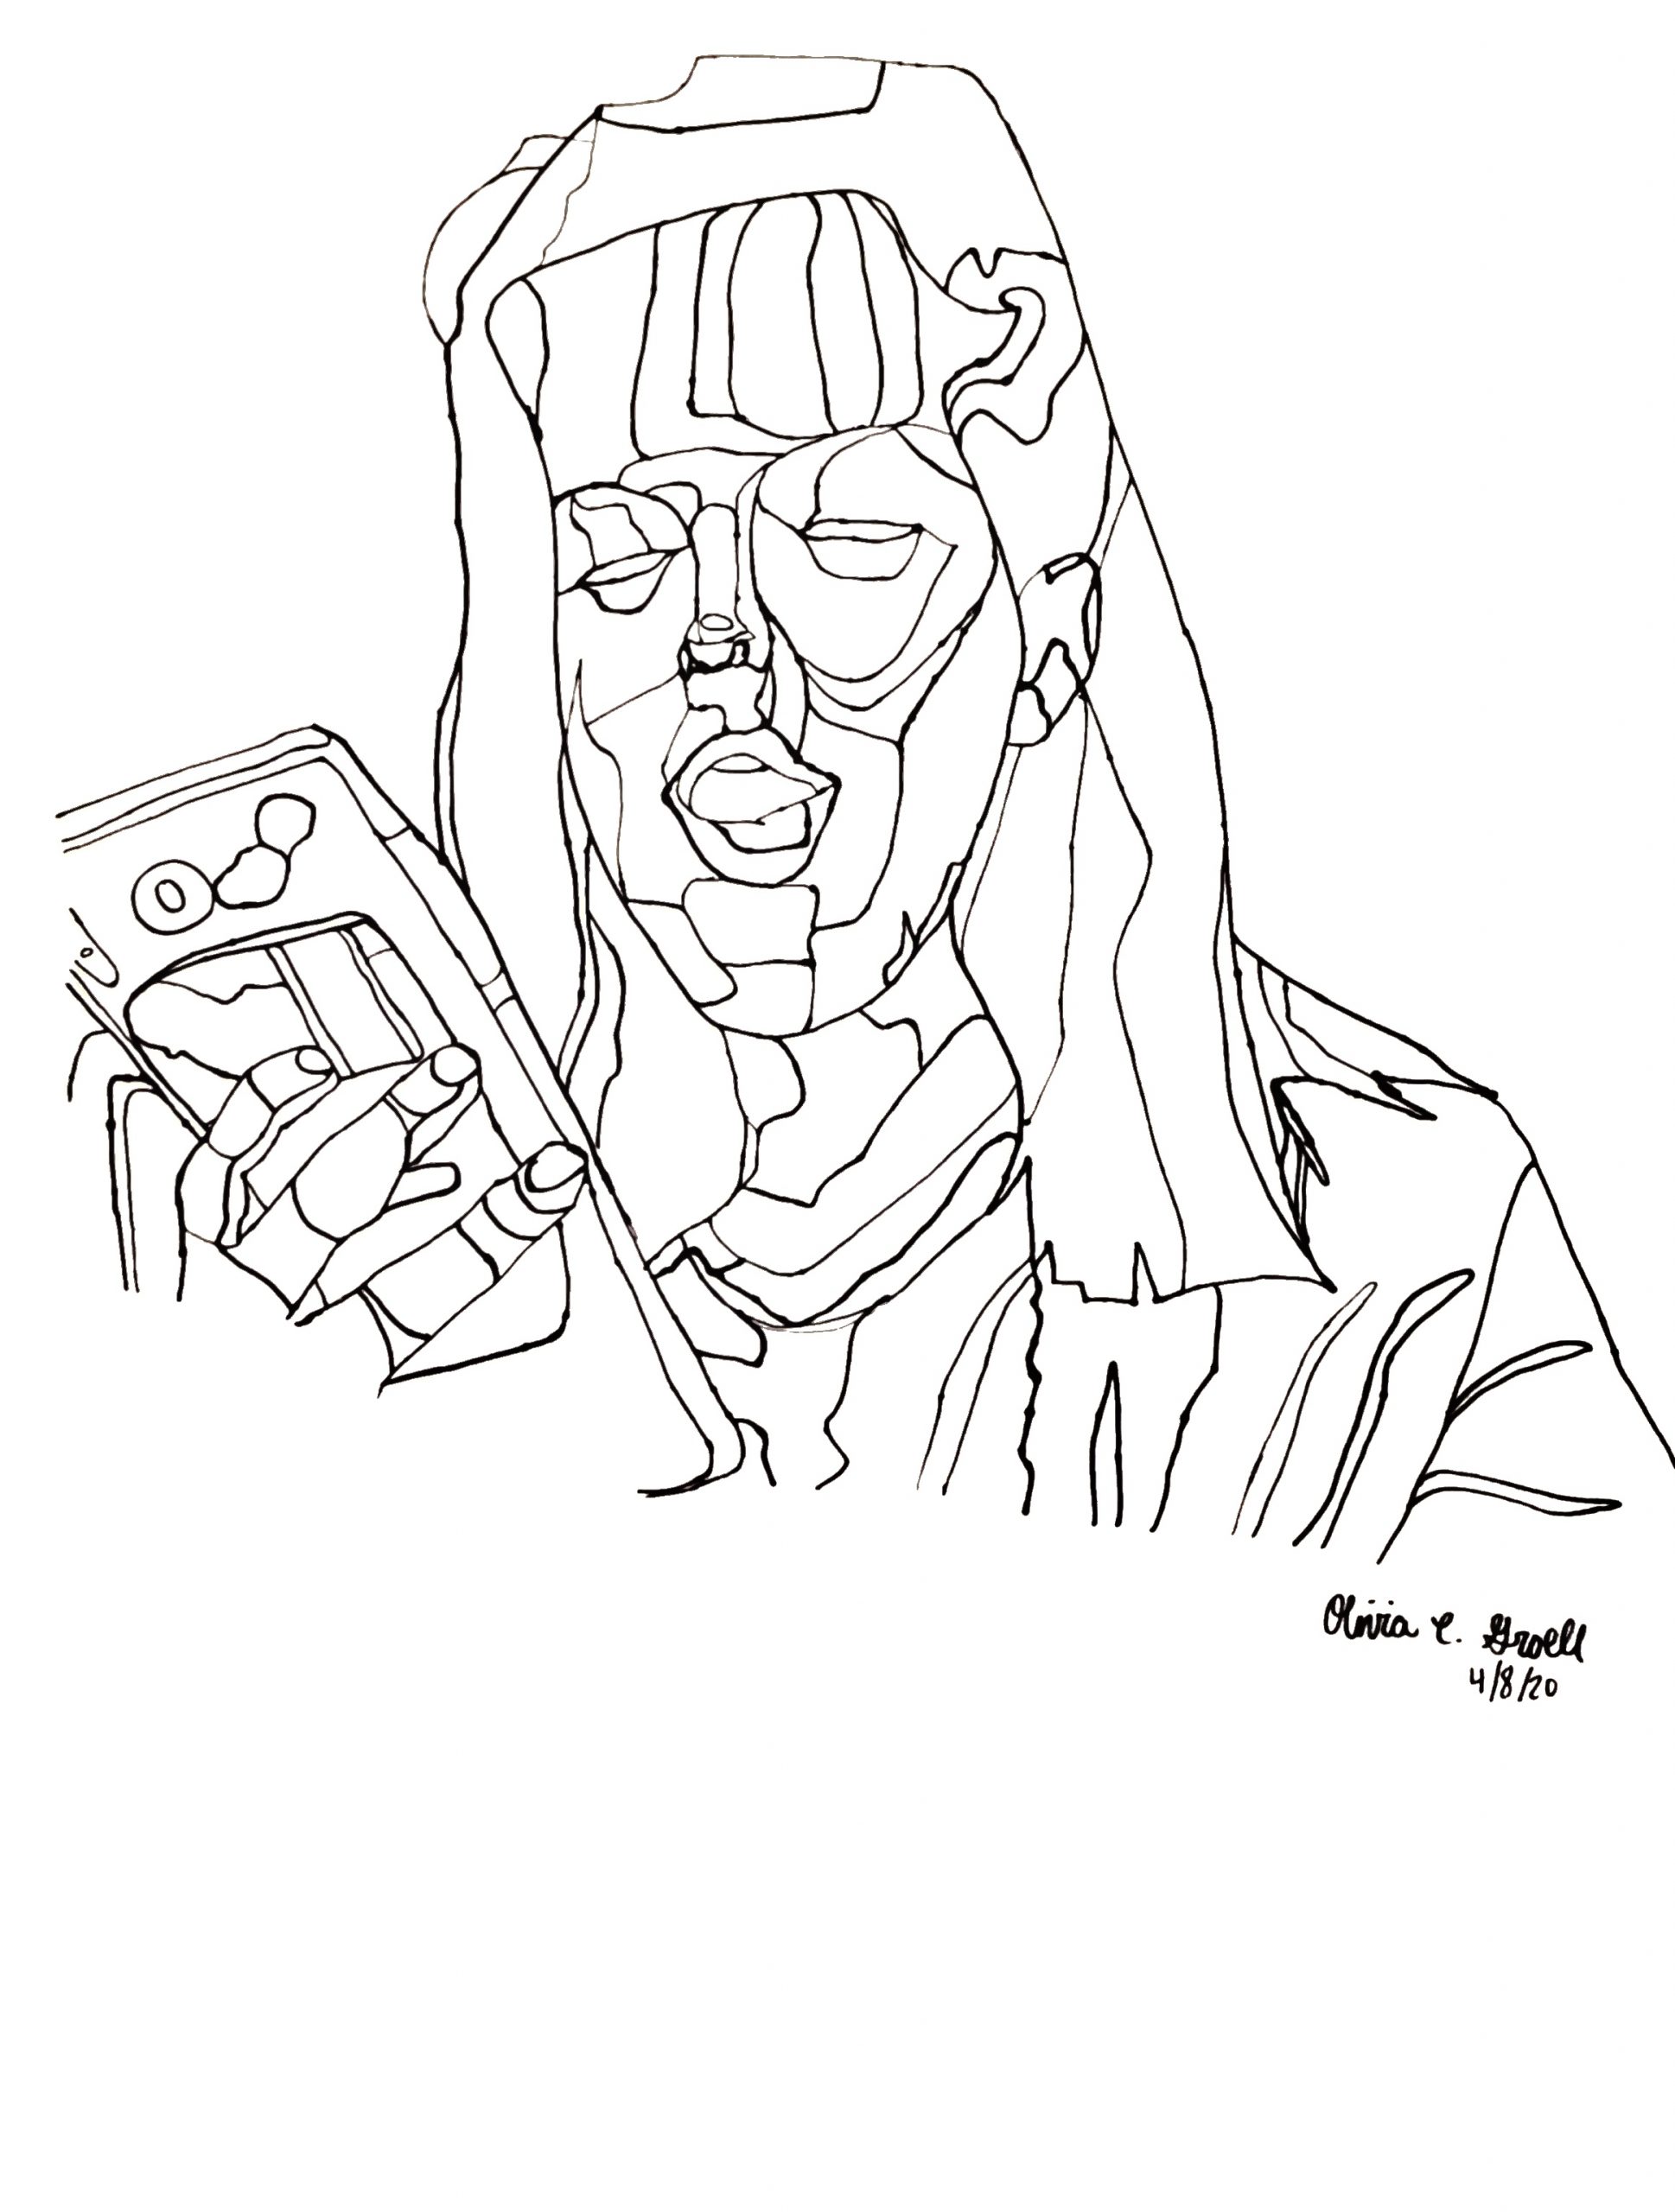
These are great. Love the color and the color background. The only thing I don’t understand is your interpretation of the planes described by the U-shaped line A-B, which cuts through and disrupts some major plane changes.
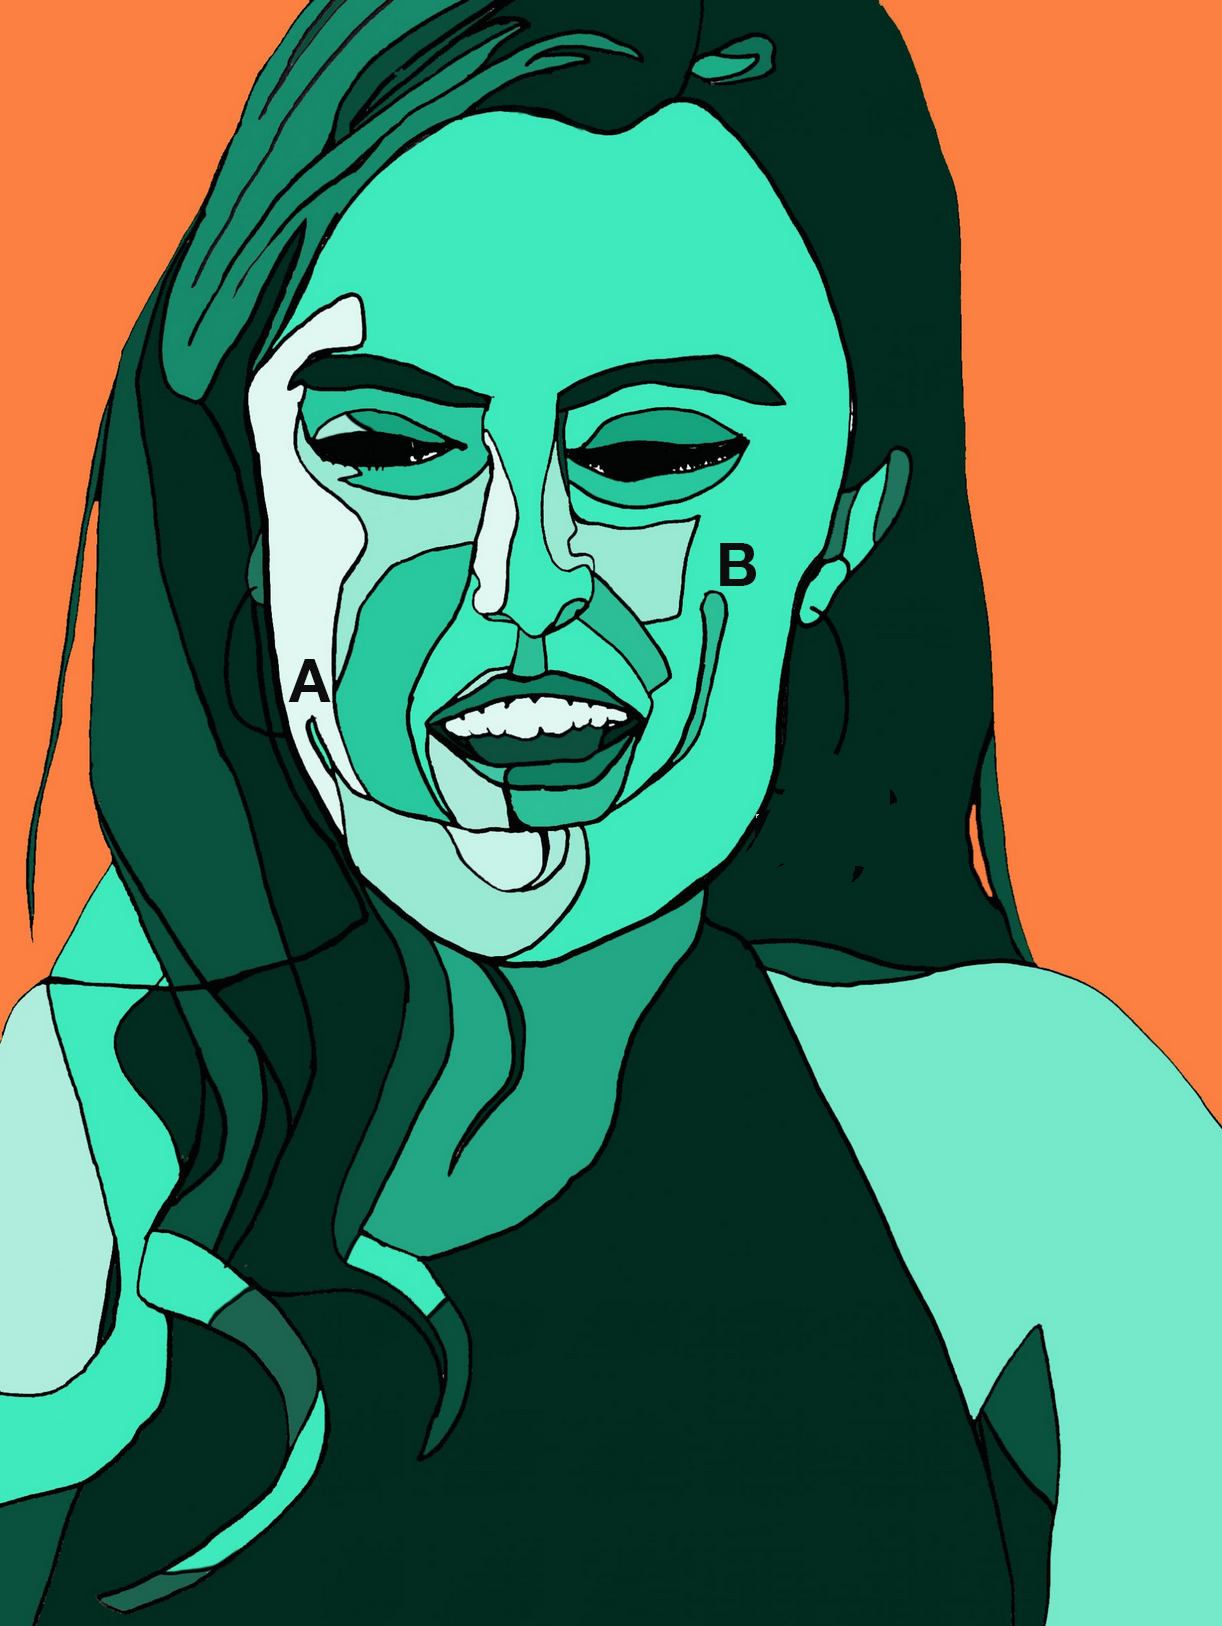
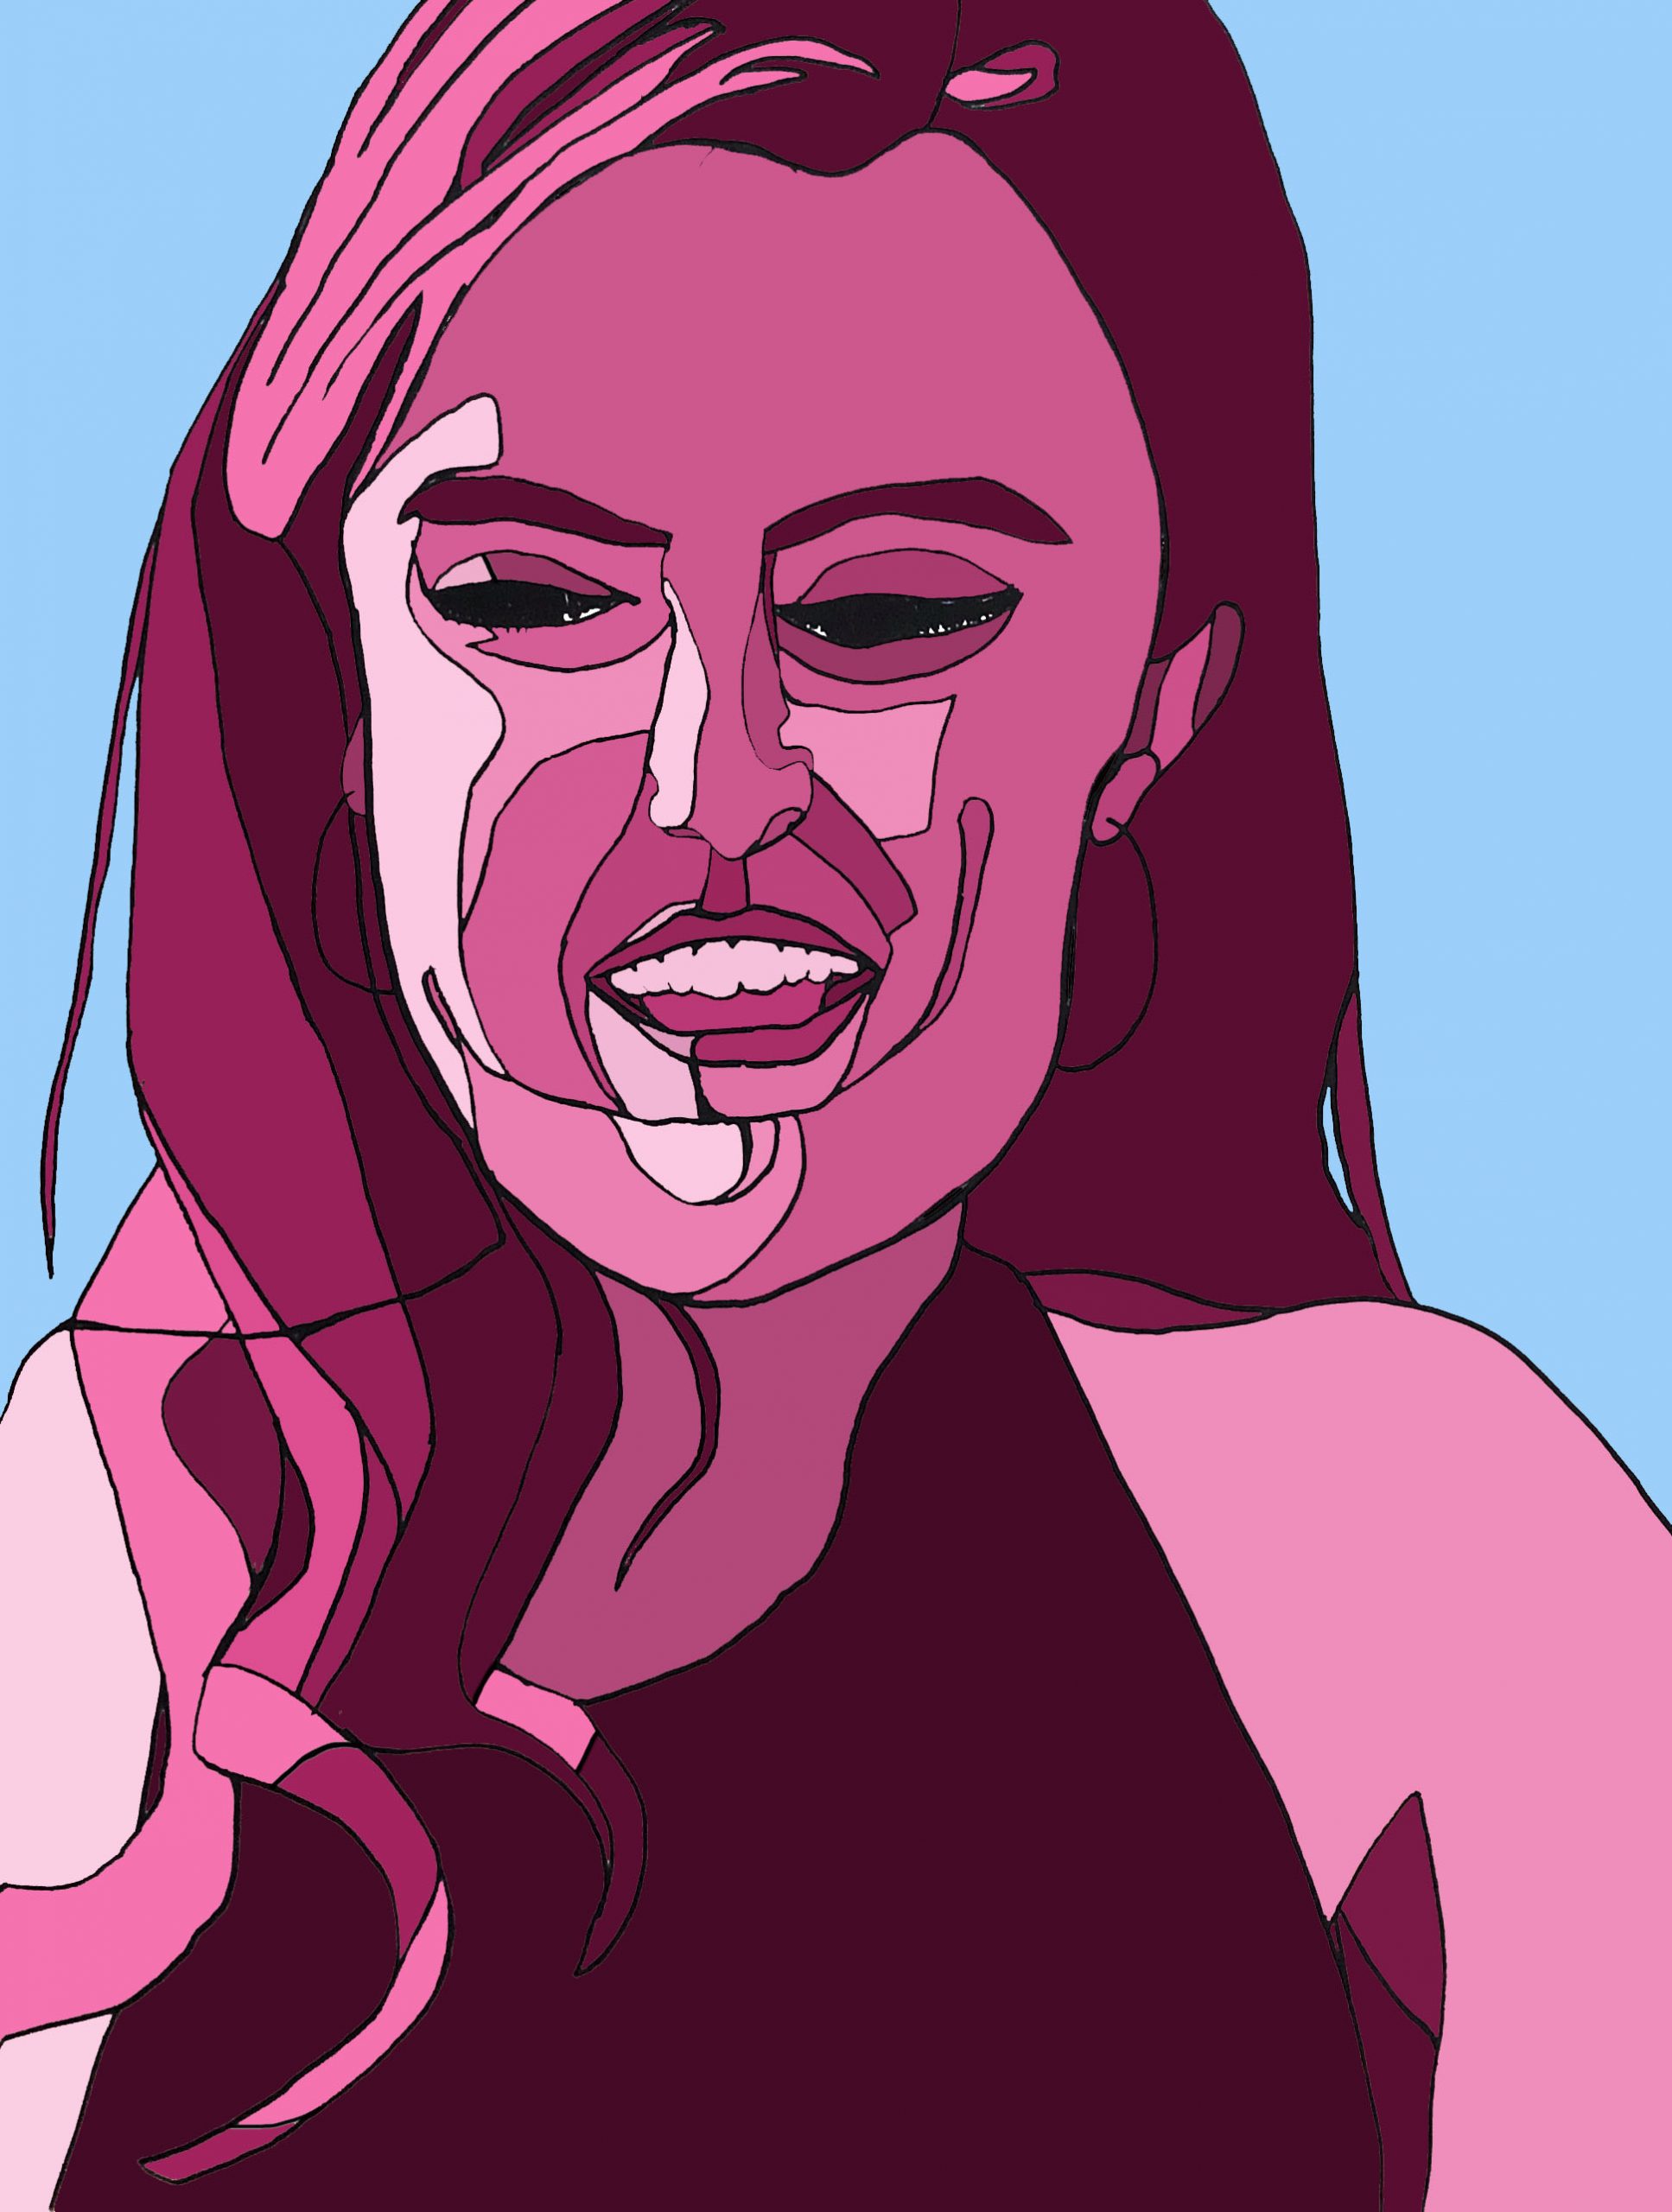
The area below the mouth seems unduly complicated. Be careful to maintain the same degree of abstraction throughout–it feels like you got caught up trying to show us nuances when this isn’t about that (or at least that’s the way the majority of the piece, as well as your previous work seems to be pointing). This needs greater simplification–here’s my suggestion, based on the degree of simplification everywhere else in the image:

I made these changes in Photoshop. Now that you’re coloring there you could also revise the drawing there if you like–or start with a pencil drawing before you ink to get the best possible breakdown. The Cut-out filter in PS could also be a helpful ally.
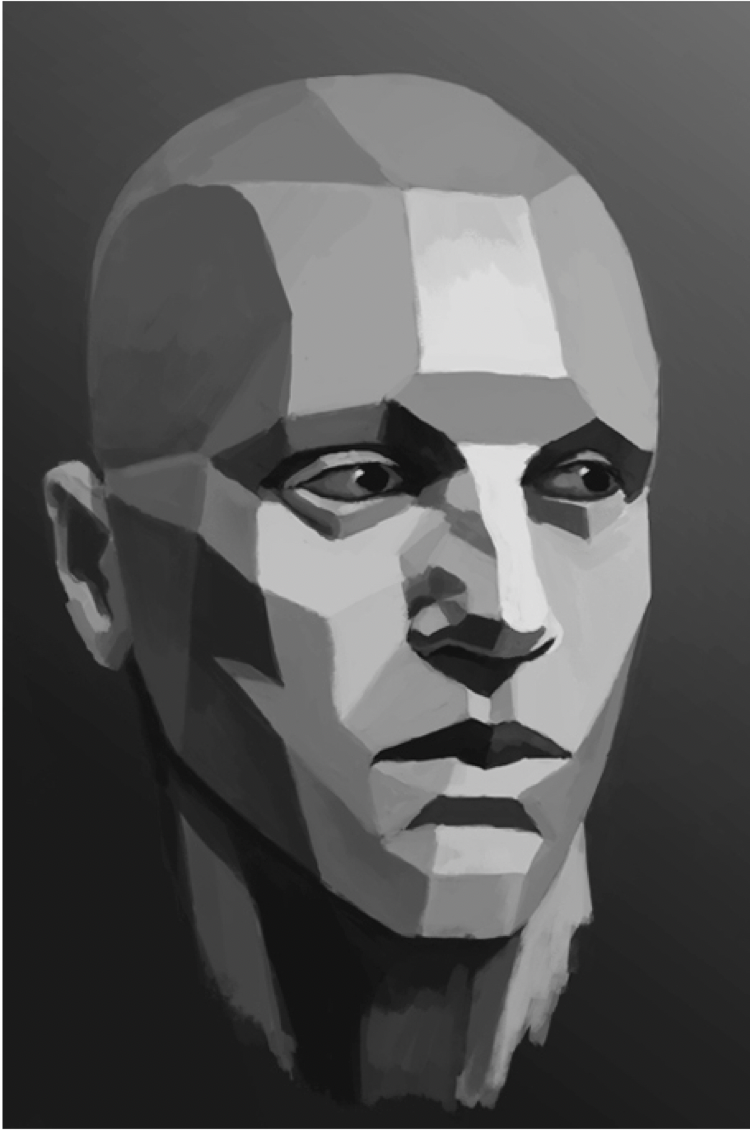
You might benefit from studying renderings like these of the planes of the face (this were in the Powerpoint I sent, with some others, including my drawing of Patrick Steward in planes):
Acrylic Paint Marker on Paper with Photoshop Editing, 24 x 18 inches
Acrylic Paint Marker on Paper with Photoshop Editing, 24 x 18 inches
X
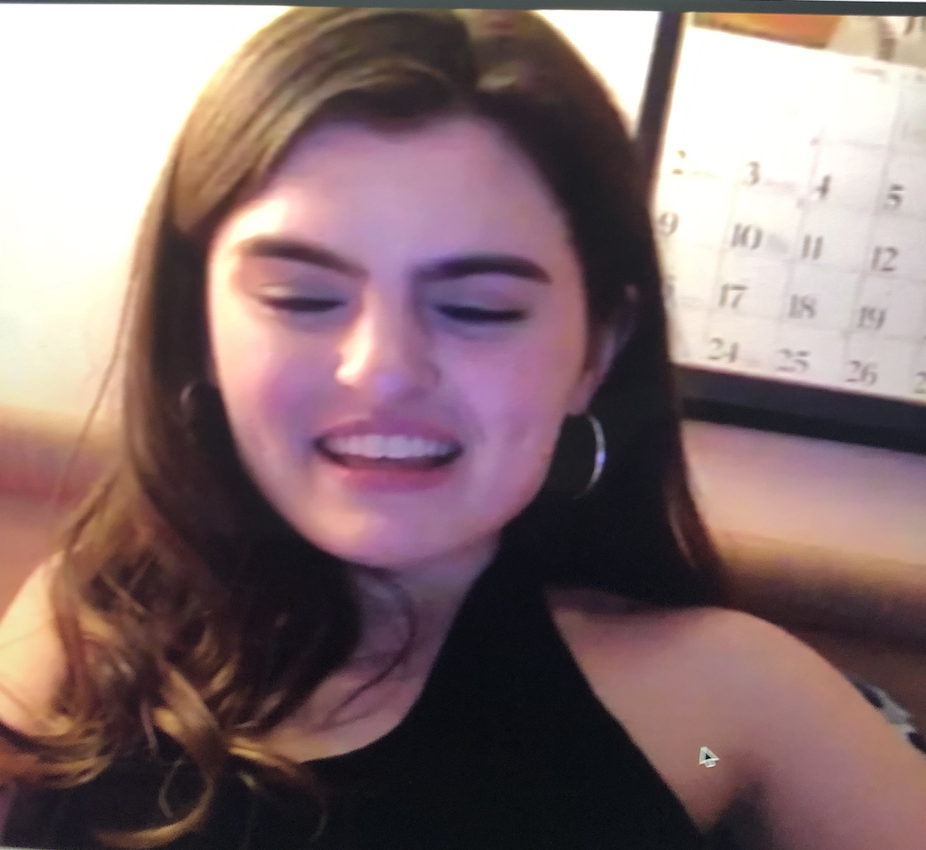
Reference Photo
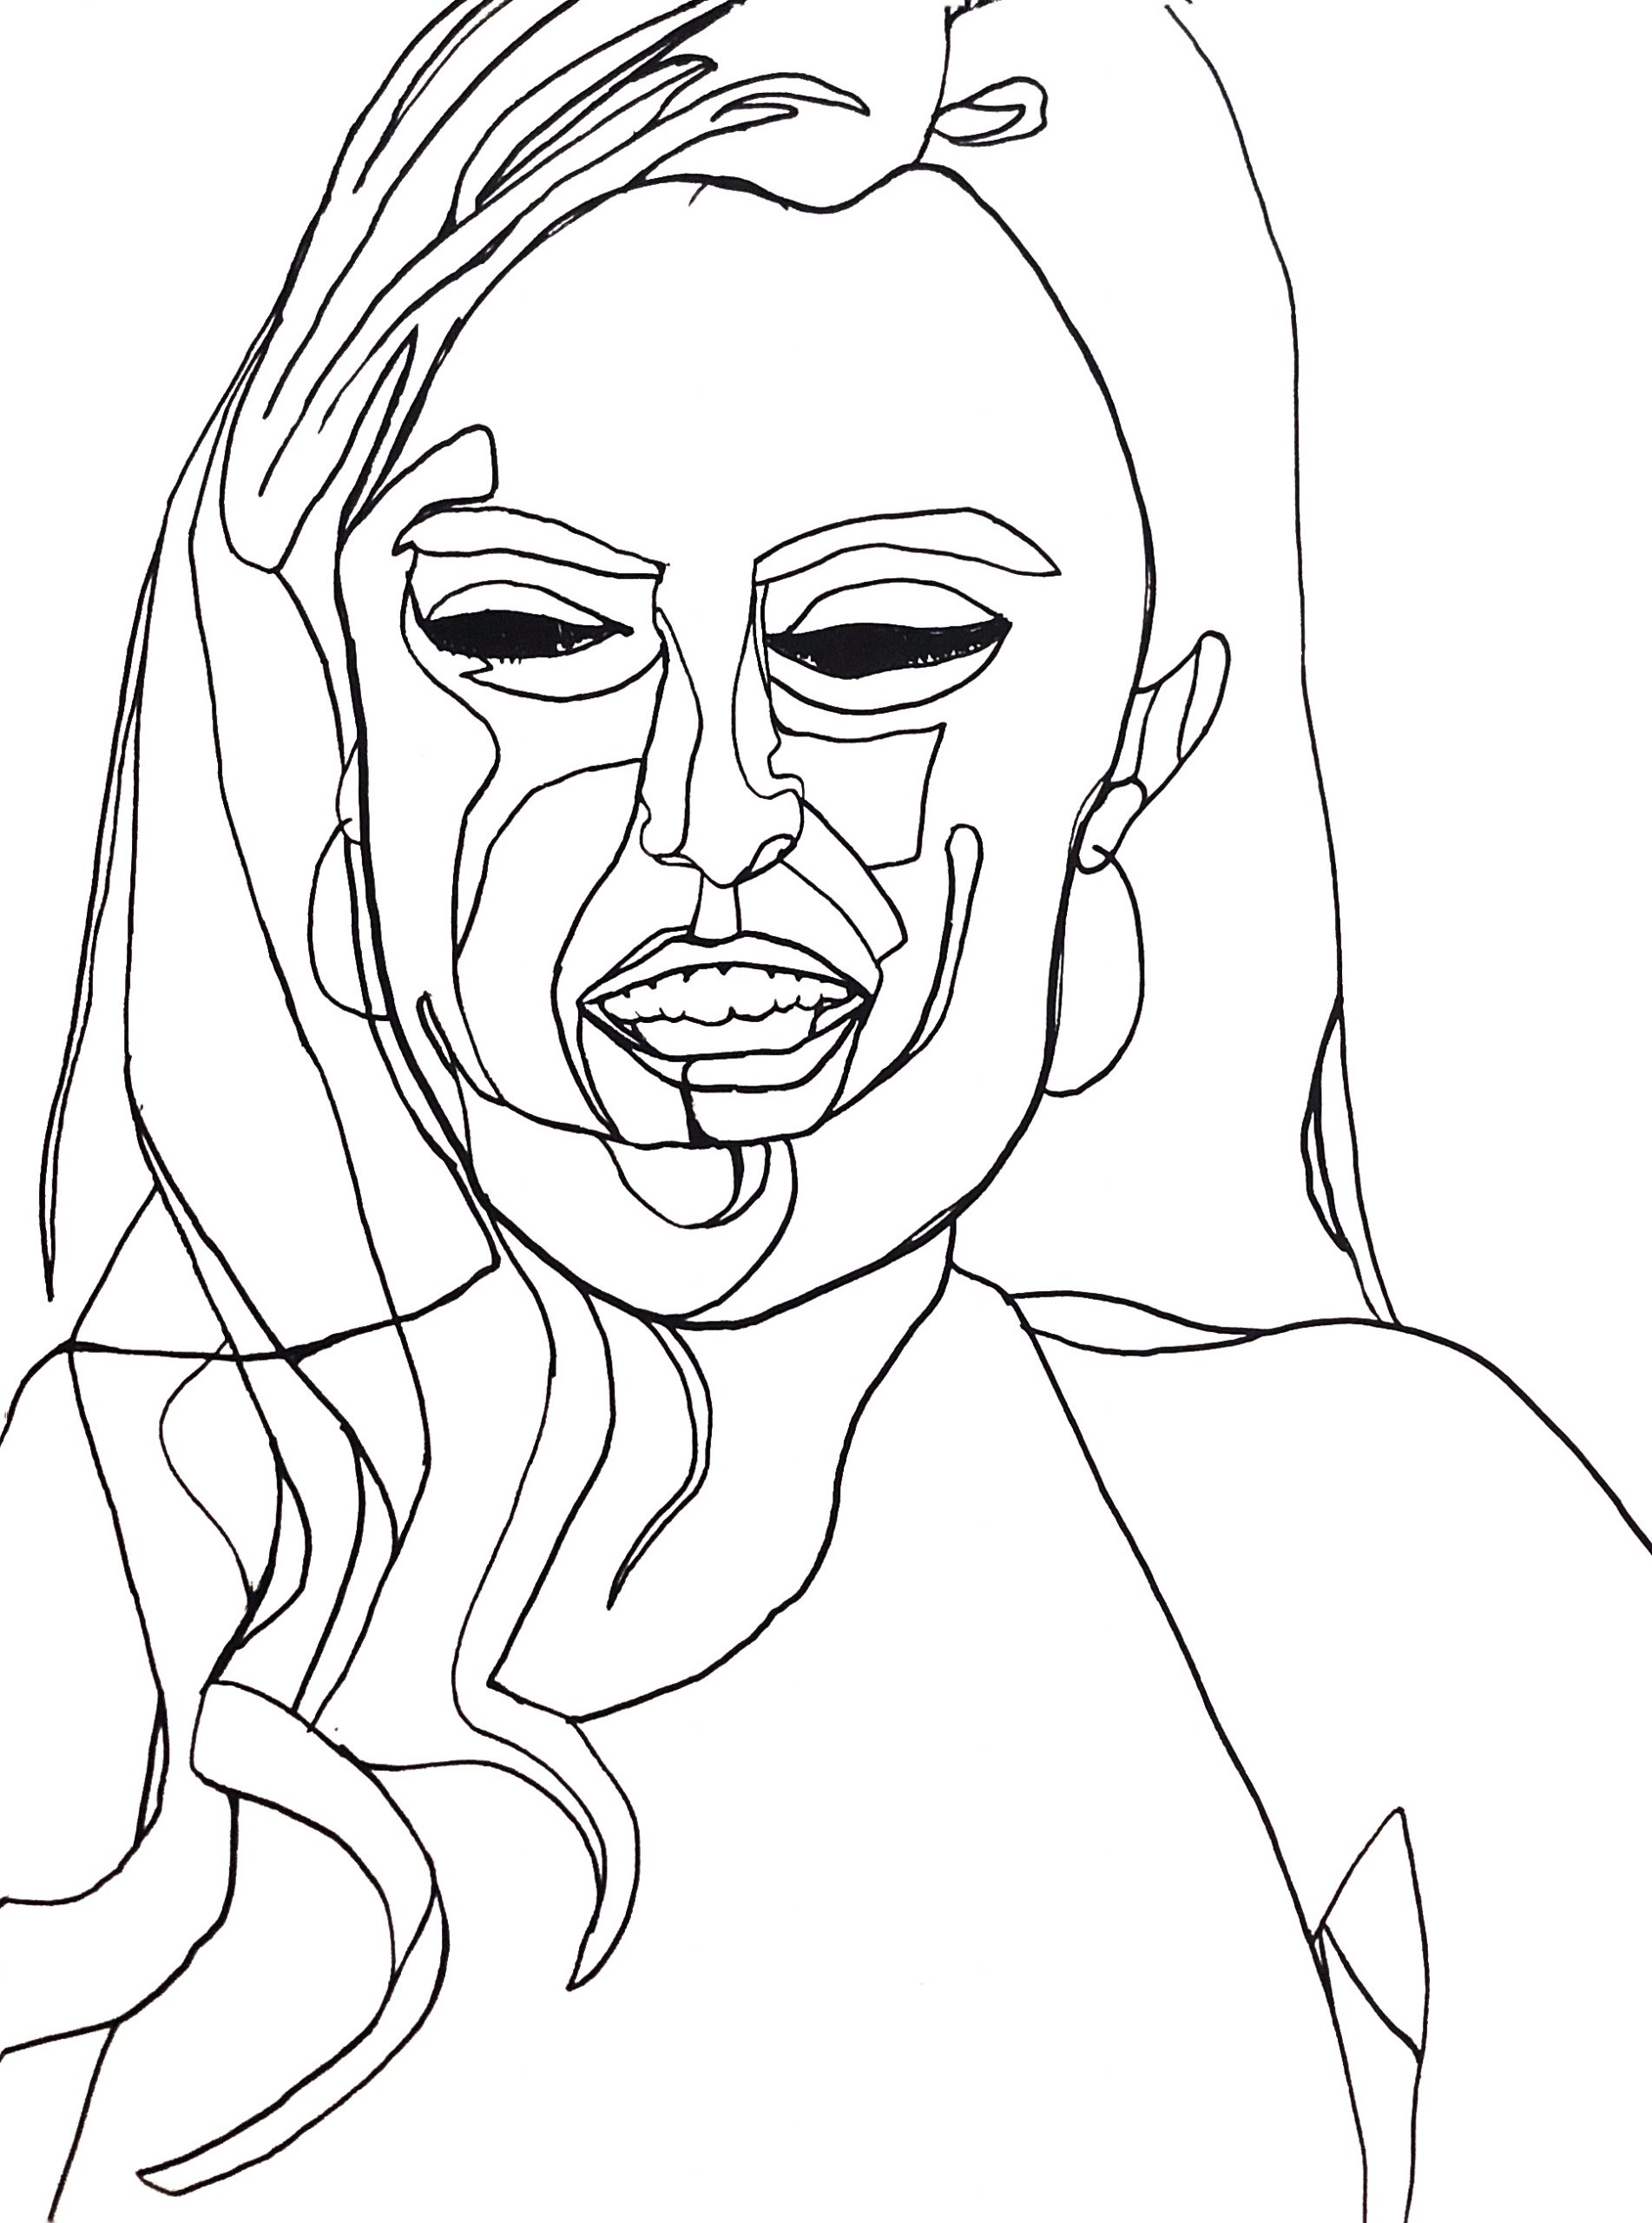
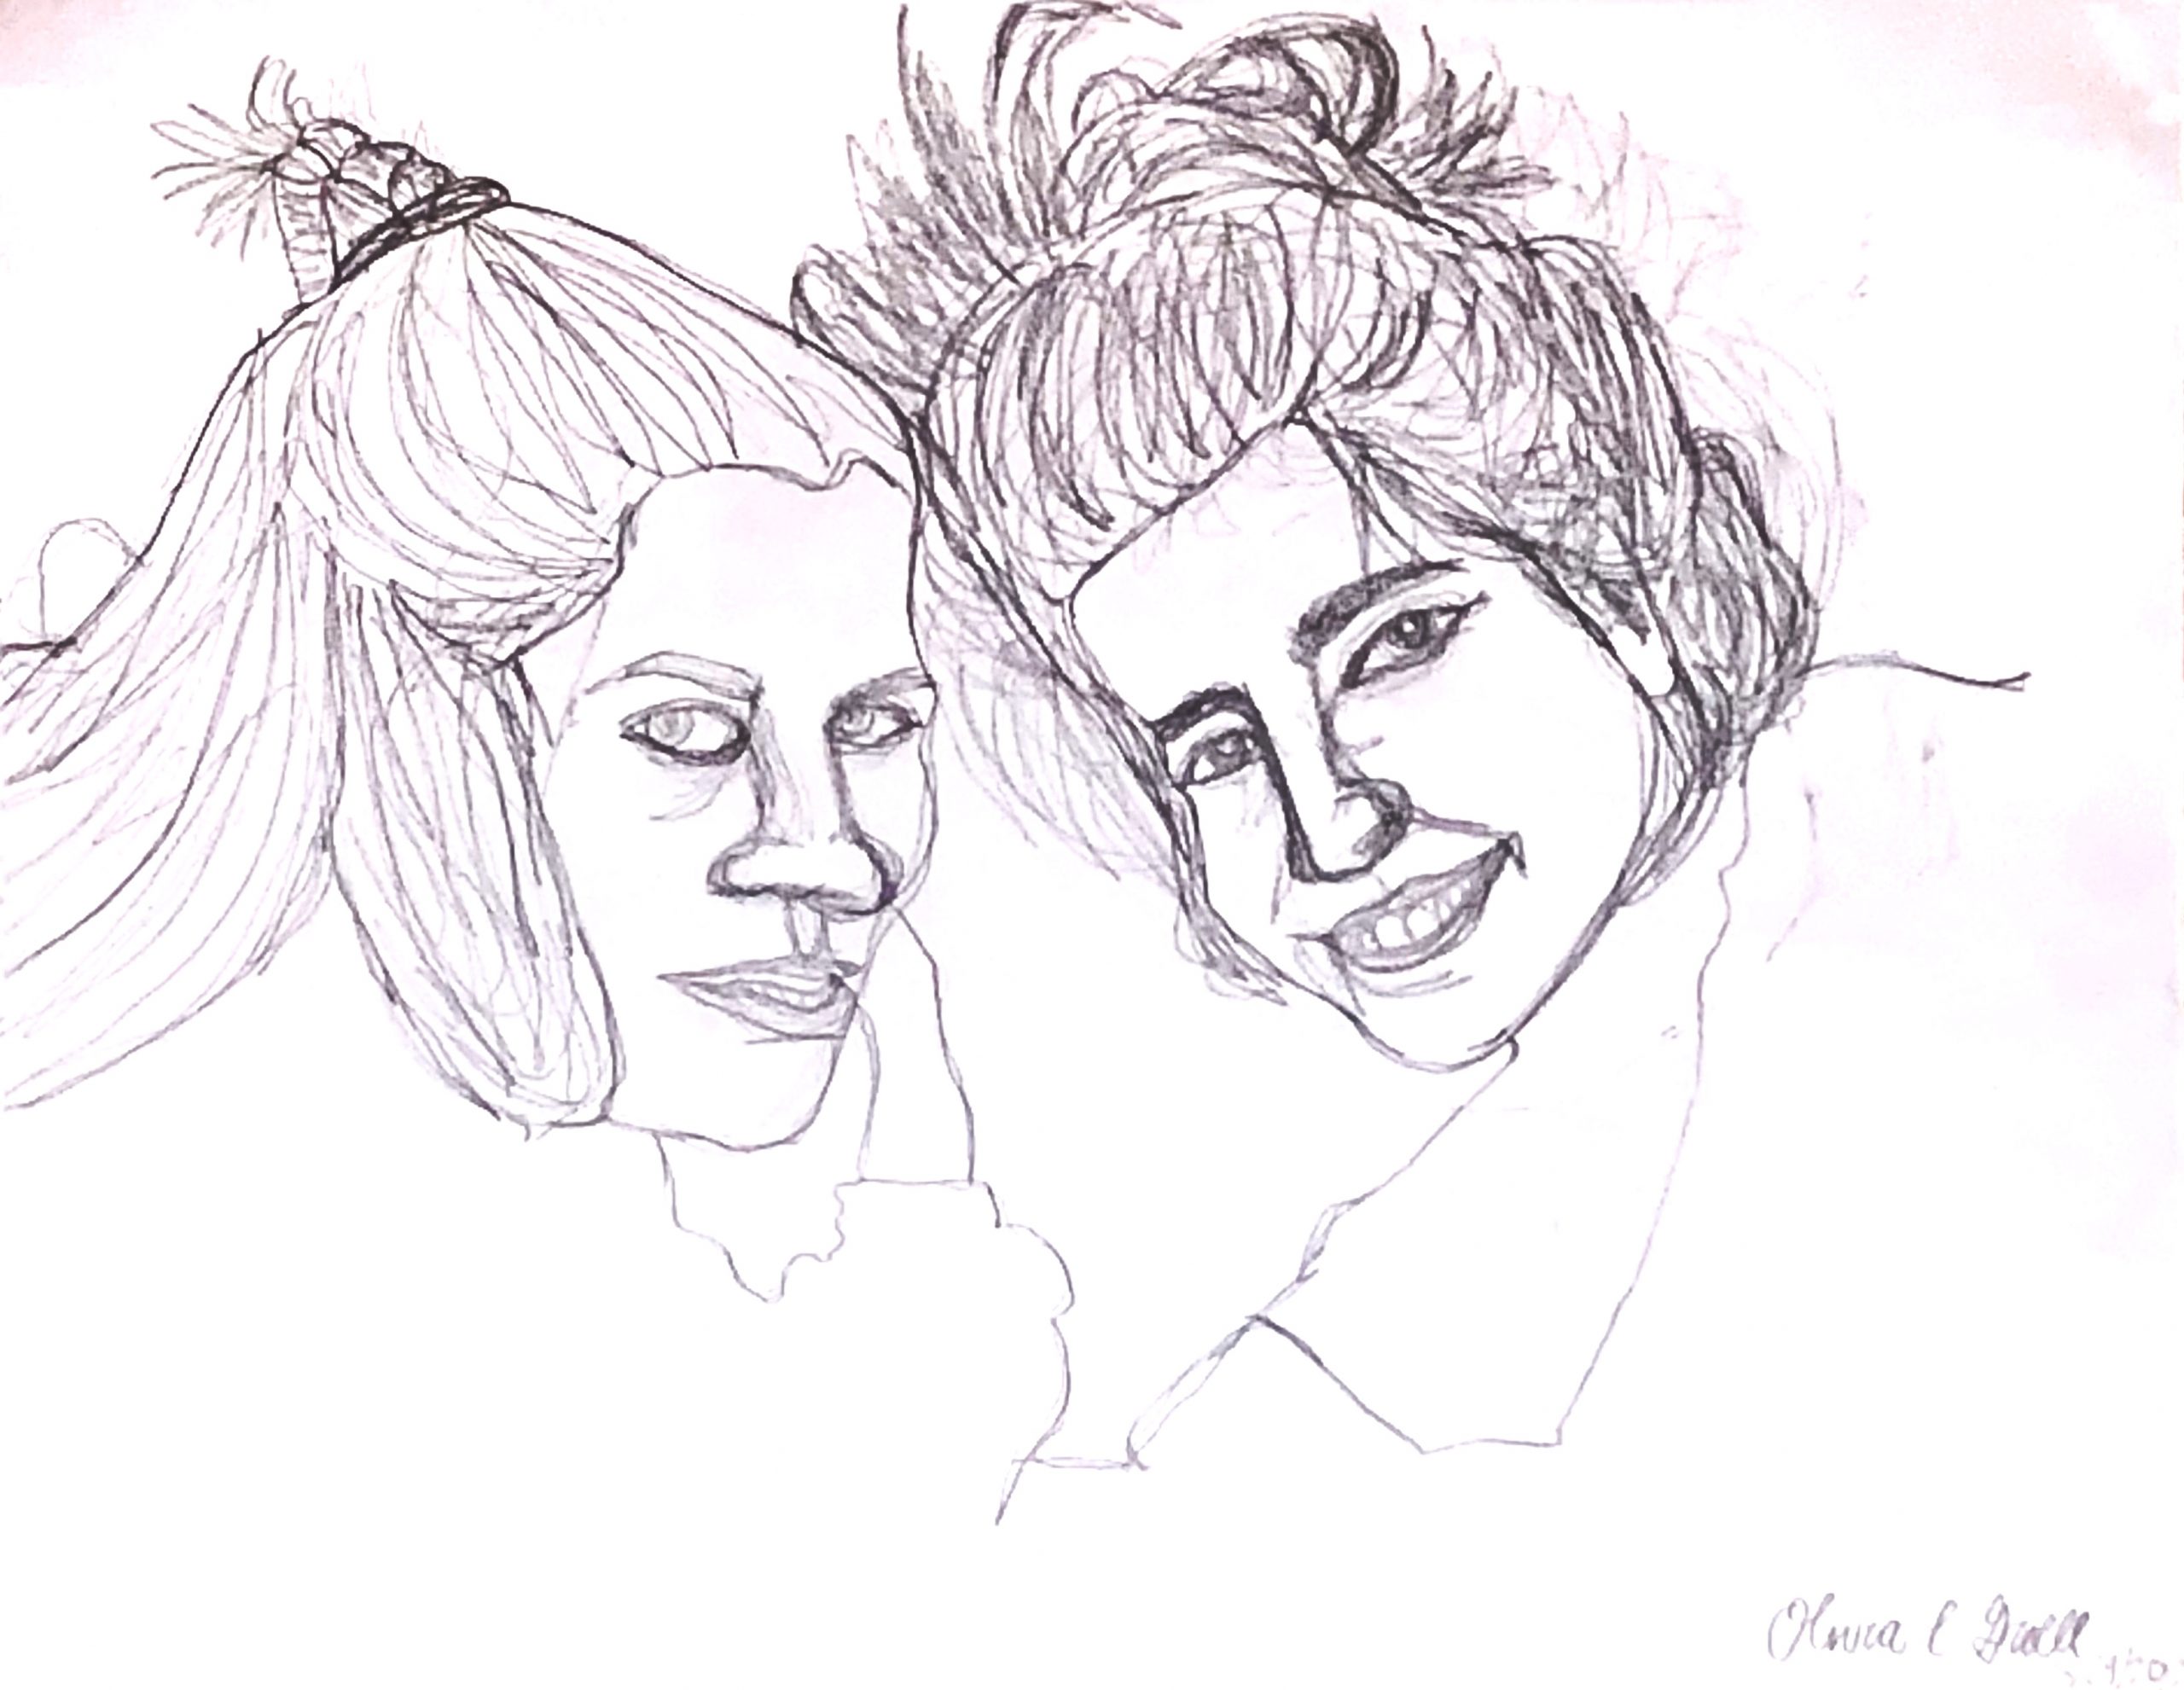
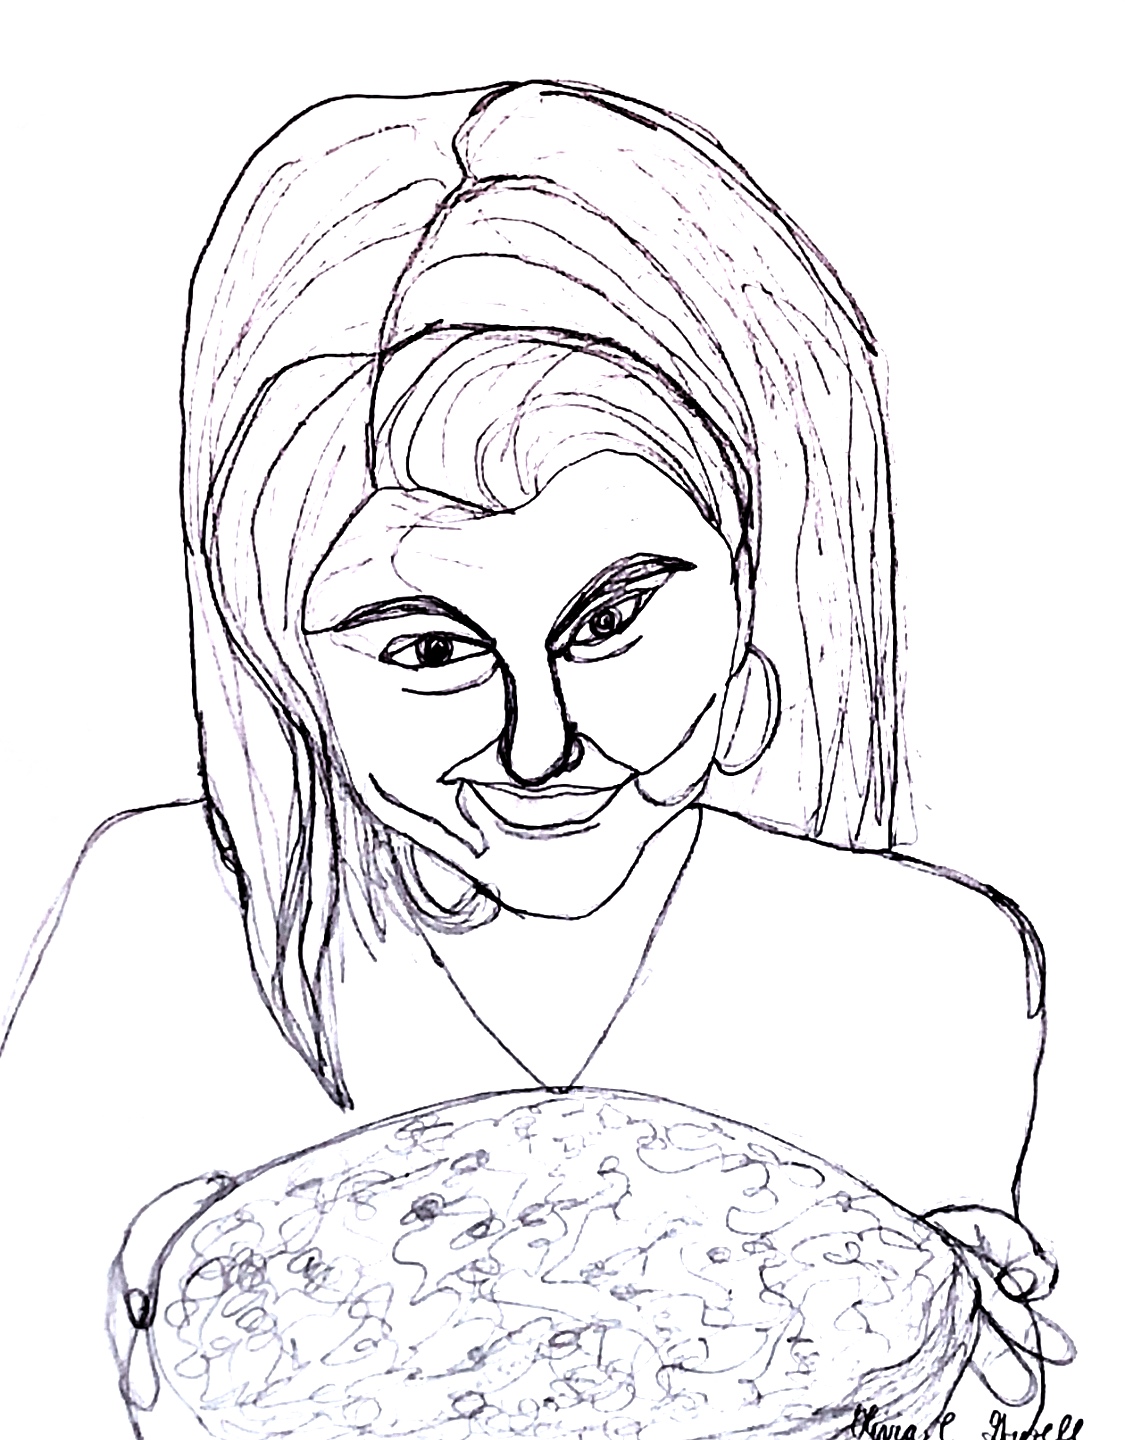
Acrylic Paint Marker on Paper, 17 1/2 x 22 1/2 inches

Notes:
1. The whites of the eyes are never white, and in this context they look unfinished. Most people’s “whites” are actually a pale grey-violet, which I’ve added here, but you could make them any color you want (of course). I think you want something there, though, to soften and deepen the eyes.
2. The eyes will look much more dramatic and alive if you include the black iris and a serious glint of white highlight (which in fact is white). You have white highlights but keep in mind that’s a reflection of the light source, coming from a specific angle (the same in both eyes) and falling on a sphere. Getting that “rivets” the eyes much more.
It’s also the confluence of the lightest spot in any portrait and the darkest spot in any portrait that help make the eyes “the windows on the soul.”
3. I’ve modified the cheek shapes on 0ur left to make them simpler and more anatomically correct (location of cheekbone, especially judging by the other side.
Another way to color in shapes:
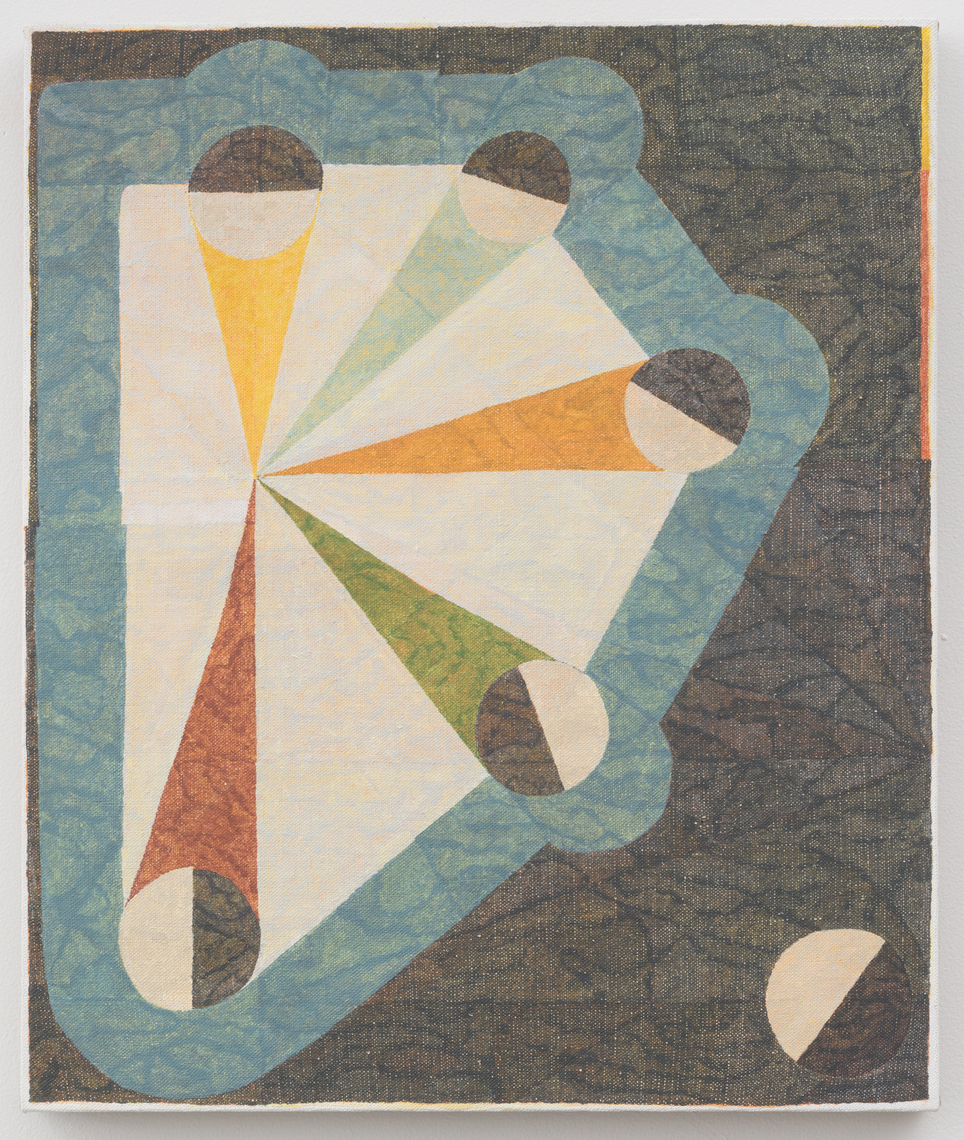
Matt Phillips makes the “filling in” marks–thoughtfully applied–part of the work, as does muralist Sol Lewitt, with his mottled paint application:

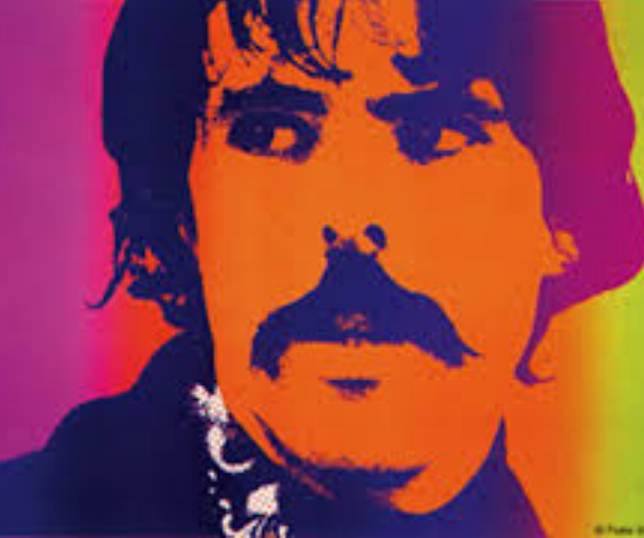
Peter Max
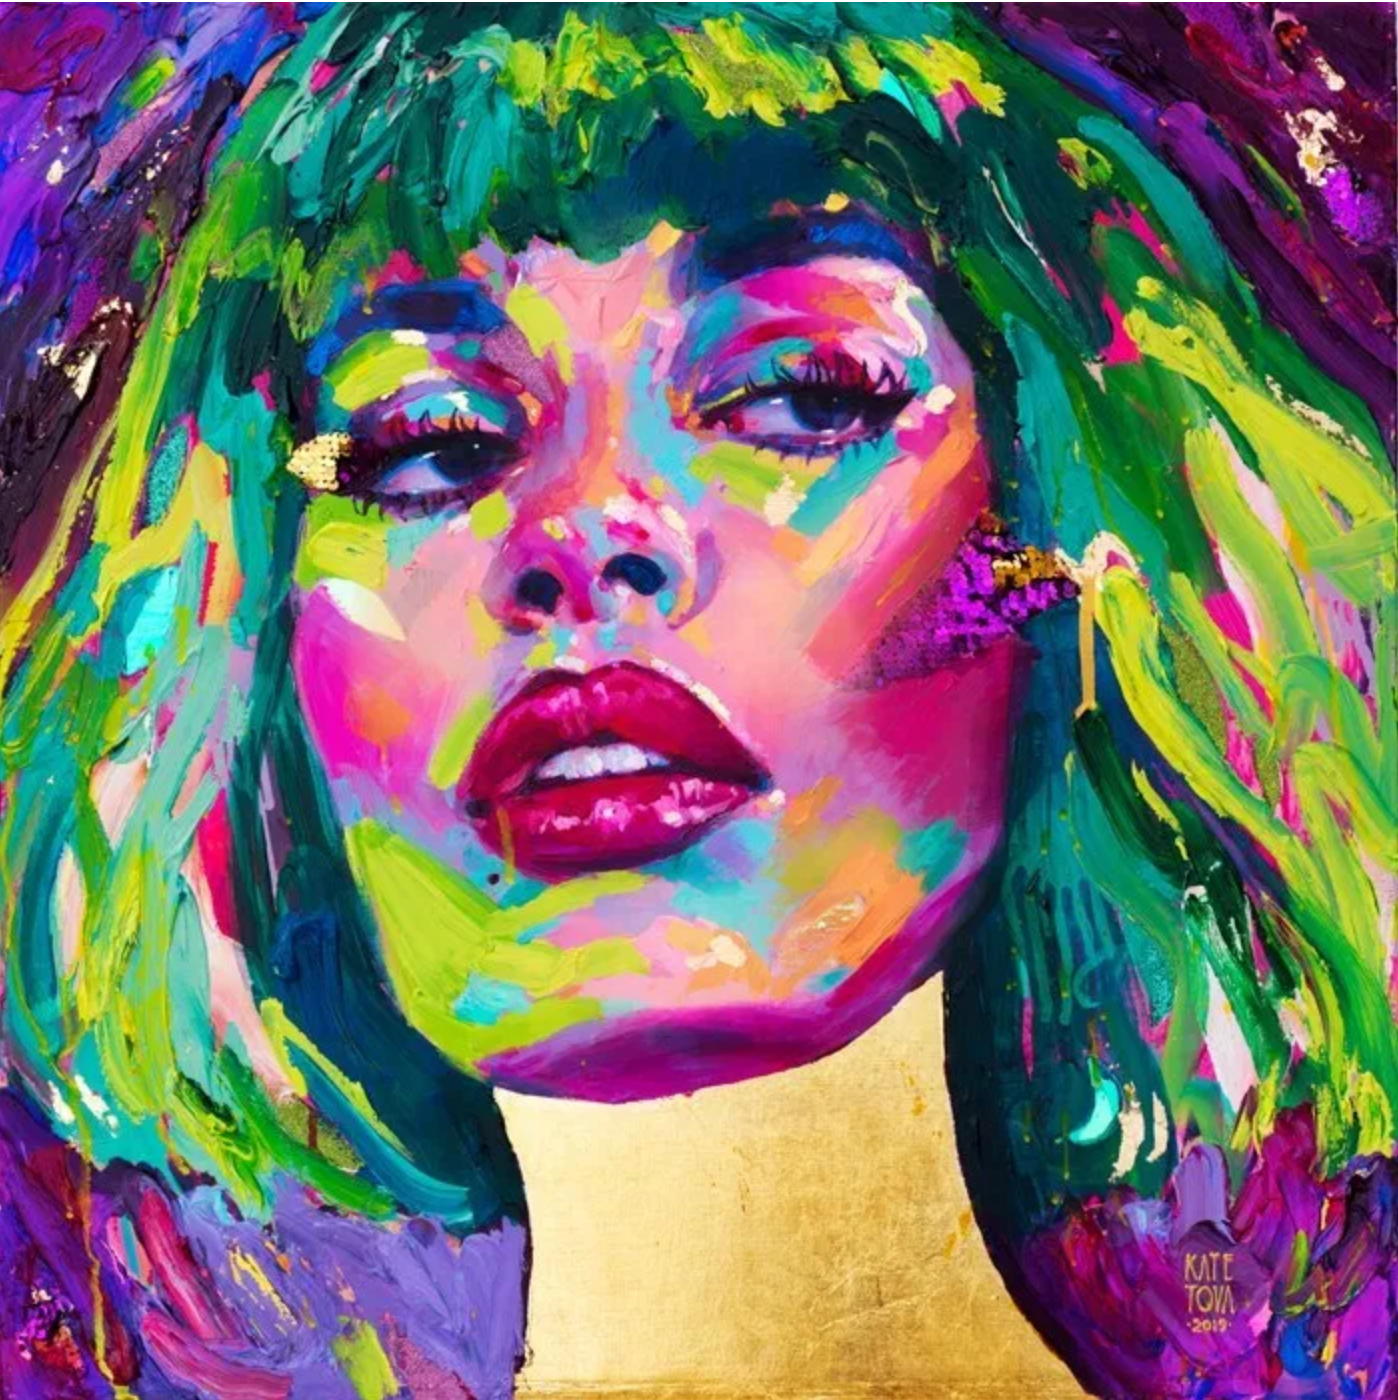
Kate Tova
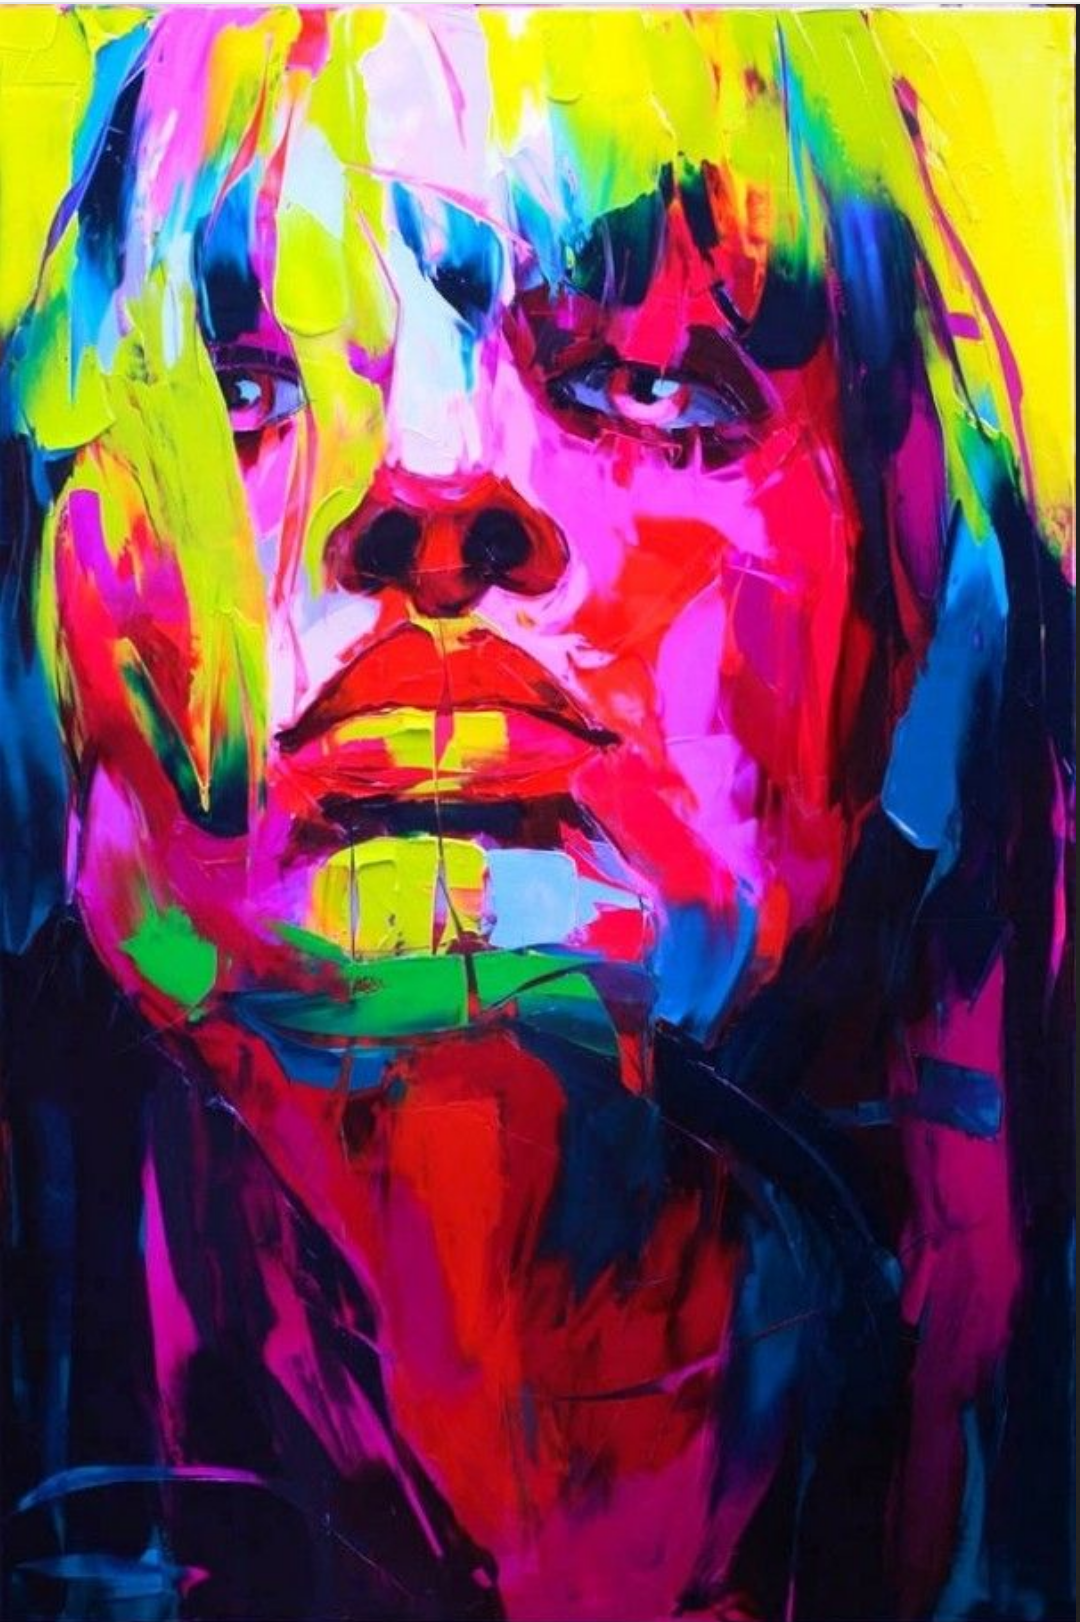
Francoise Neilly
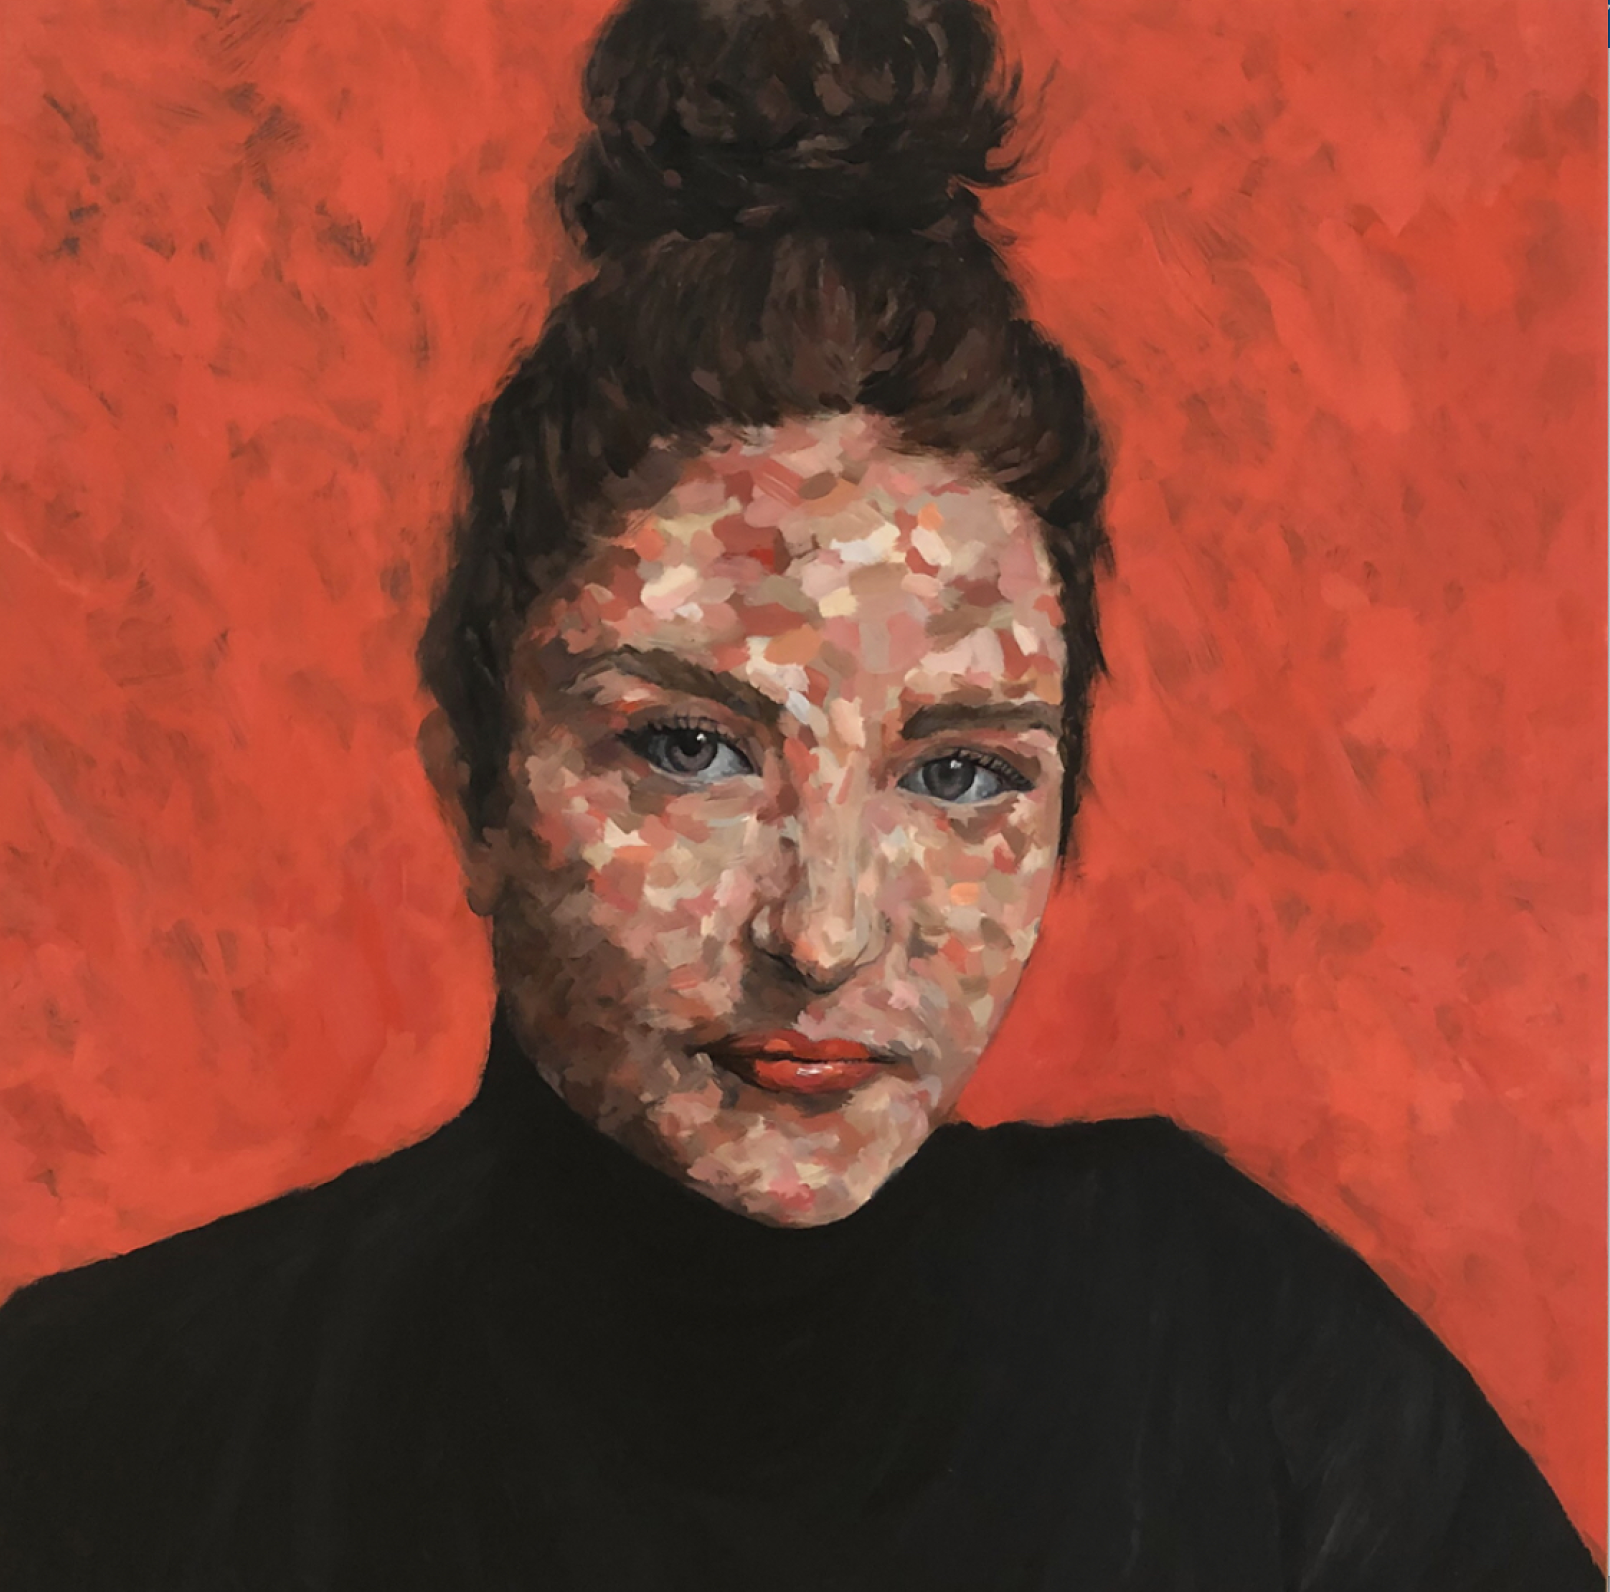
Sarah Austin ’21 / Painted directly on a photo
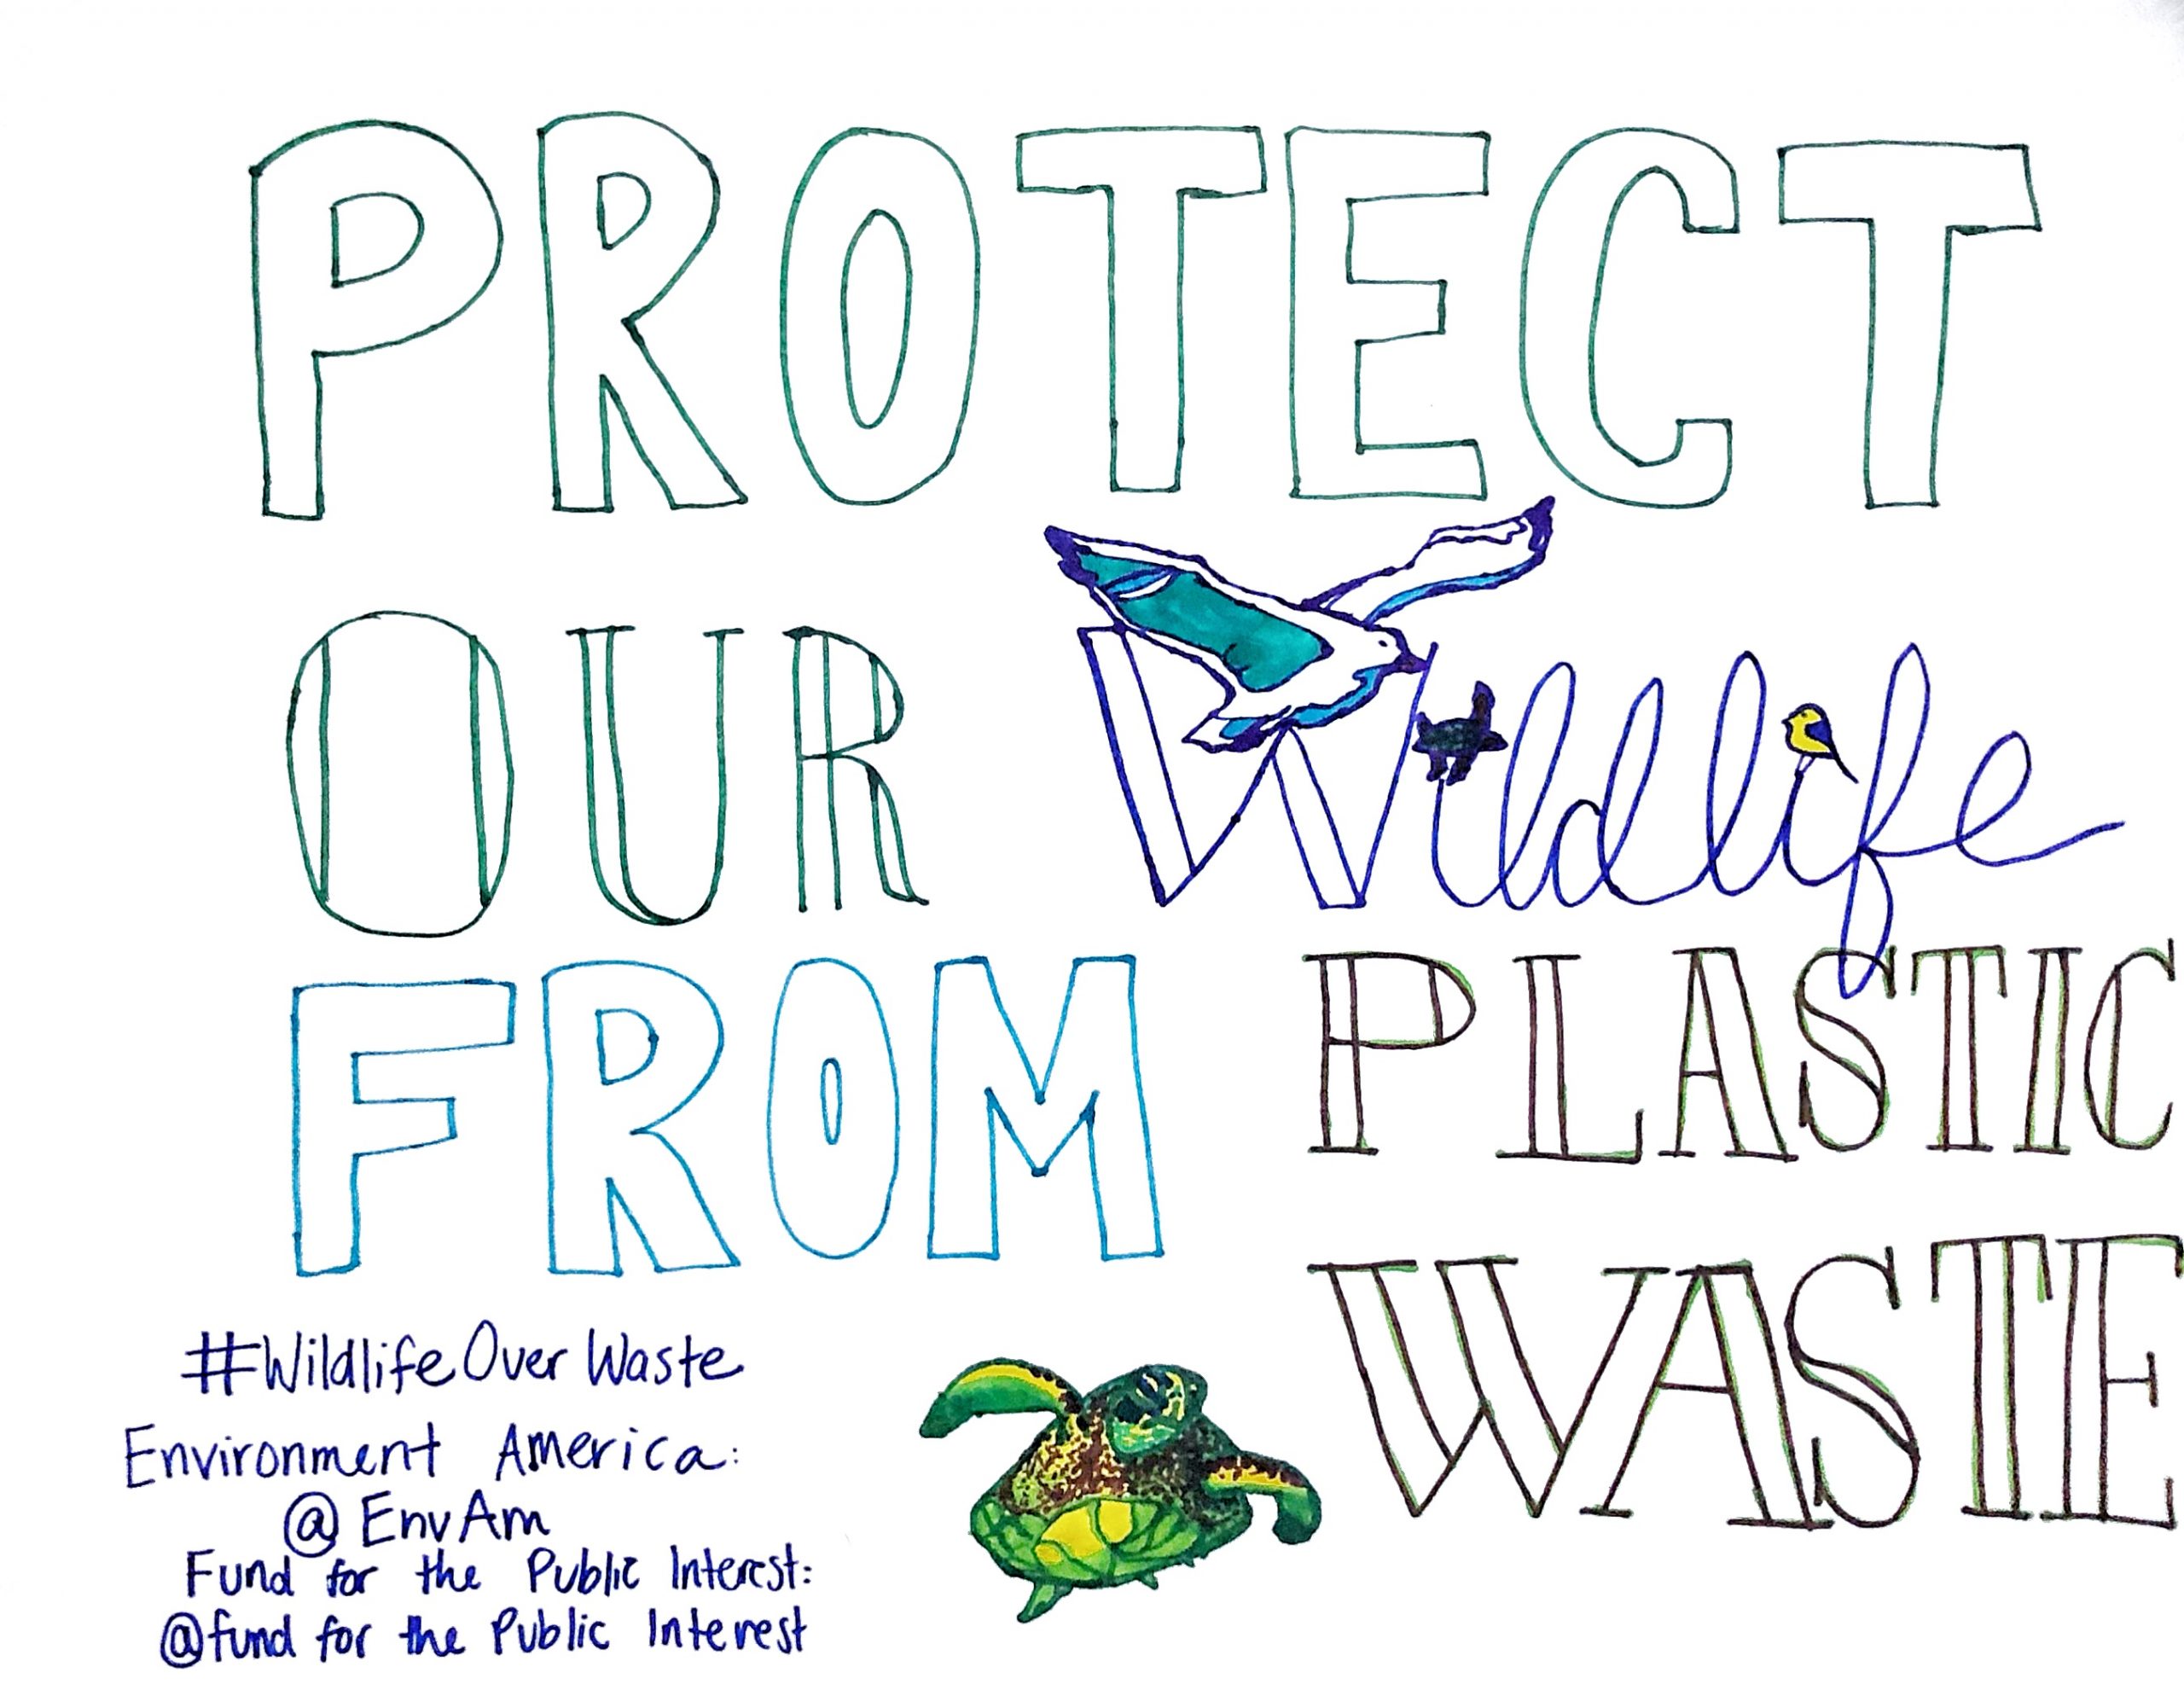
Hi all! Thought I would share this poster I made for the canvassing group Fund for the Public Interest, as part of their work with Environment America’s campaign called Wildlife Over Waste. You can read more about the campaign here: https://environmentamerica.org/feature/ame/wildlife-over-waste. I’ve really been enjoying using colored sharpies recently and had a lot of fun making this poster, especially drawing the animals.
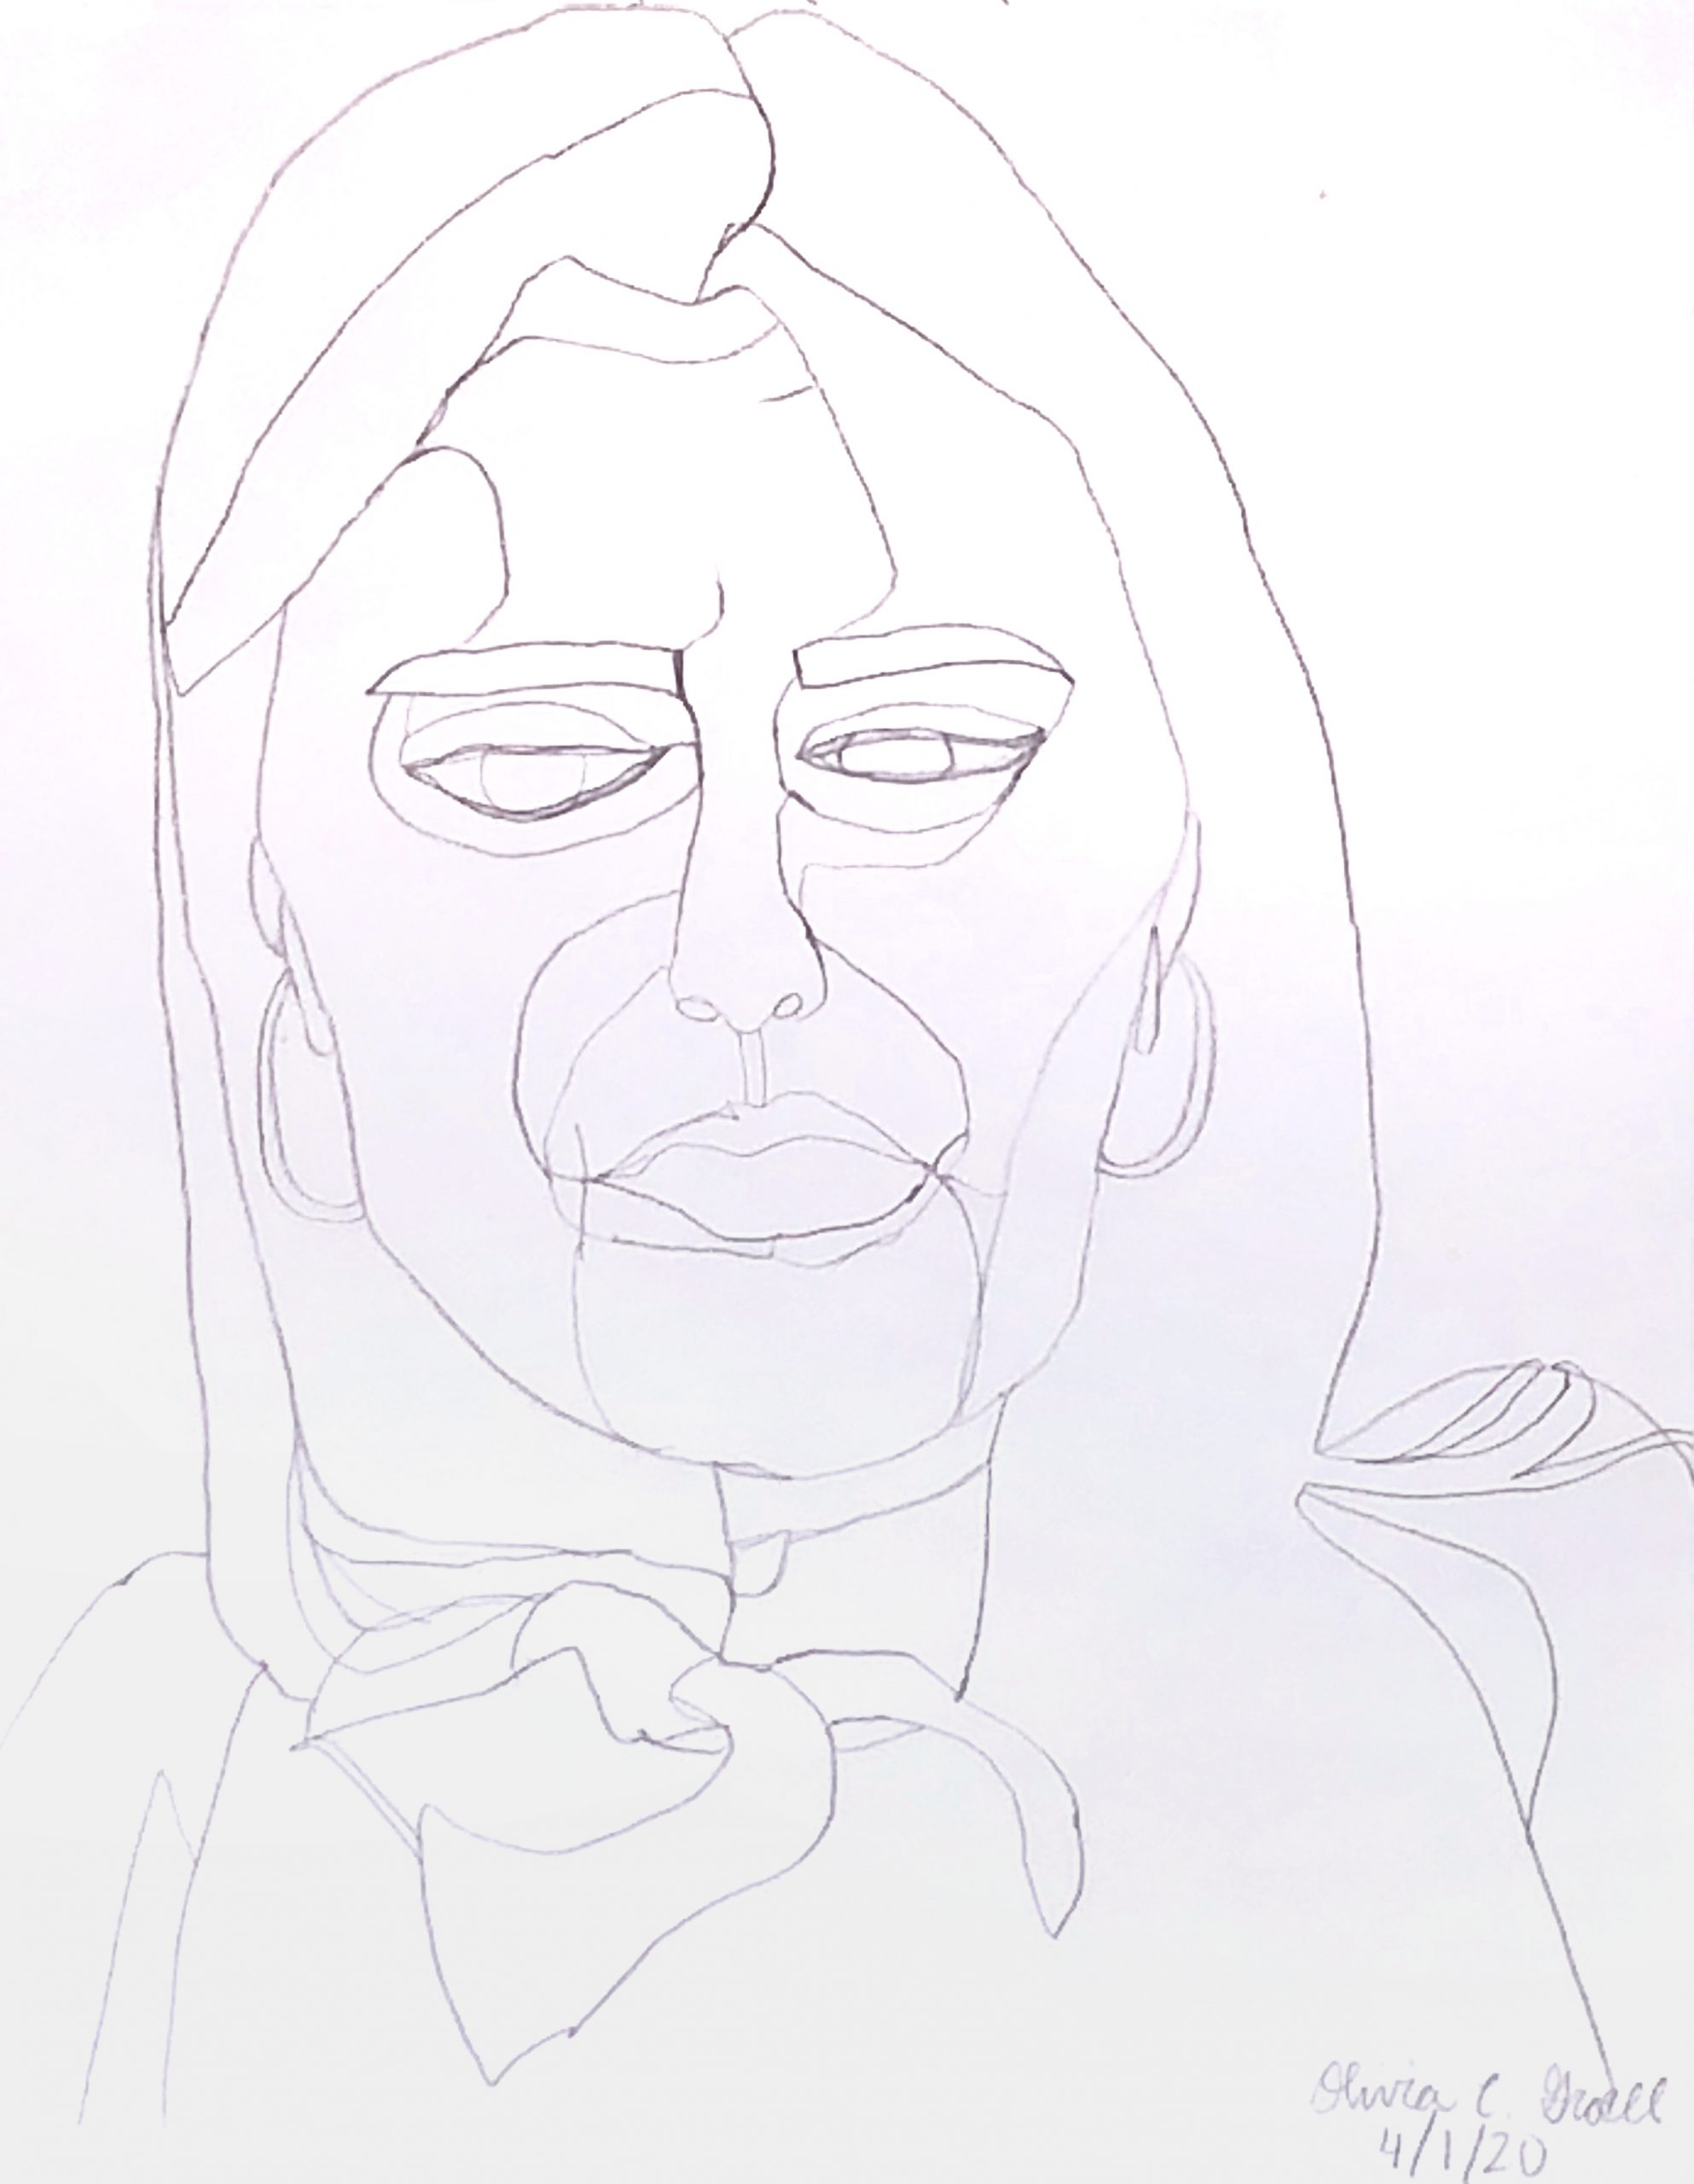
Pencil on paper, 11 1/4 x 8 3/4 inches
Pencil on paper, 8 3/4 x 11 1/4 inches
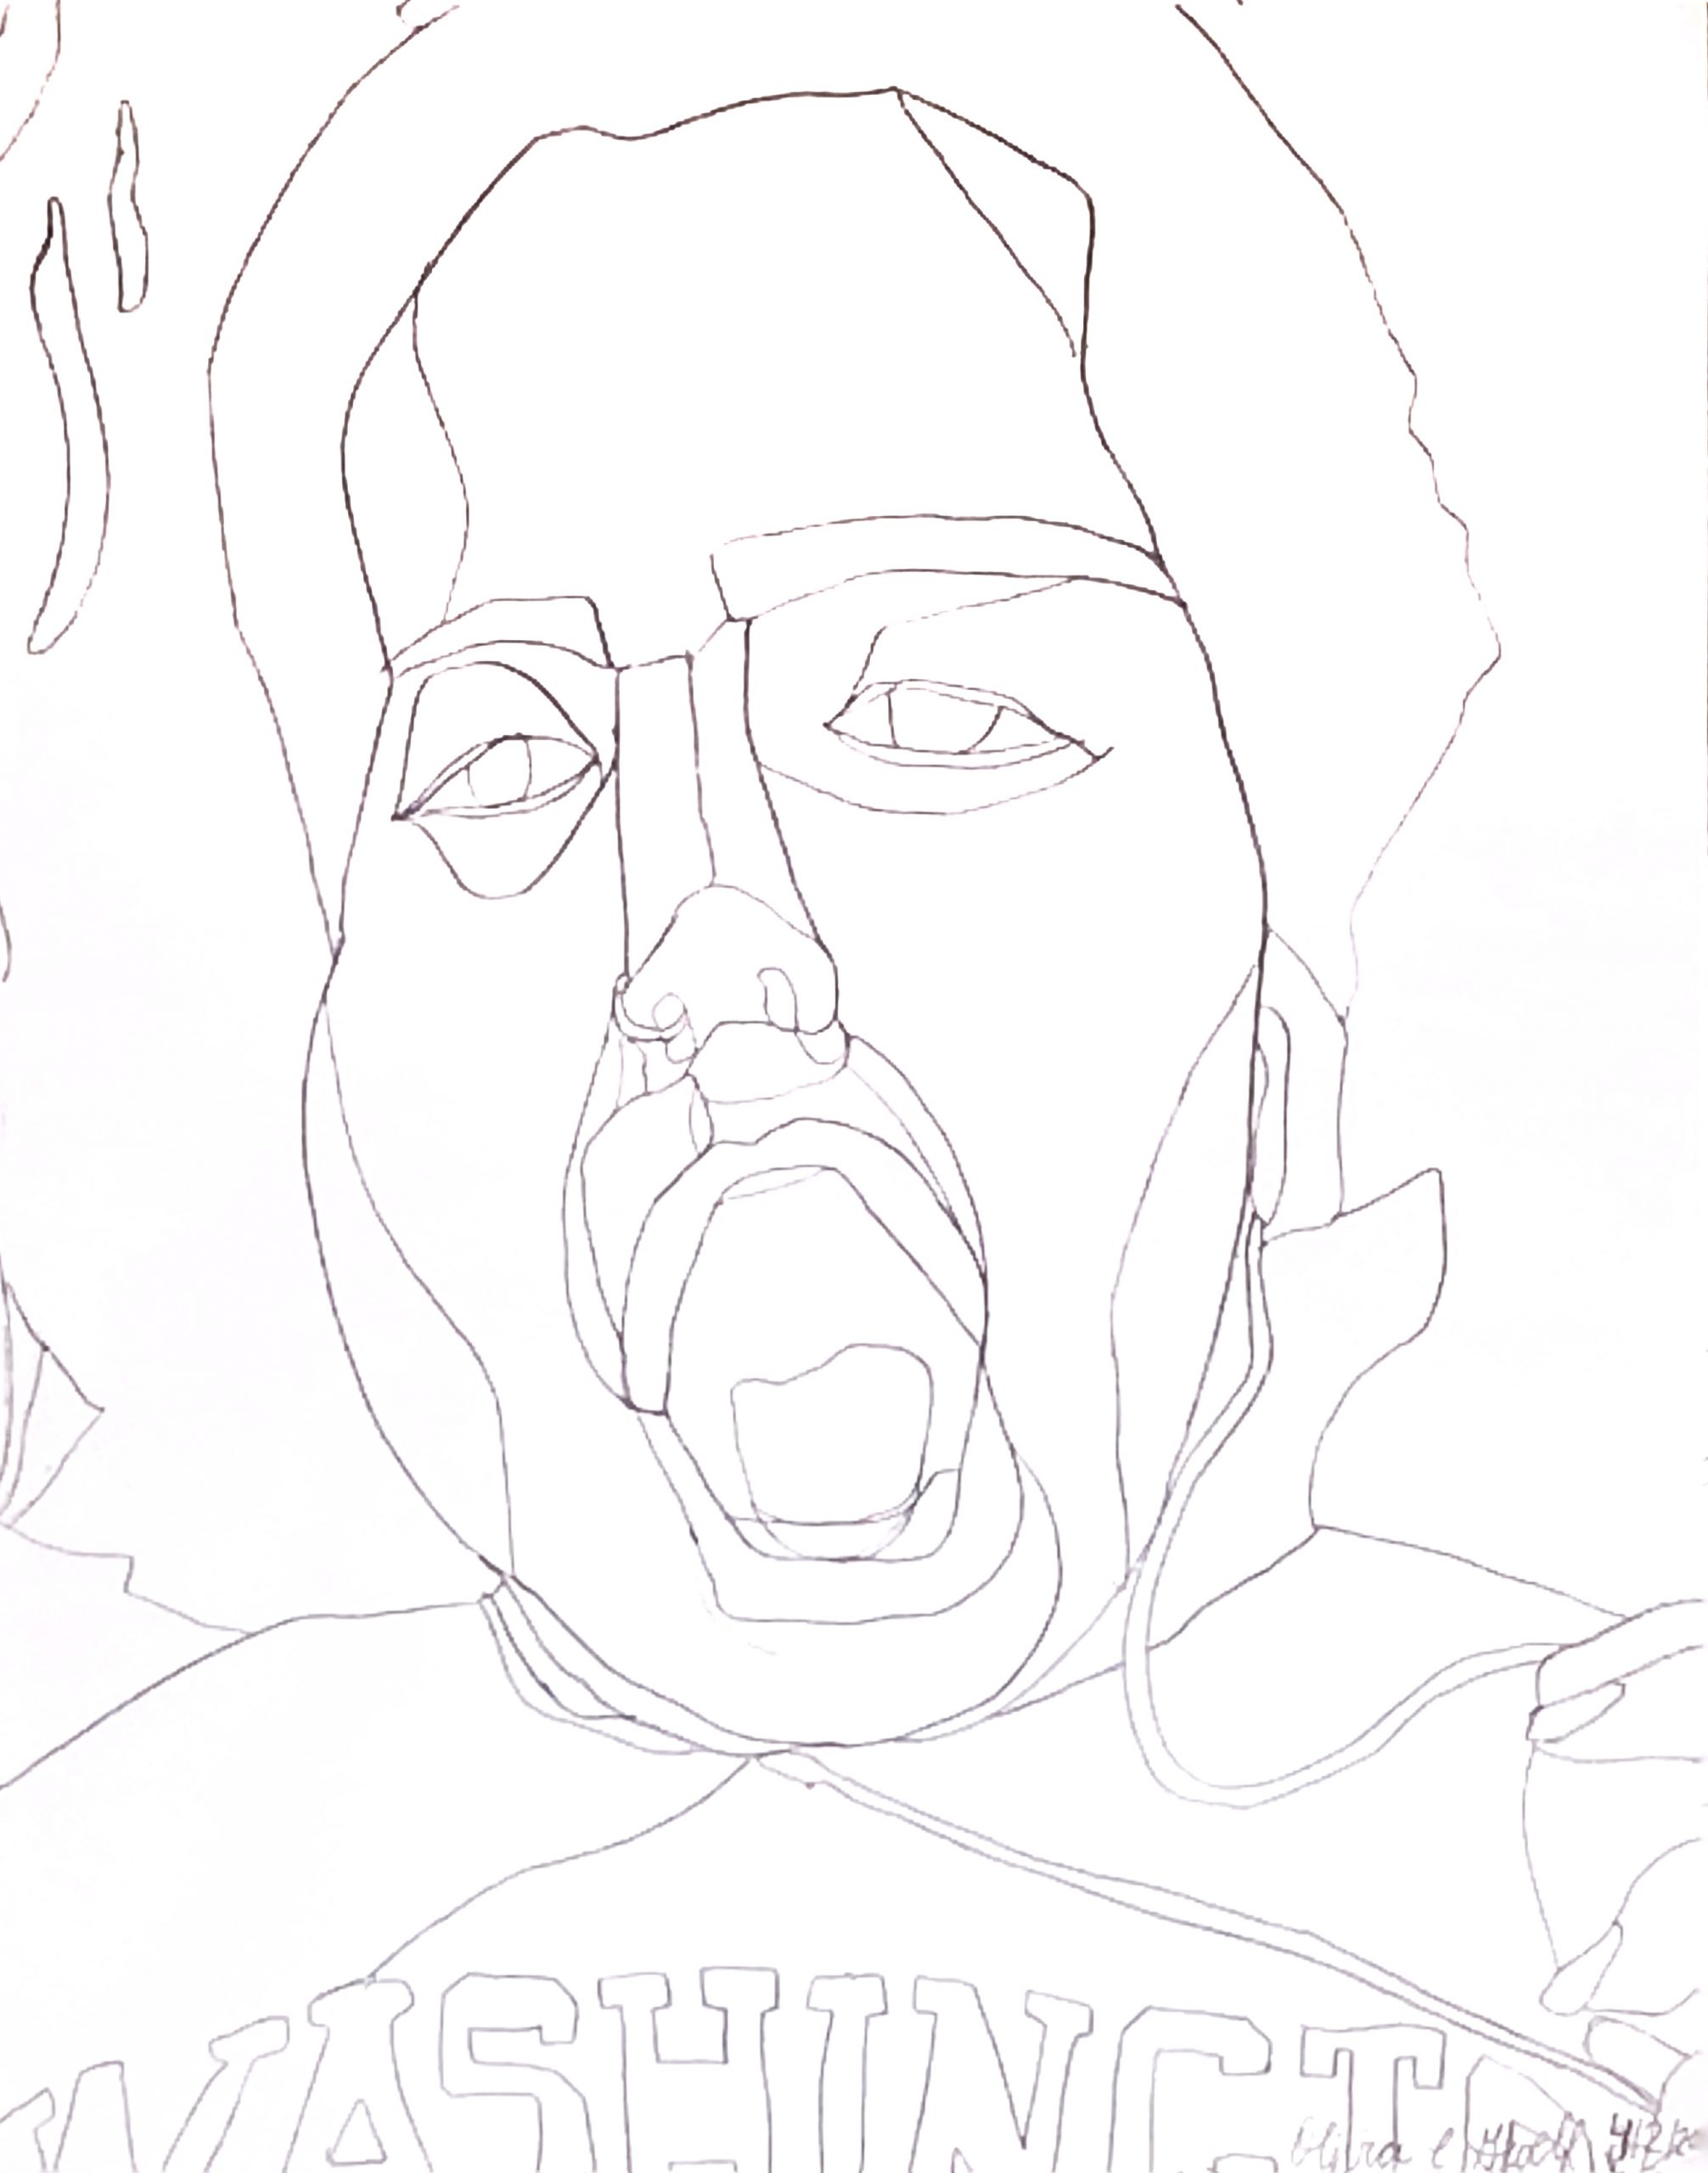
Pencil on paper, 17 1/2 x 22 1/2 inches
Pencil on paper, 11 1/4 x 8 3/4 inches
X (but only if we can get a better exposure)
Pencil on paper, 11 1/4 x 8 3/4 inches
Pencil on paper, 22 1/2 x 17 1/2 inches
Pencil on paper, 11 1/4 x 8 3/4 inches

 I suspect this should look closer to this. I took it back into Snapseed and applied the tools I outlined in my “cheat sheet” of shortcuts.